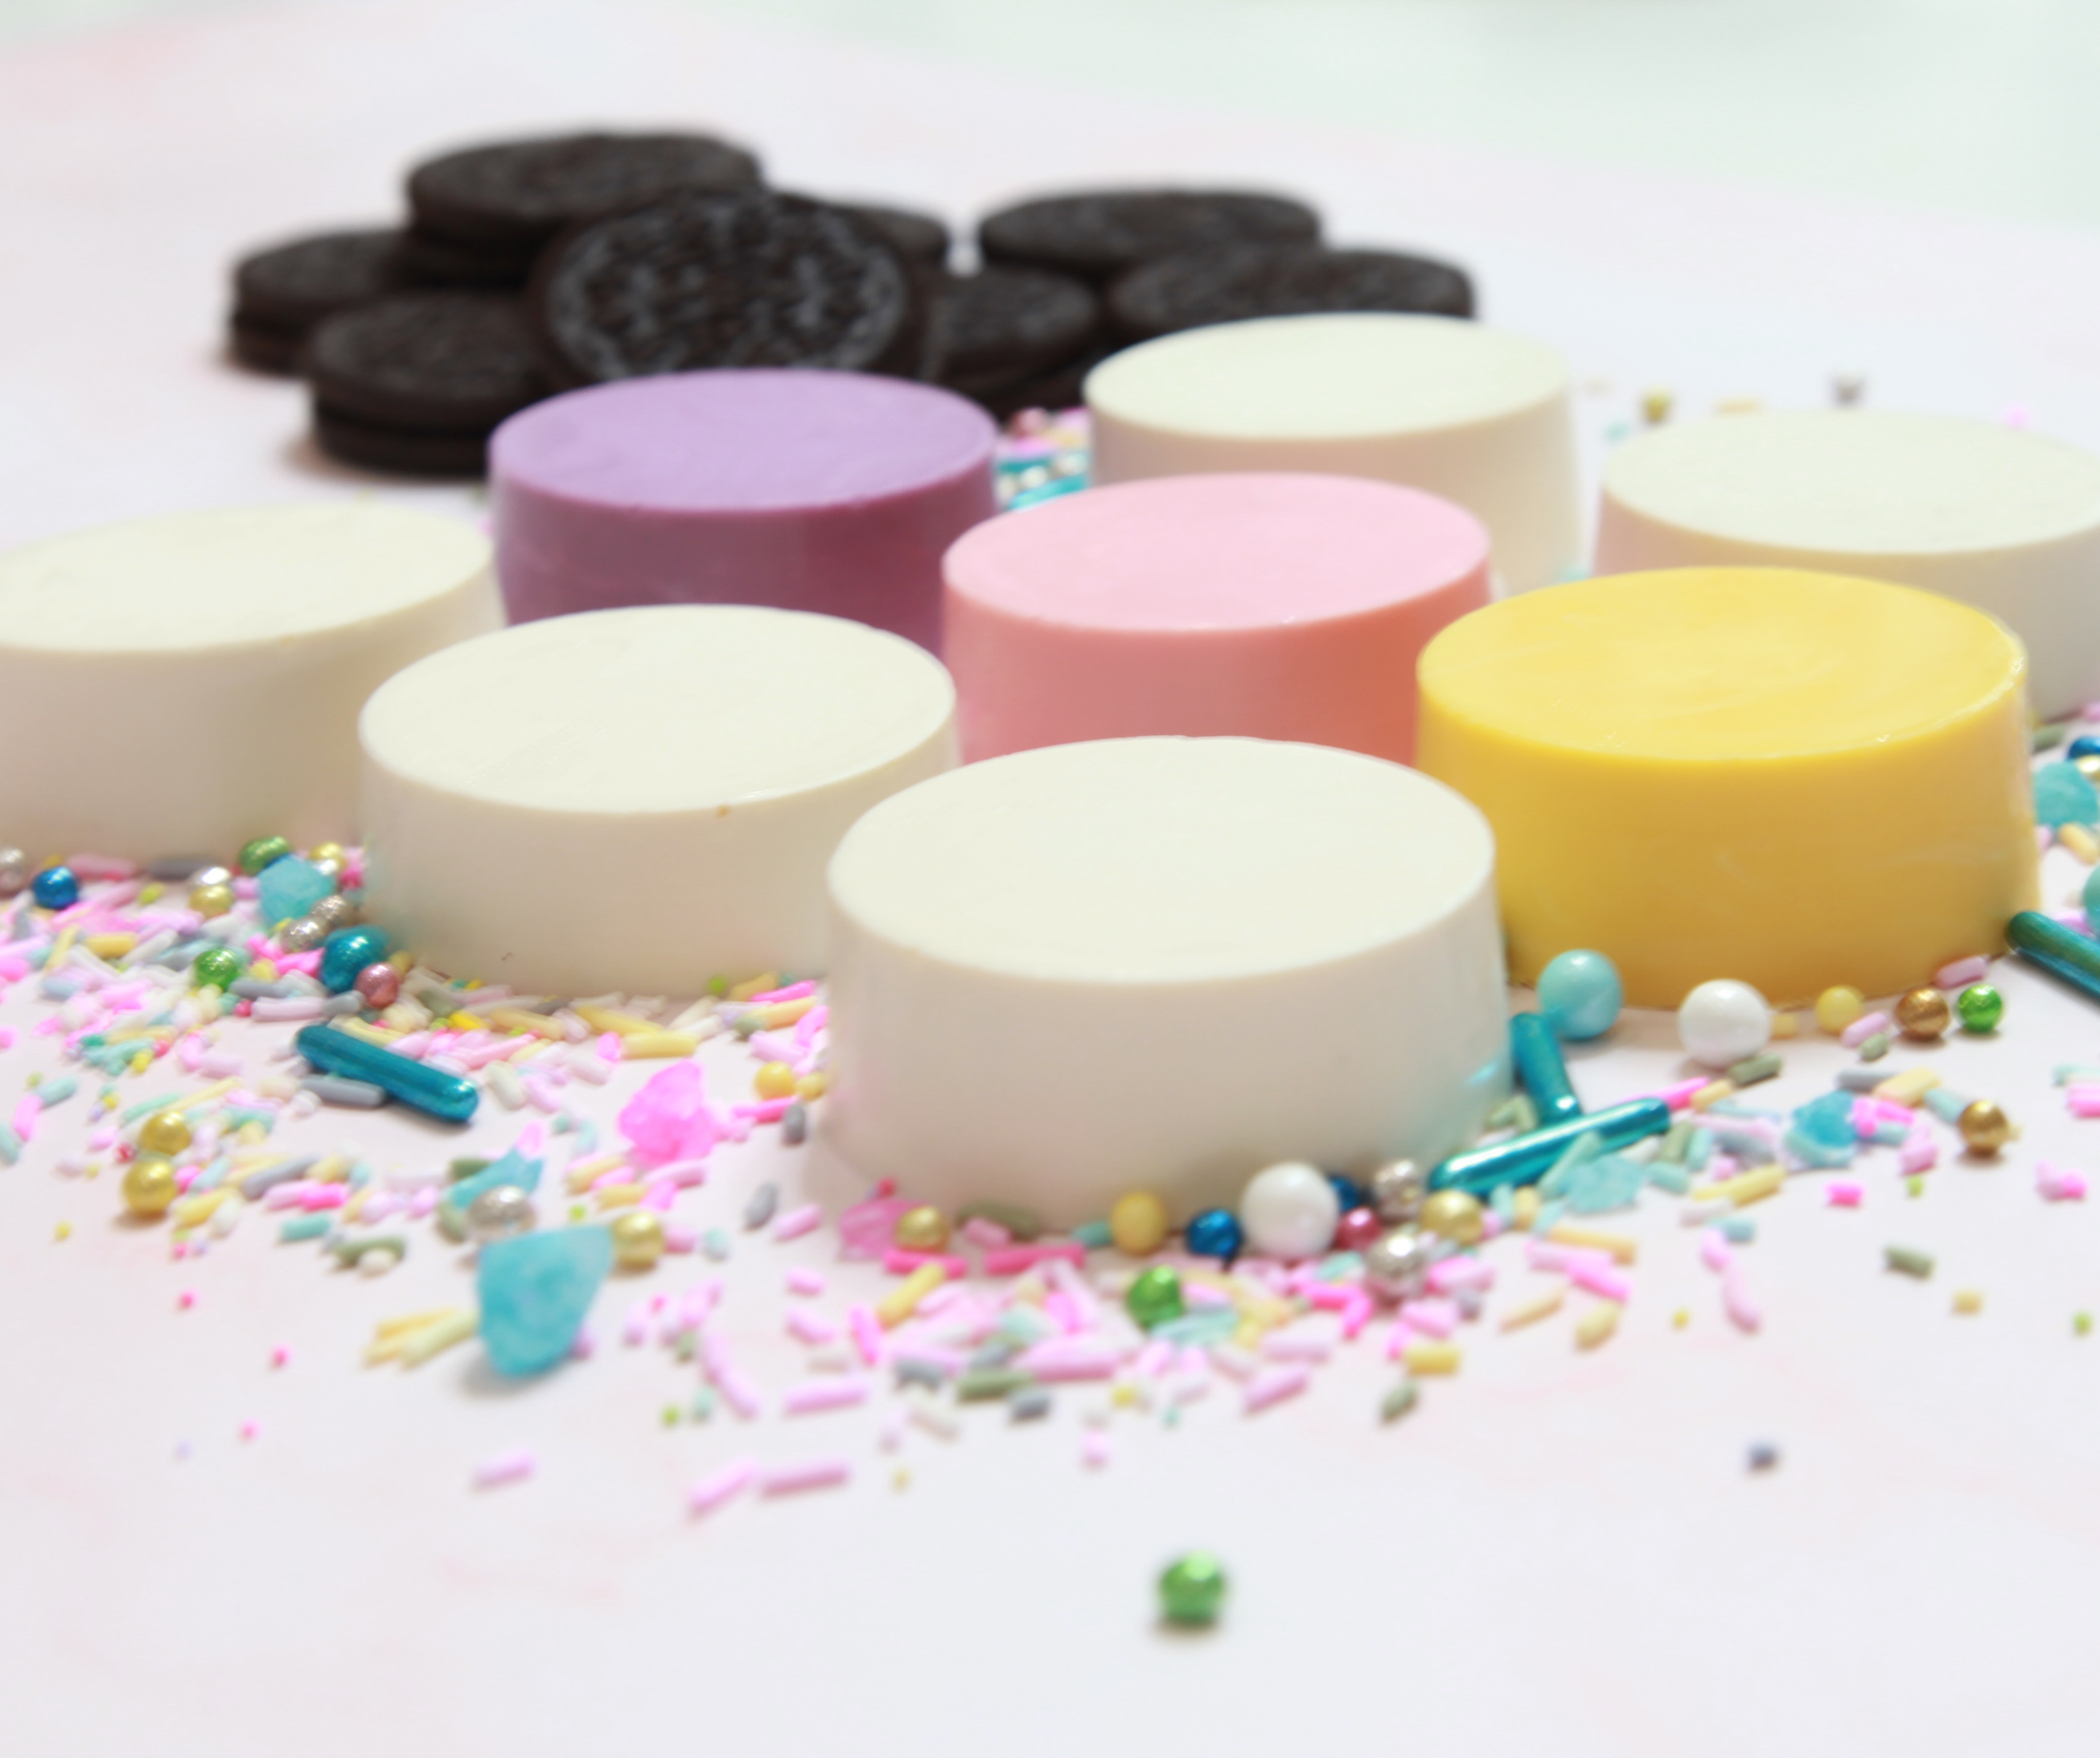
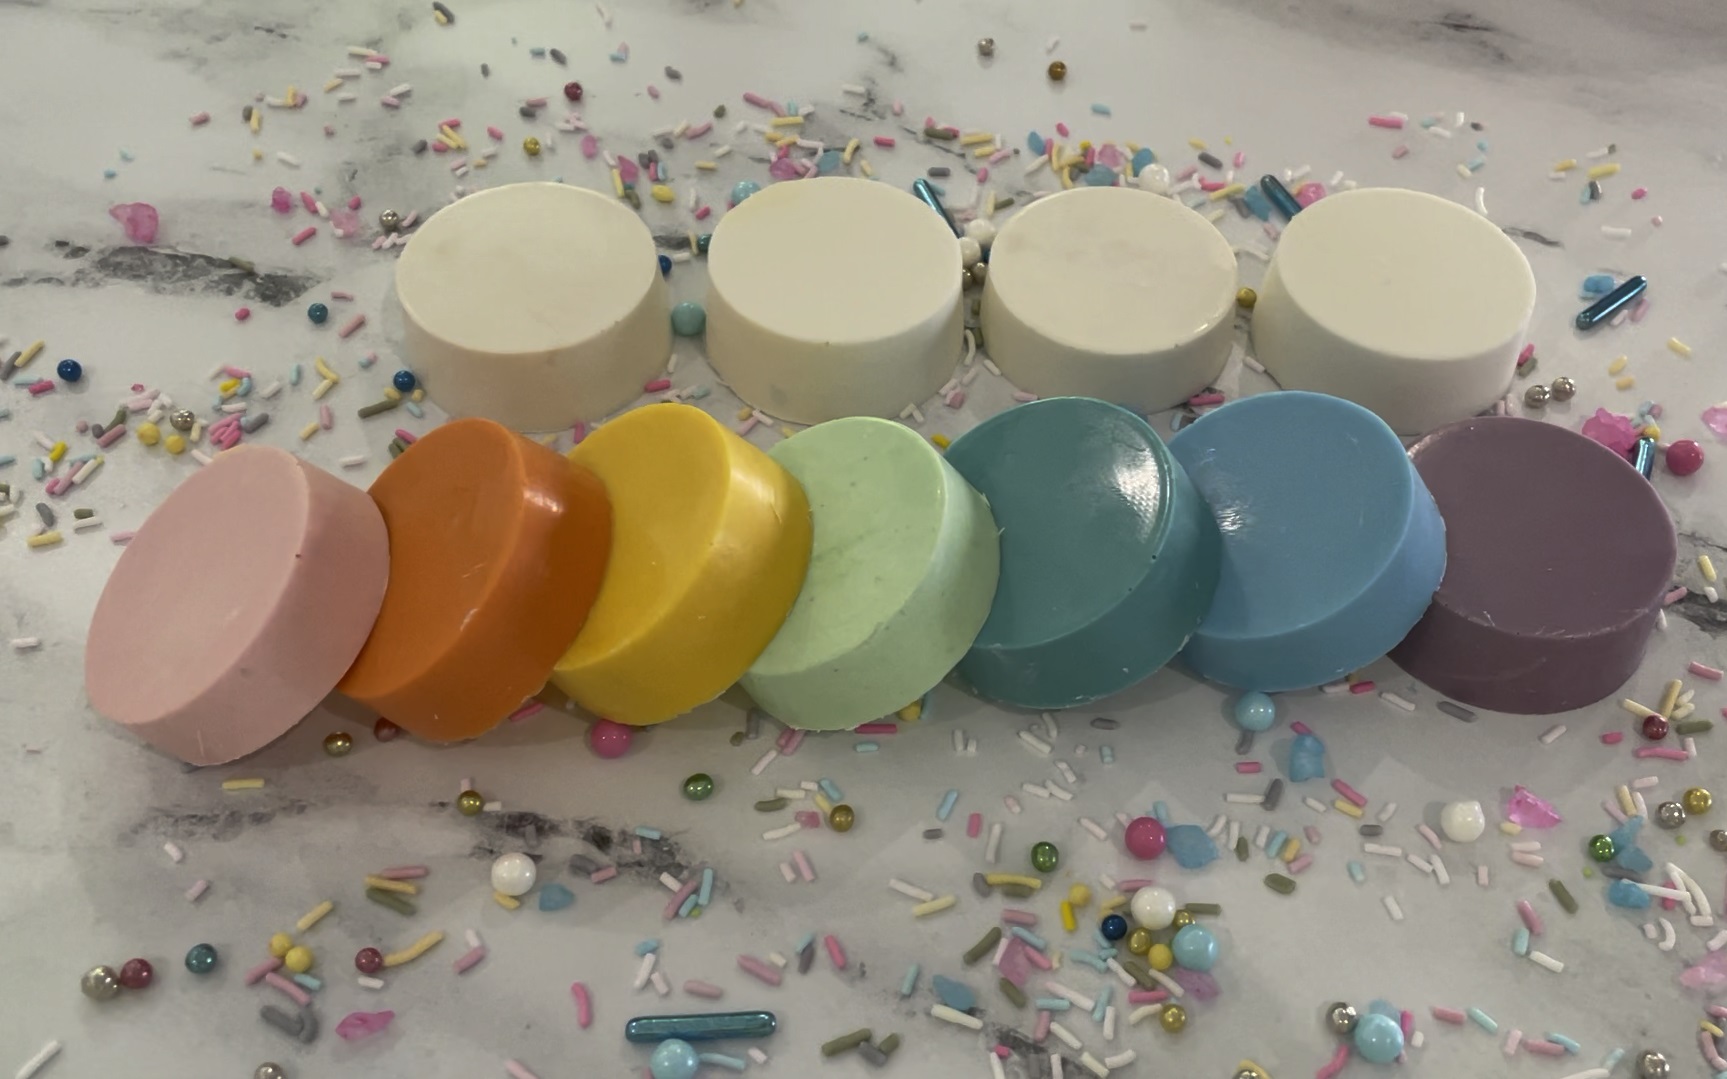
Chocolate covered oreos are a perfect treat for any party occasion and look beautiful on any themed dessert table. Plus chocolate is an incredible way to make one of my favorite cookies even more fabulous! One of the things I like best about chocolate covered Oreos is how easily you can color and decorate them for whatever your party theme is. Whether a baby shower, birthday party, wedding, graduation or for when your kids are hungry after school, chocolate covered Oreos look pretty on every dessert table and are the perfect bite-size treat. In this post you will learn how easy it is to create perfect chocolate covered Oreos with flat bottoms for your next party.
Chocolate covered Oreos are one of my favorite desserts because you only need a few ingredients and items and it is seriously so super-simple. And if you have kids, get them involved too! This is one of my no bake desserts that I can make in a few minutes so they can be ready for any celebration.
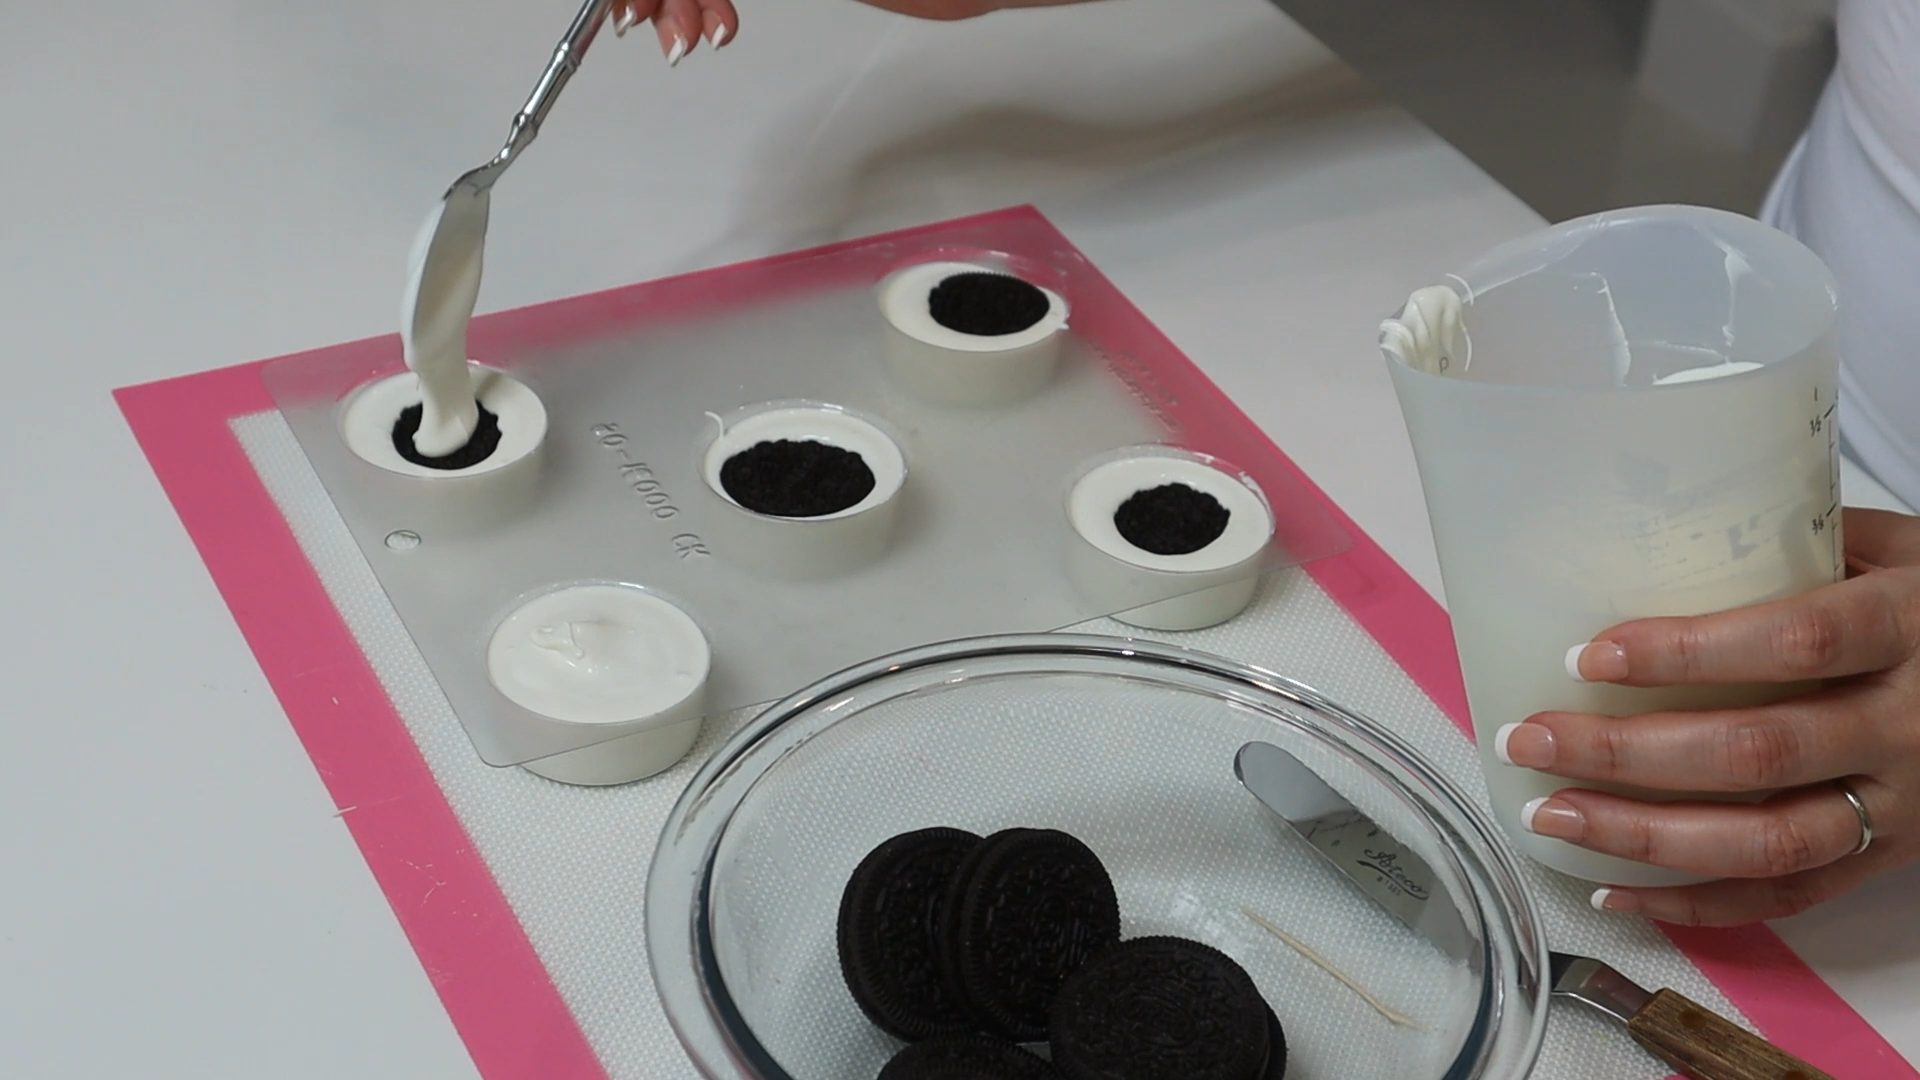
Making chocolate covered Oreos is easy because you don’t need a lot of things to create these bite-sized delicious goodies. While you can use a cupcake tin to create the molded shapes, a candy mold with circle cavities is a great place to start. Additionally, you will need chocolate or candy melts, a spoon, an offset spatula, and a toothpick to pop any air bubbles. And don’t forget Oreo cookies… as well as a few to snack on while you work.

Melting Chocolate and Filling Mold
Melt With the Microwave
Candy melts can be melted in the microwave. Just remember that you need to melt them at half power in thirty second intervals. Let me say it again, don’t cook on full power! If you forget to set the microwave at half power you melt the chocolate at full power it will heat too quickly and ‘seize’, which means turn into a bubbling and boiling mess and will leave your kitchen smelling like burnt chocolate. Not pretty. Melt the chocolate in 20-30 second intervals for the first minute, then in 15 second intervals after that, stirring after each cooking interval. One of my favorite tricks is to add a little bit of vegetable oil (depending on the amount of chocolate, use about 2 tsp or so) to the chocolate before melting.
Melt With a double-boiler
Add a bit of water to a sauce pan and place on LOW heat then place a heat-resistant bowl on top so it just rests on the sides of the pan, but doesn’t touch the water. Fill this top bowl with your chocolate. The heat from the steam will cause the chocolate in the bowl to melt. Stir often and you’ll see the chocolate start to melt. Keep stirring, and once you see tiny lumps of chocolate remaining, remove the bowl from the top of the pan. Stir, and the residual heat will melt those last little lumps and poof! Say hello to perfectly melted chocolate.
Spoon a little bit of chocolate into the candy mold about 1/3 of the cavity. The goal is to cover the bottom of the mold but not overfill it. I prefer using a smaller spoon to add chocolate to the mold.
Make Ahead Chocolates Covered Oreo Tips
The chocolate covered cookie treats are prefect for making in advance of a party. Once a batch has been made, store them in an airtight container at room temperature for up to 4 weeks. Store in a dry cool place, as sunlight and warm temperatures will melt the chocolate and ruin your pretty decorations. Don’t store them in the freezer!. If you freeze them, the outer layer of chocolate will get wet and soggy when thawed.
Princess Success Tips for Oreo Making
1. Use high-quality chocolate or candy coating for the best result and taste. Personally, I love to use Guittard or Ghirardelli, which are both available in the chocolate aisle at my grocery store.
2. Keep decorating with toppings! Ideas for decorations include chocolate drizzles, sprinkles, crushed nuts, shredded coconut, and fondant decorations.
As if Oreo cookies weren’t already the greatest cookie snack ever, upping the flavor of the creamy chocolate on the outside and the Oreo crunch on the inside is simply dessert perfection.