How to Make a Pastel Colored Drip Cake with Macarons

  • Home /
  • How to Make a Pastel Colored Drip Cake with Macarons
How to Make a Pastel Colored Drip Cake with Macarons
The princess baker shows you how easy it is to make a pastel colored birthday cake with white chocolate ganache and macarons for spring and summer

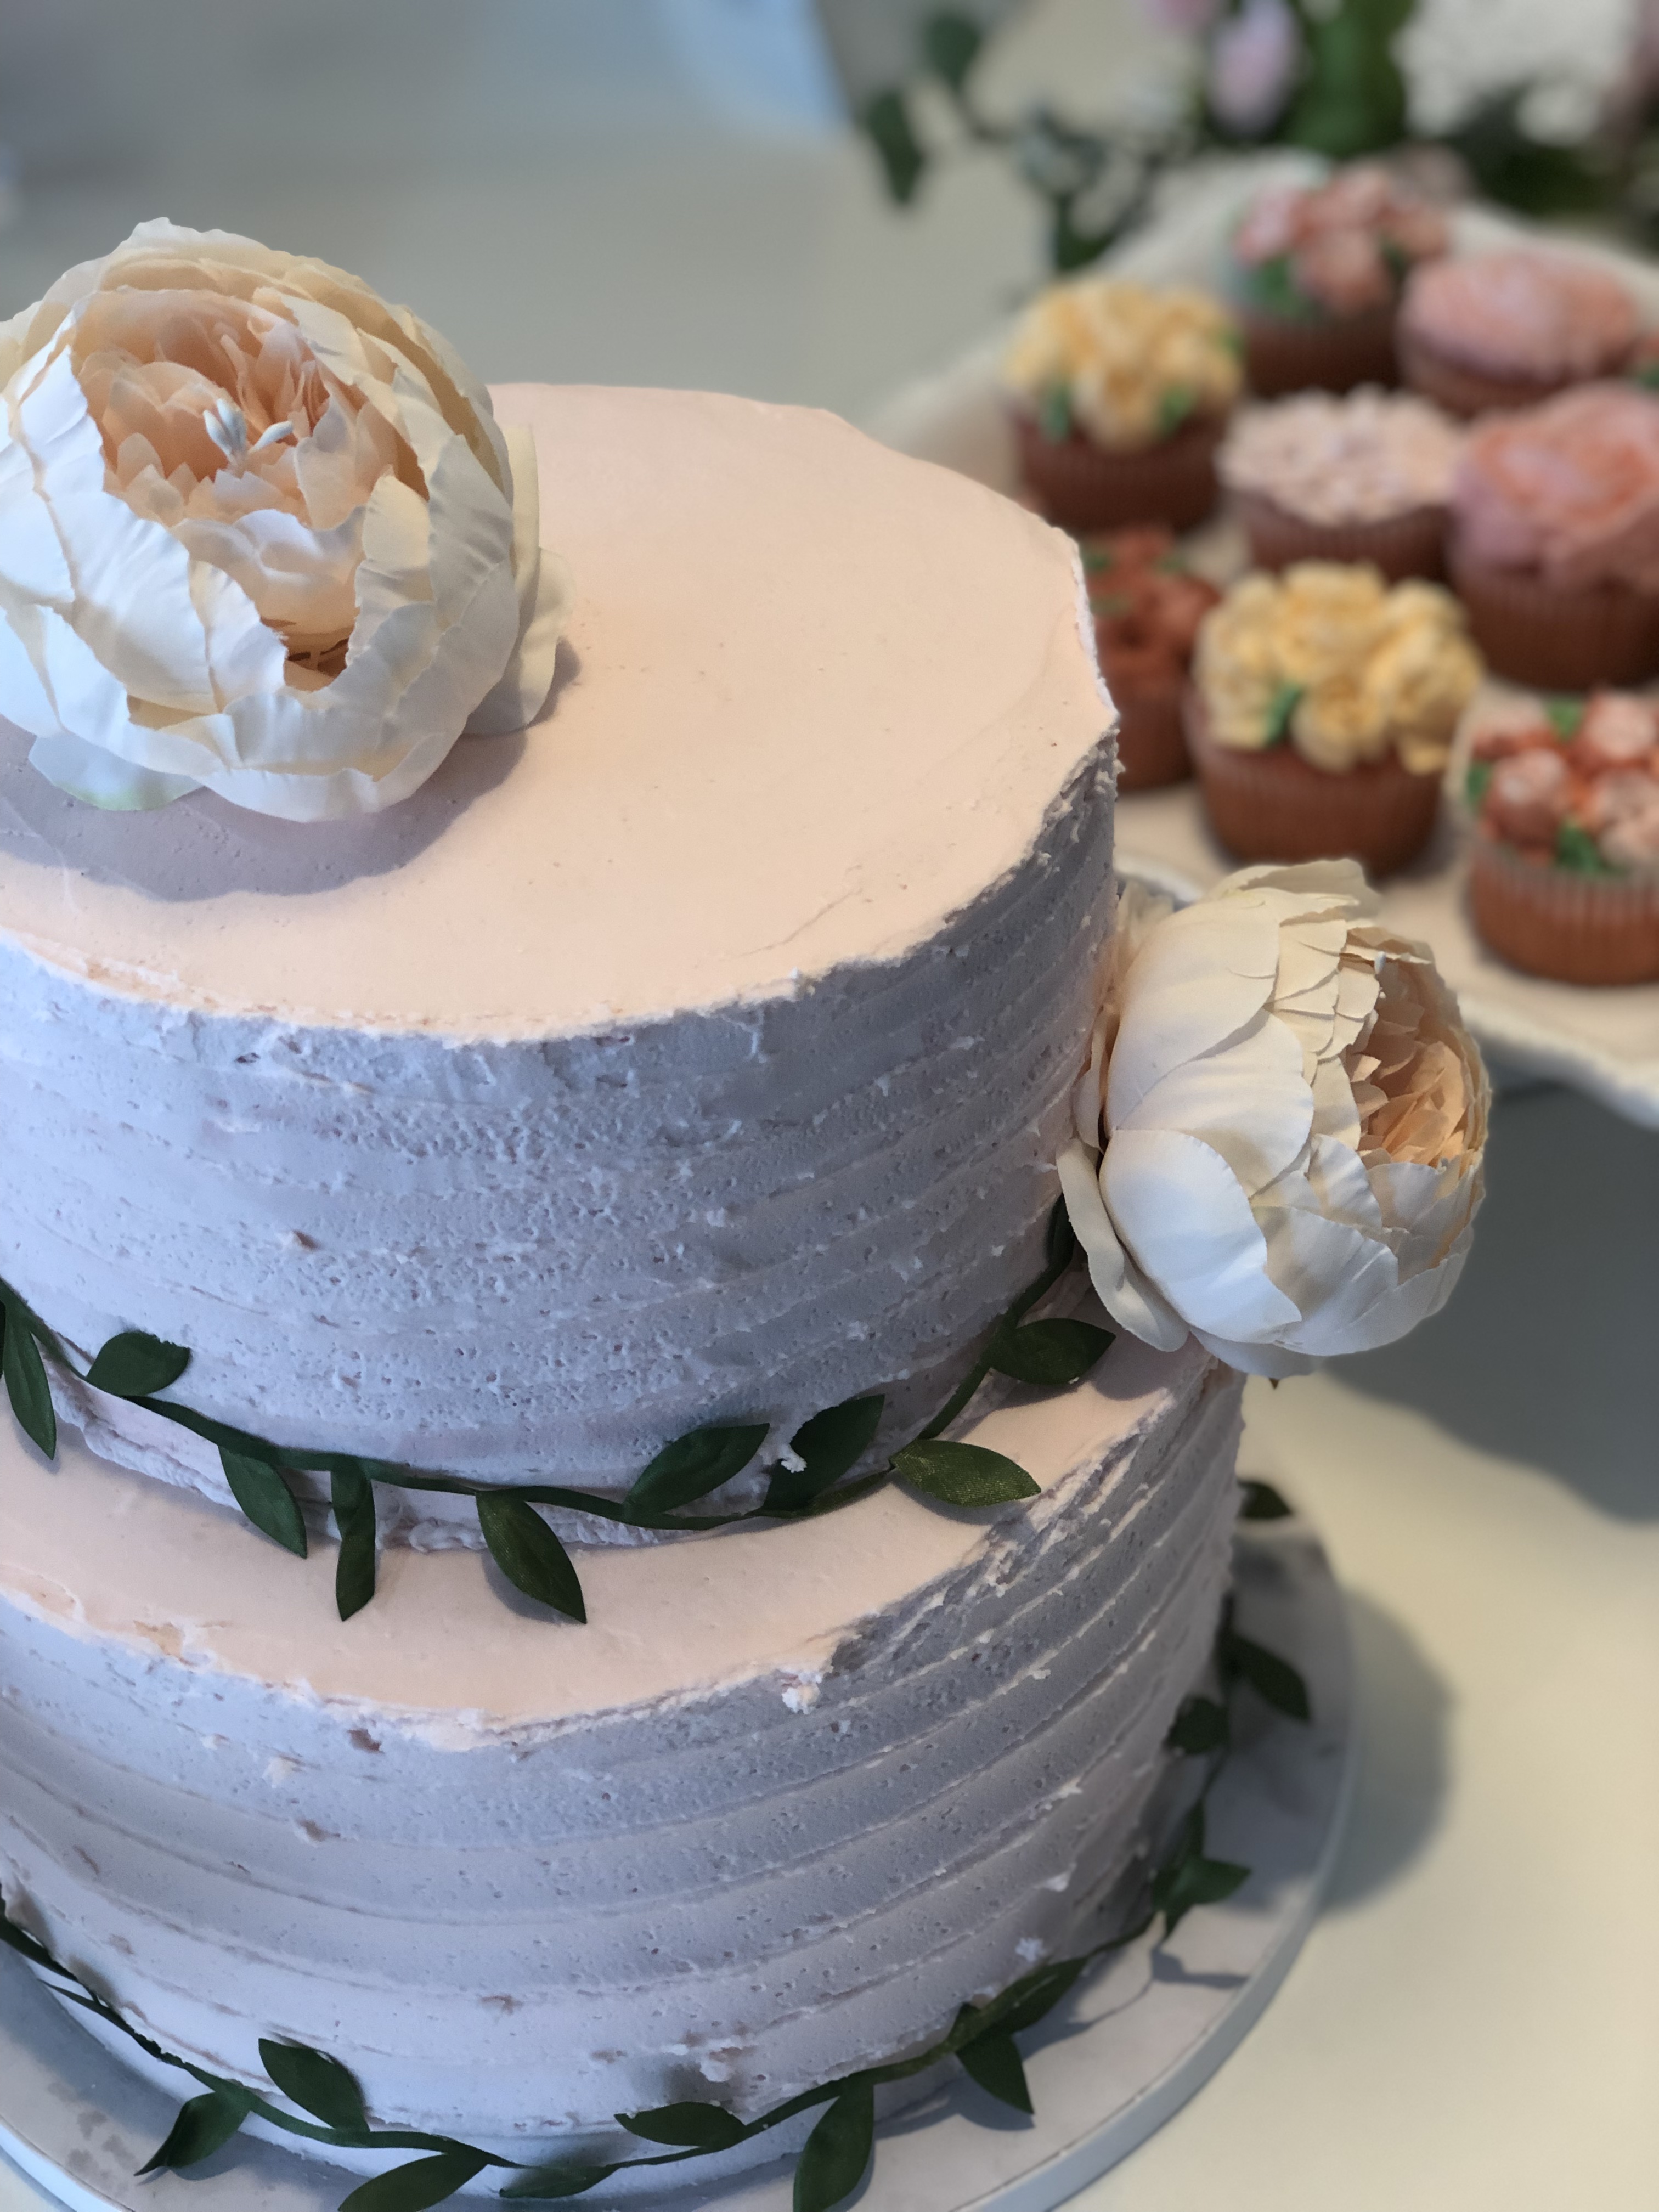
Pastel colored cakes like this one tiered fantasy are always in fashion. The combination of soft hues works for so many occasions. Today I’m showing you all the tips and tricks to make this beautiful, pastel colored, one tier cake with chocolate drips and topped with matching macarons. With a few easy steps, you can make this cake, perfect for birthday parties, bridal showers and baby showers.

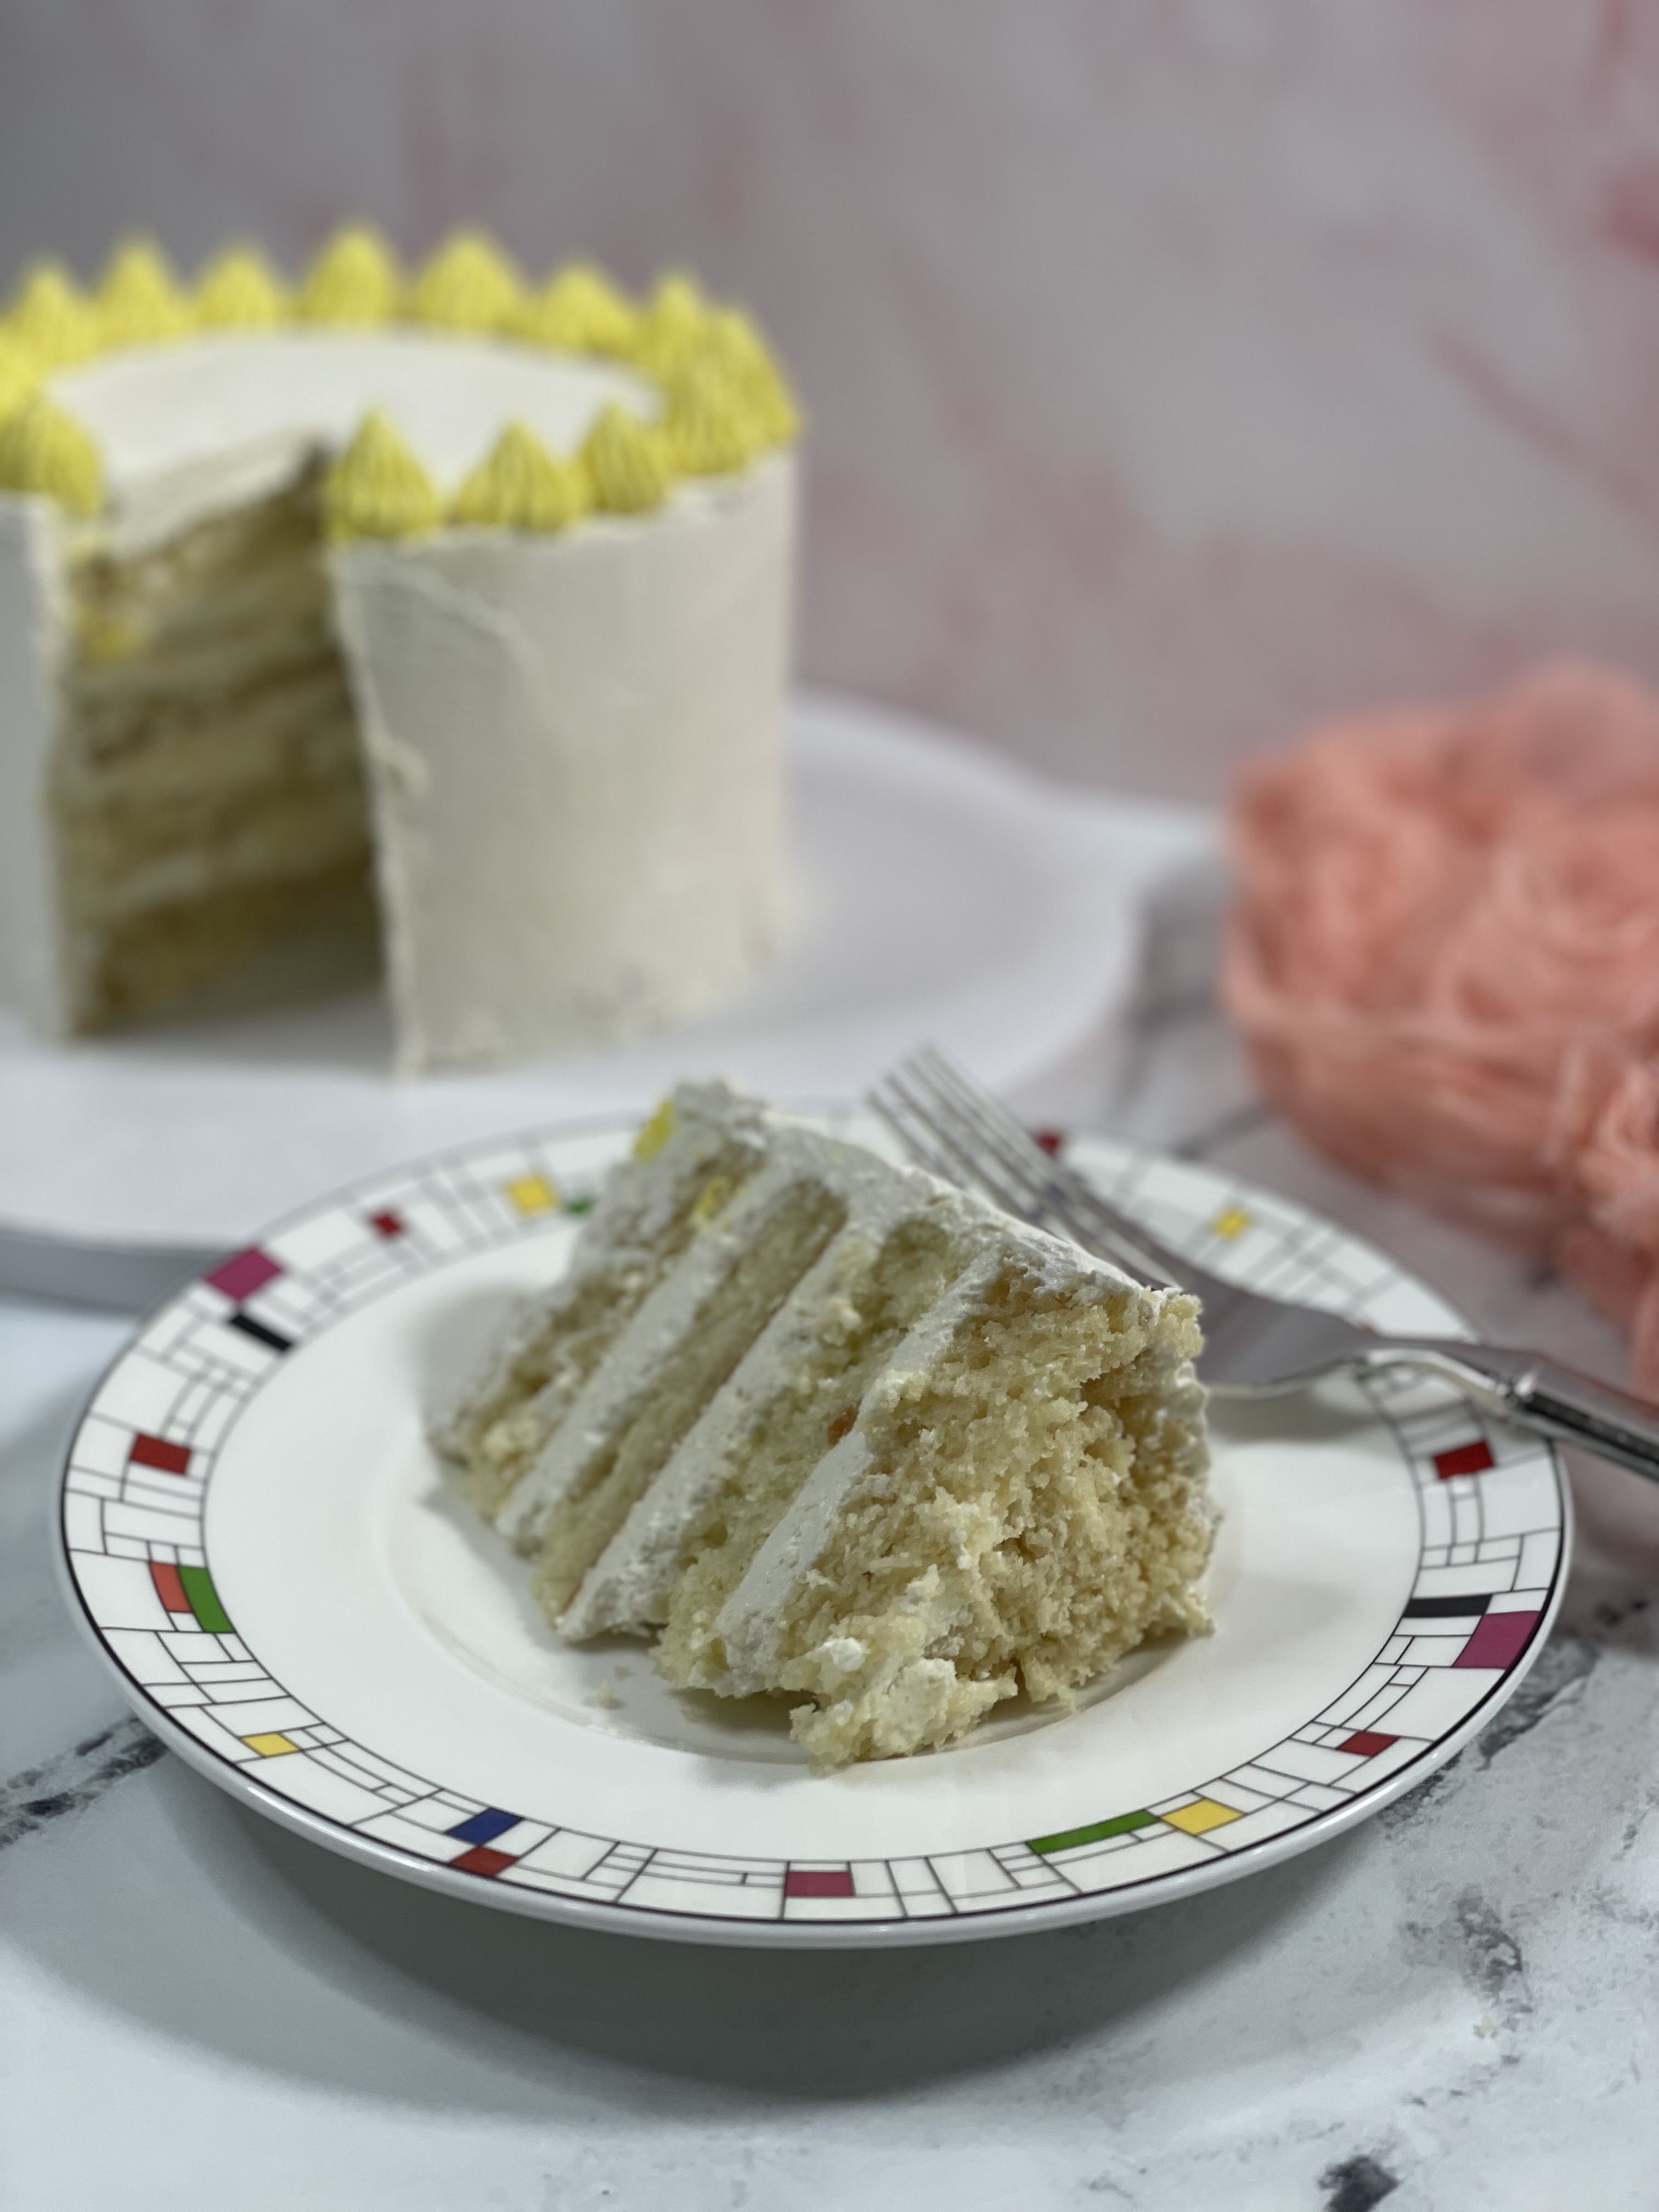
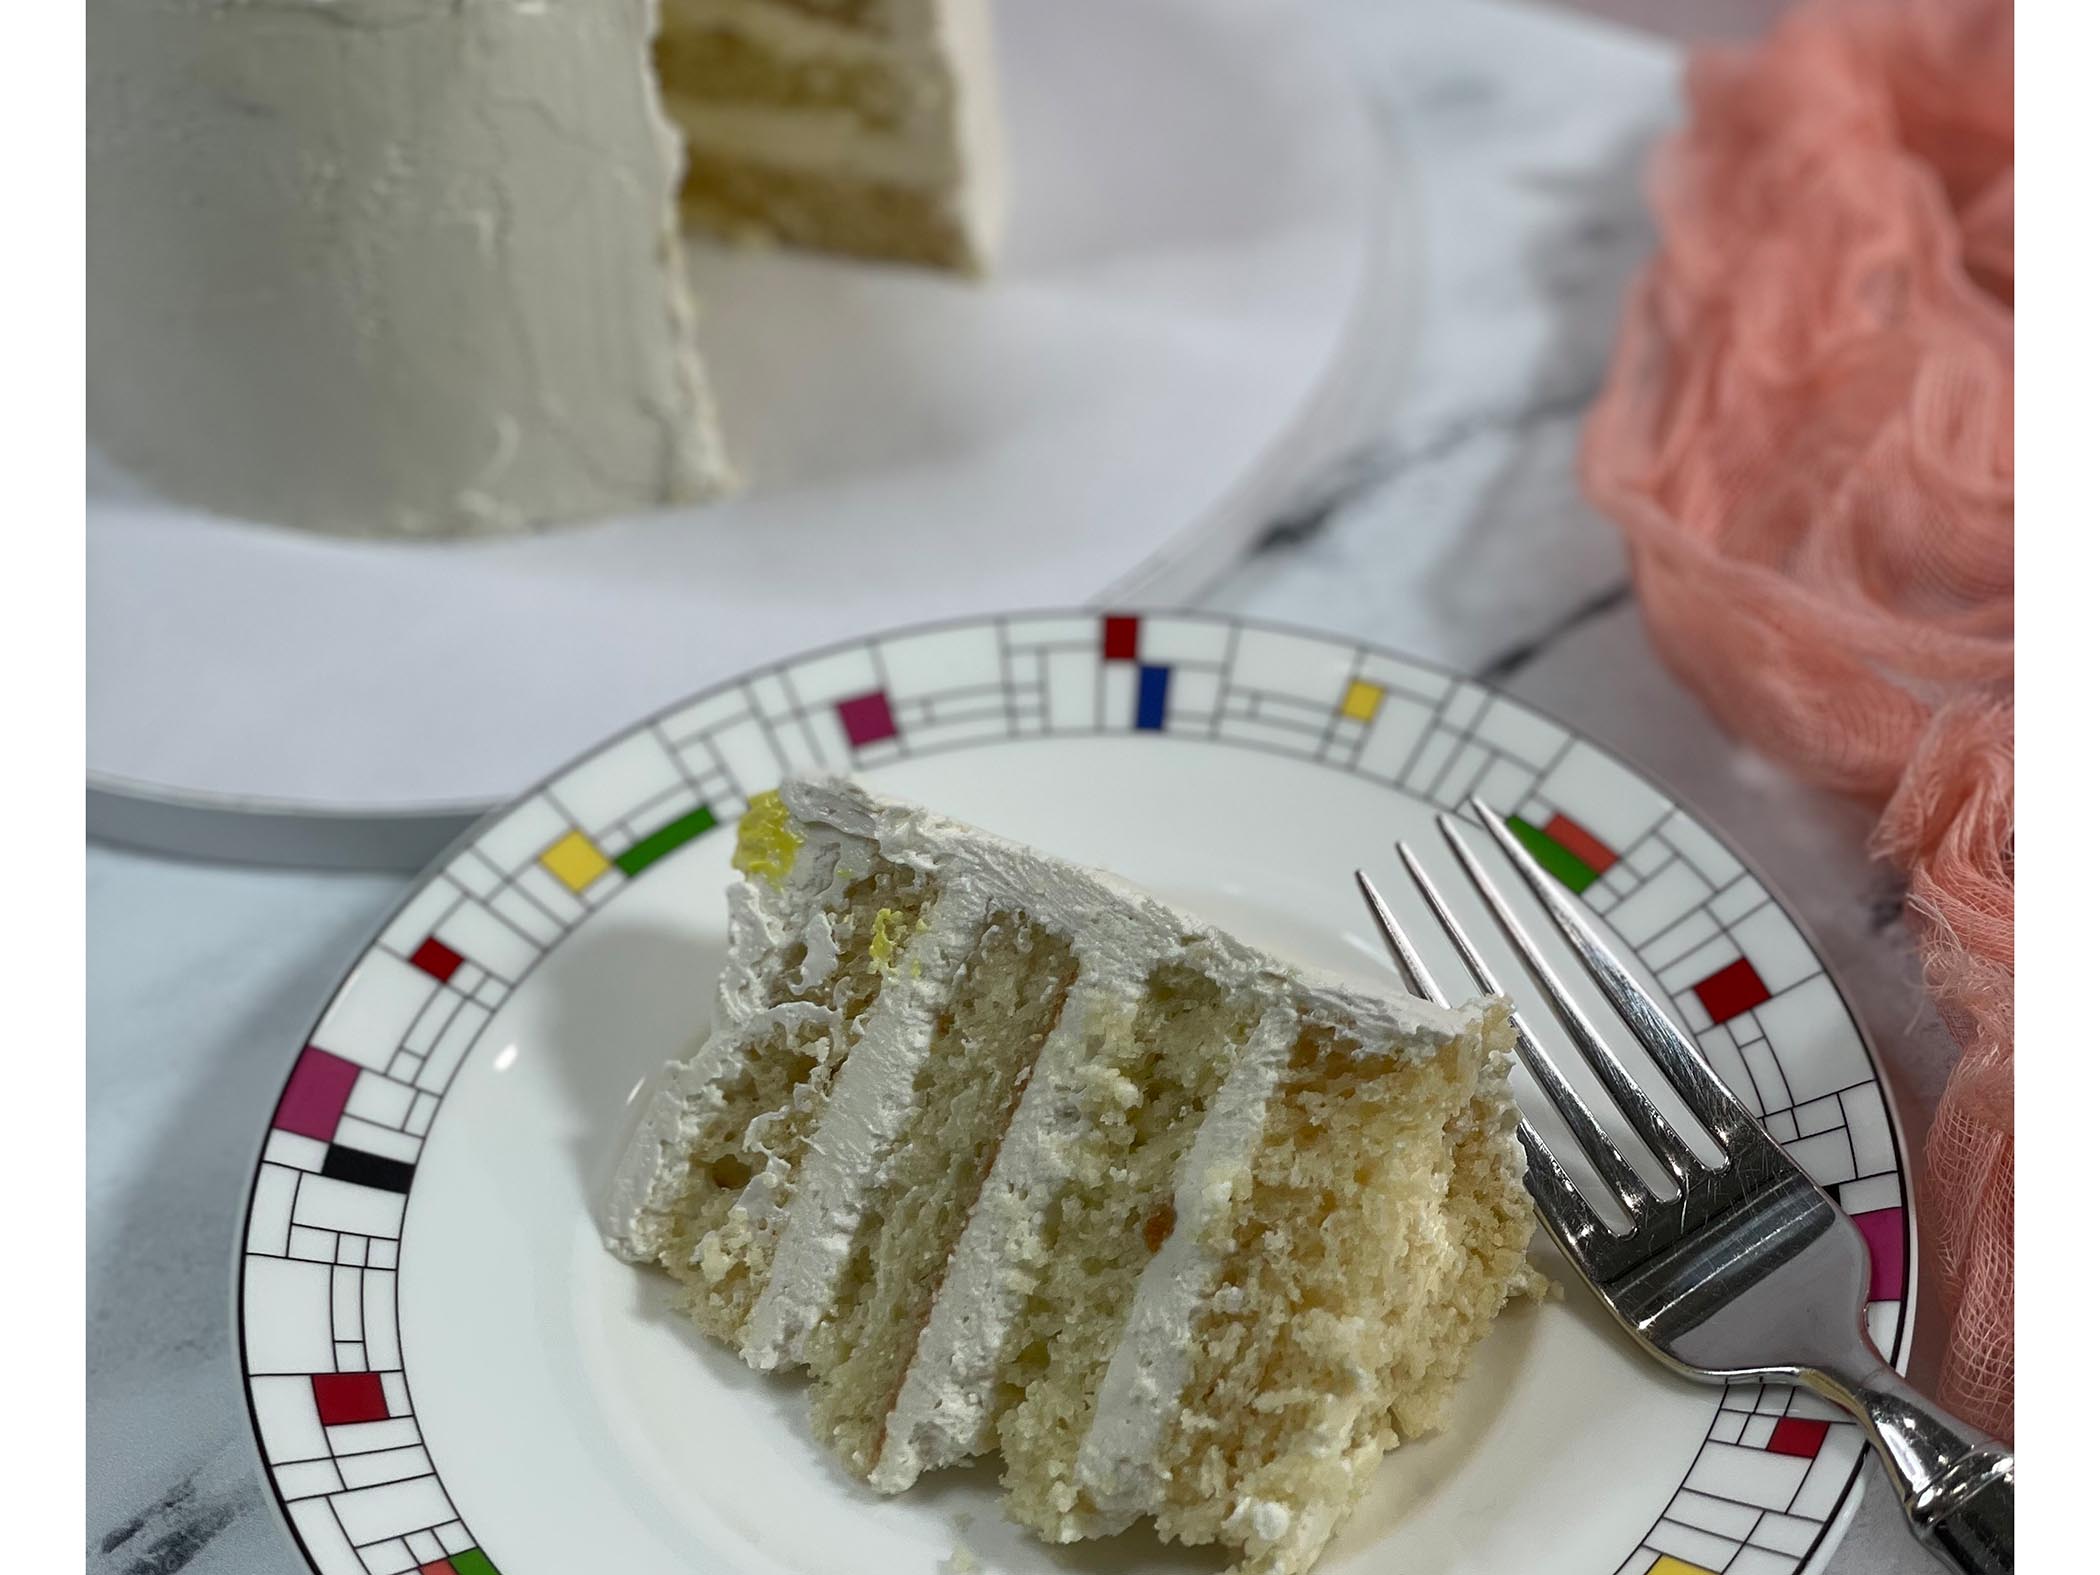
I’m starting with four layers of my classic vanilla cake. There’s a link to the recipe below. Dab a bit of buttercream frosting to the cake board to act as glue and begin to stack that cake. Today I’m using my magic swiss meringue buttercream. It’s so easy to make and tastes a little like ice cream. It’s amazing and you can find the recipe for it here.

classic vanilla cake recipe is the base for this case people request it all the time

Continue stacking cake layers with frosting in between. Because this cake will be fondant free, I’m using a little extra frosting in between the cake layers. The frosting will extend beyond the cake and help aid when we make our crumb coat. I push down slightly on each layer of cake to squeeze any air out between the cake and frosting.

fill cake layers with magic swiss meringue buttercream frosting

Let’s do that crumb coat. This base layer of frosting on the side of the cake gets its name from ‘catching’ the crumbs. Once chilled, it also functions by locking in the air from the cake. It doesn’t have to be very thick because there will be more coats on top. Make the top level by using a scraper to bring the frosting towards you. Then its off the fridge to firm up.

how to make a perfect crumb coat for underneath cake decorations or fondant

Before we decorate with our pastel colors, let’s add a second layer of frosting to this cake. This layer will serve by giving you a smooth surface around the cake and cover any cake that is showing. Add a good amount of frosting to the sides and then using a scraper, an offset spatula or whatever you have, smooth down the frosting into the cake. This gives a smooth cake surface for when you decorate or cover with fondant. You can then fill in any areas that need a little more frosting. Just keep repeating until you’re happy and then back to the fridge to chill.

add colored stripes of buttercream frosting around the cake with a piping bag before smoothing them out

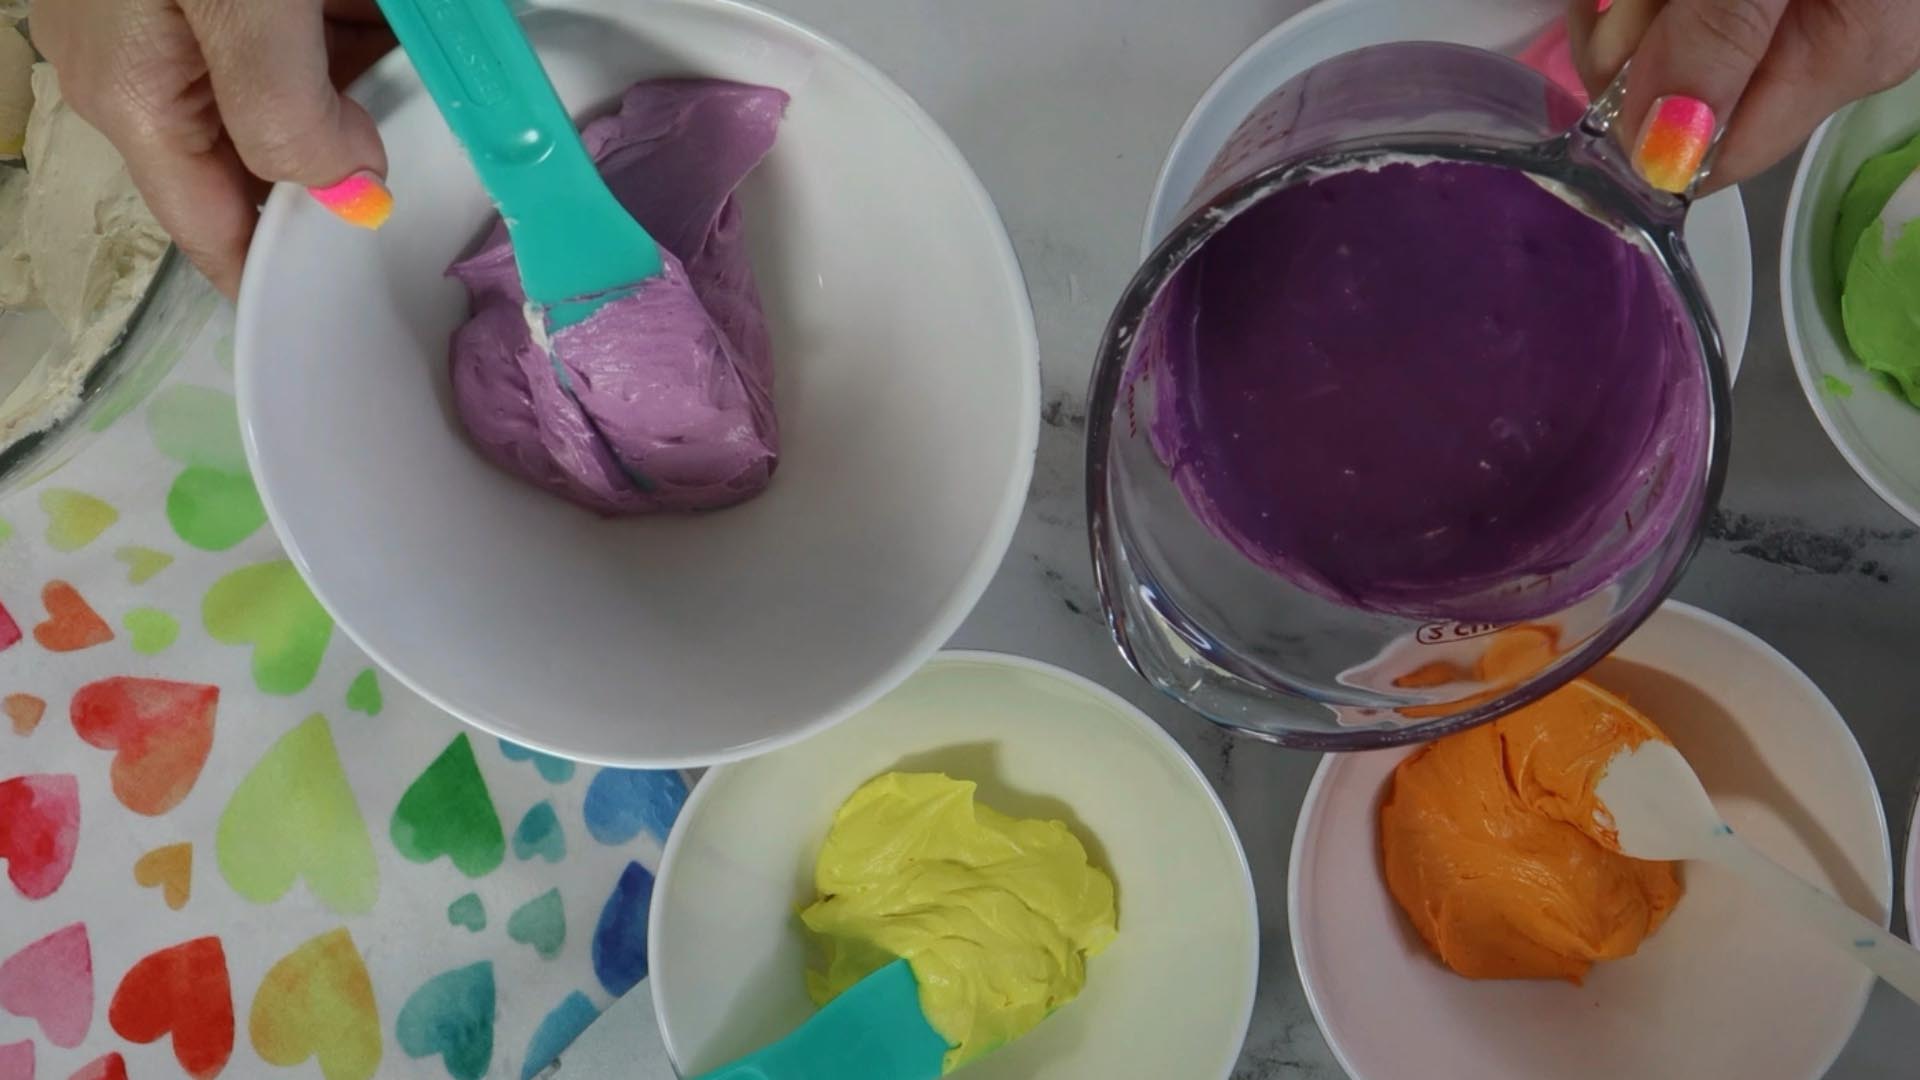
While it’s chilling, let’s color our frosting for decorating. This cake is for my girlfriend’s daughter and she requested four pastel colors for her birthday, so I’m dividing my buttercream into four bowls and adding a few drops of gel food coloring. I’m partial to Americolor brand (no they don’t pay me to say that) because there are so many shades to choose from. The birthday girl asked for shades of lavender, light blue, mint green and soft pink. I love what she chose because they are girly, fun and perfect for both spring and summer.

smooth down the colored stripes of buttercream frosting for an ombre watercolor effect

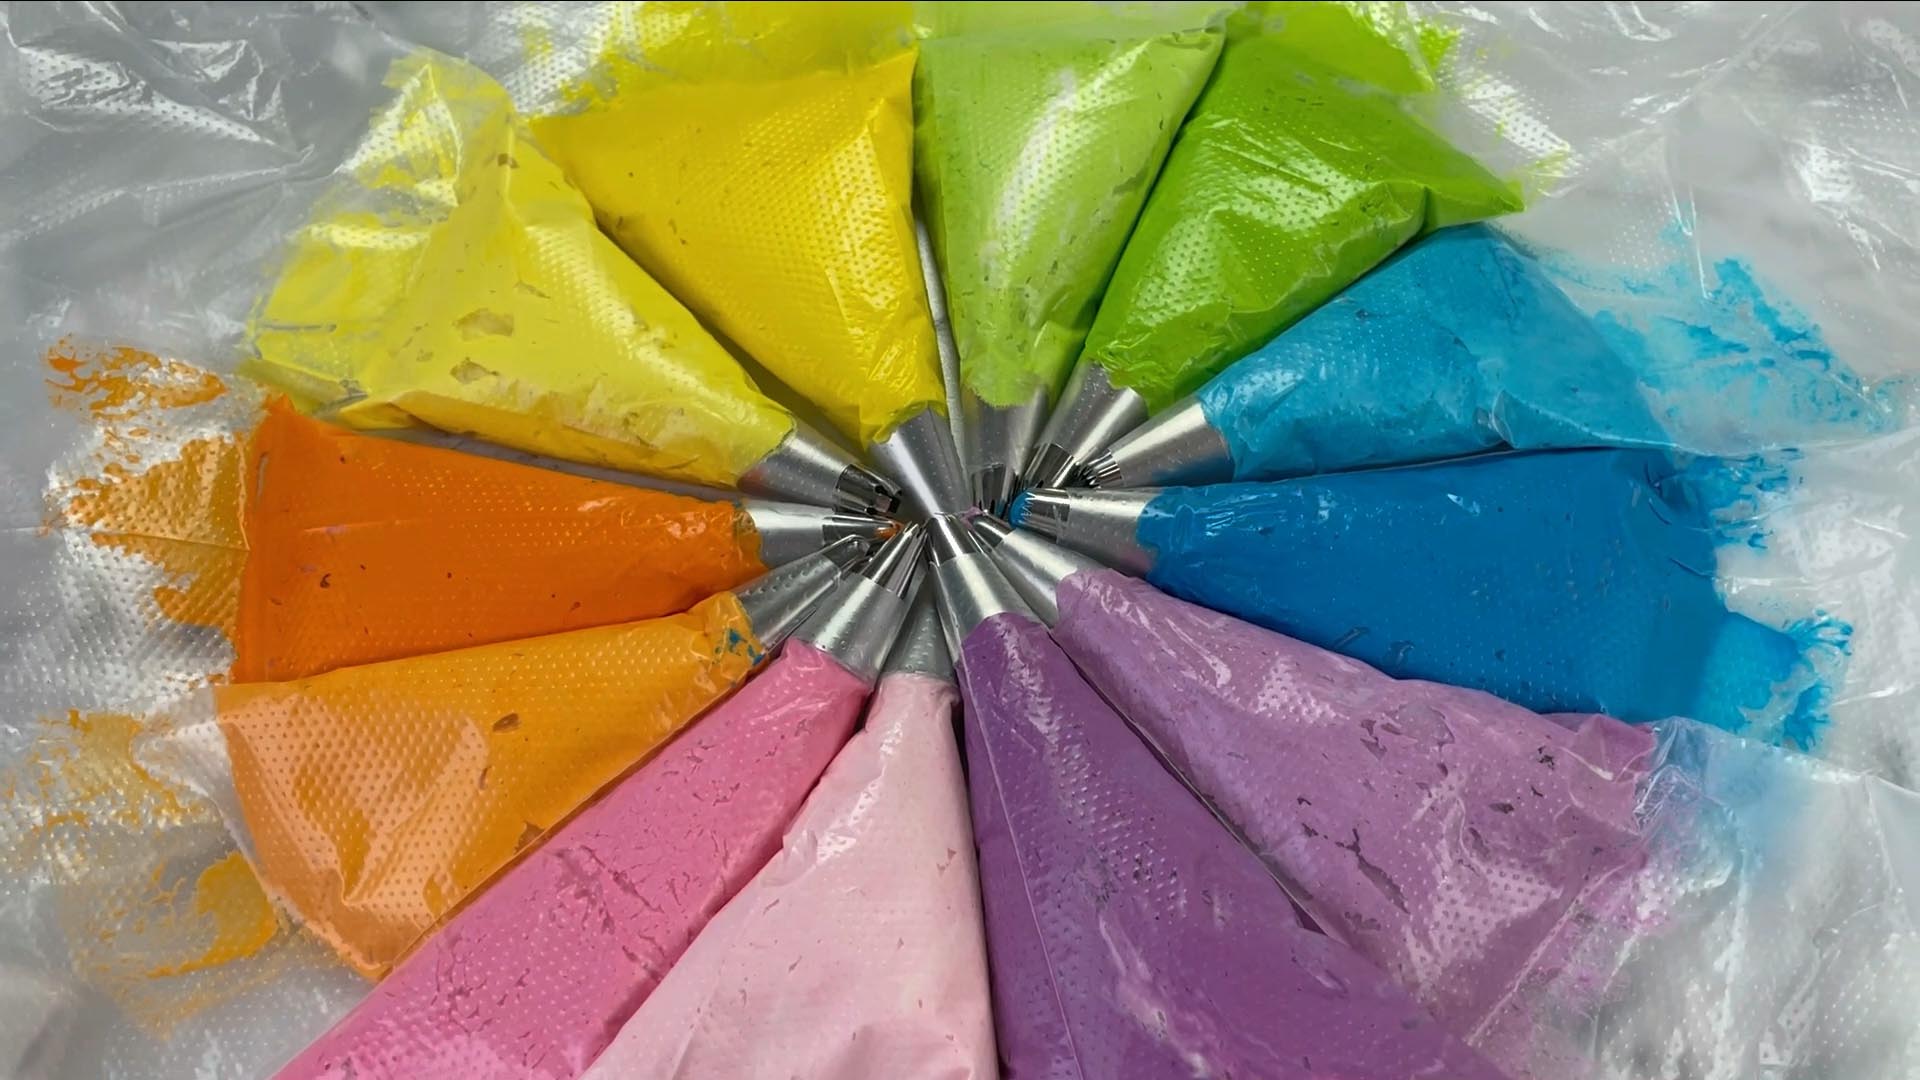
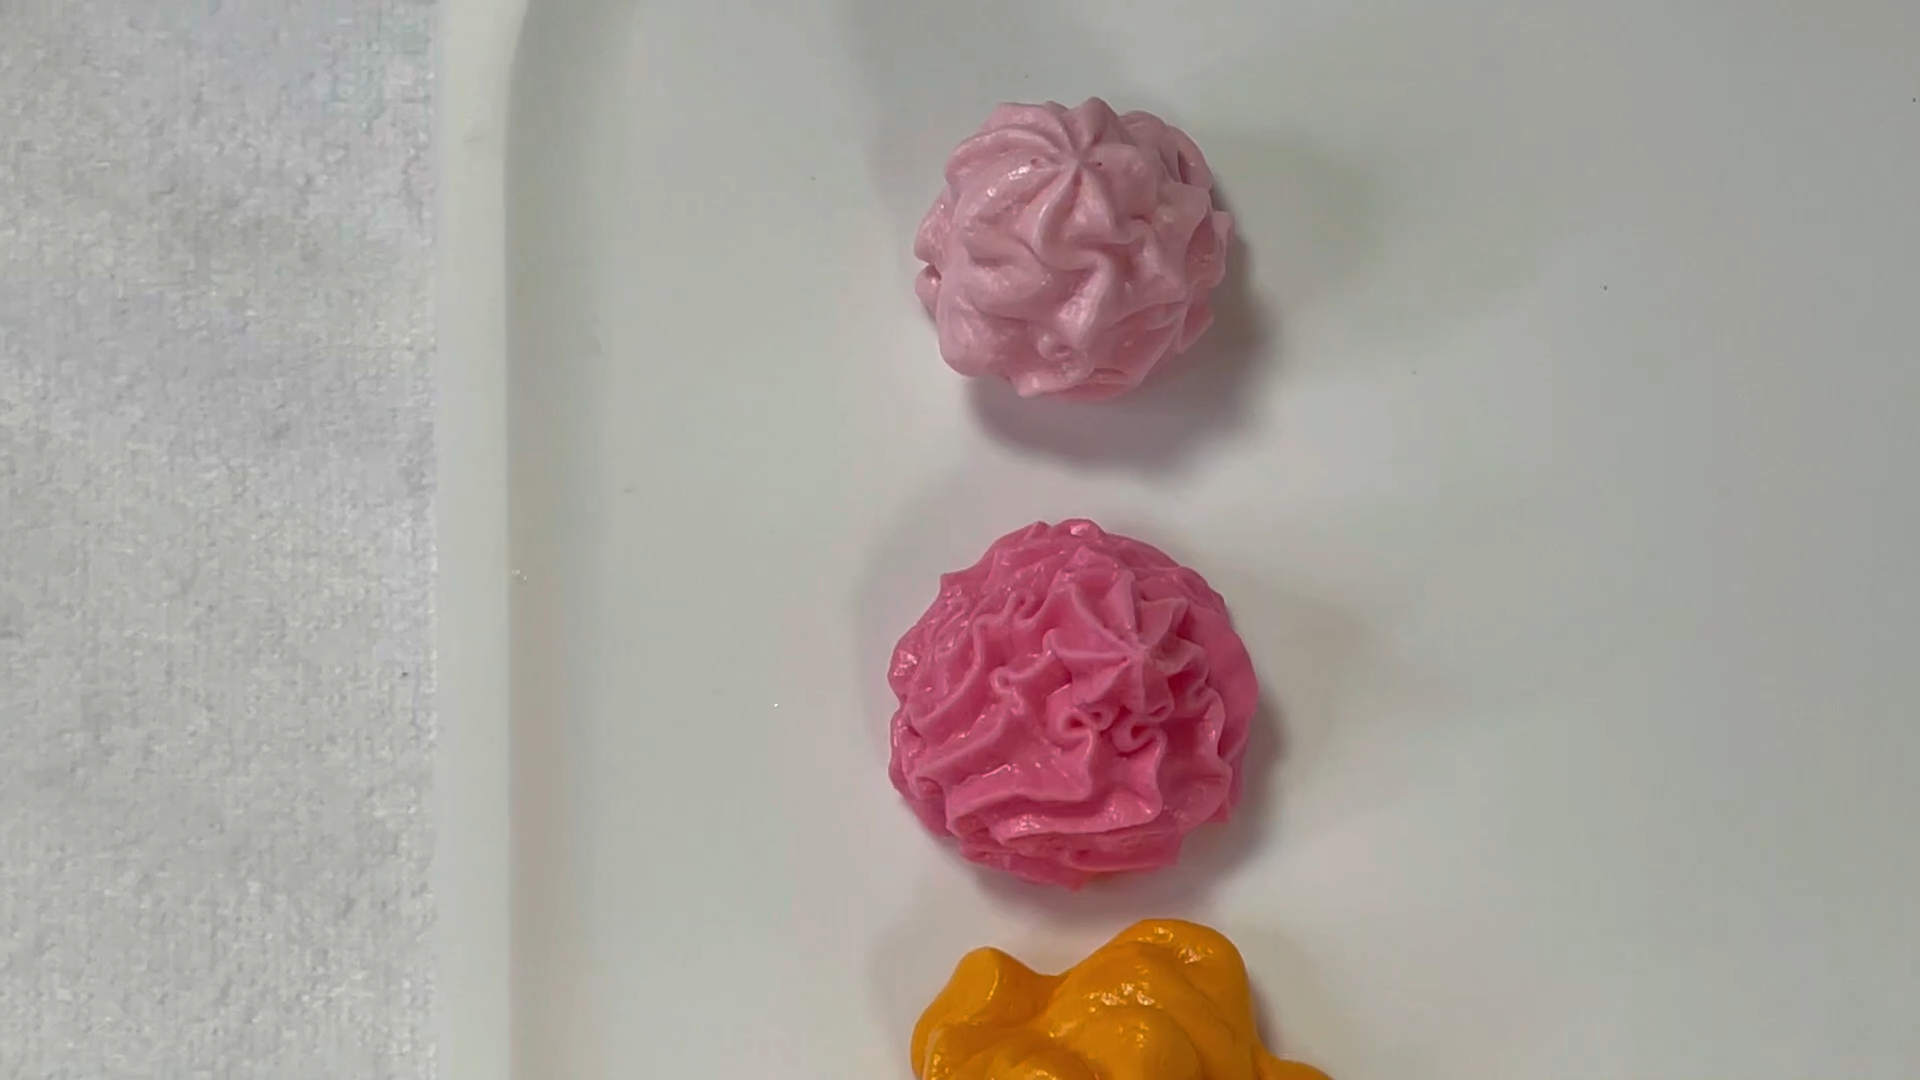
Transfer each color to it’s own piping bag and tie off. Now we’re ready to decorate the cake. I’m starting with pink. Cut the tip of the piping bag or use one with a wide tip, and pipe stripes around the base of the cake. For this cake the colors do not have to be perfect as they will be bleeding into one another. Add green, then purple and finally blue towards the top.

Make macarons in the same colors as the buttercream frosting and fill them with your extra frosting

Now using your scraper, push the icing into itself. The goal here is not to remove the frosting, but push it down onto the cake. See how the frosting is becoming smooth, that’s the look we want. Stop when you need to, to remove the excess frosting from your scraper. Like the second coat of frosting we did, add more to areas that need it with the corresponding color. I decided to add more blue to the top as well. You don’t need to do this since it will be covered by ganache.

add white chocolate ganache drips to the cake and then cover the top with ganache

For the top I decided to make macarons in the matching cake colors and use the rest of the frosting in between. The light blue, white, purple and brighter pink are going to make such a great statement. I even made her some heart shaped ones that She’s going to love! If macarons have troubled you in the past, check out my post on how easy it is to master making French Macarons.

enjoy this easy to make cake for girl birthday parties, baby showers and bridal showers

I’m adding white chocolate ganache drips. For this I like to use a squeeze bottle for better control. Simply make your ganache and pour it into the bottle, then apply to your cake. I love the way the drips look. The colder your cake, the more the drips will stop, but I want them going all the way down today. Then cover the top of your cake in white chocolate ganache for an even look. Add your macarons and you’re done.

Bryce loved having this pastel colored cake for her birthday. I hope you enjoy making it for your own celebration.

How to Decorate Fourth of July Cakesicles
The Princess Baker shows you how to make fourth of july cakesicles cake pops in red white and blue

Get into the spirit this Fourth of July with red, white and blue patriotic decorated cakesicles. Are you not on the cakesicle wagon yet? Forget cake pops, they’re so last season. These bites of cake heaven on an ice cream stick have caught the fancy of all. I love how versatile a canvas cakesicles are. They can be adapted to any theme and for any event, not to mention they are super cute, delicious, and charming. For me, cakesicles are a great way to use up the leftover cake and cake scraps. If you’re a beginner, making them is WAY more forgiving than cake pops. Here I’m showing you four different, easy ways to make cakesicles for your backyard BBQ, firework watching party, or any other way you celebrate America’s birthday.

To make our cakesicles I will be using a variety of silicone molds, candy melts in red white and blue of course, and a variety of sprinkles. Start by creating our cakesicle dough. I’m using a six inch cake of my classic vanilla cake recipe that I’ve cooled in the fridge and American buttercream frosting as my dough binder. Break the cake into crumbs and add frosting. Then mix until it combines into the dough mixture.

Make cakesicles using classic vanilla cake and buttercream frosting to make dough for pops

Let’s start with drizzled cakescicles. Begin by coating the mold with melted chocolate. Using a spoon place melted chocolate in the cavity and cover the bottom, then smooth it up the sides. This layer will be the front of the cakesicle so make sure there are no open spaces for the dough to play peek a boo. Give the mold a little shimmy to evenly disperse the chocolate and get rid of air bubbles. Then it’s off the refrigerator until the chocolate is firm.

begin to make fourth of july cakesicles by coating the bottom of the silicone popsicle mold with chocolate in red white and blue

Once firm, place dough into each cavity, packing it down with the spoon or your fingers. Make sure not to fill it over the edge or lip of the mold. This will ensure the chocolate backing will have an even edge and cover the dough properly. Next encase the dough with more chocolate. Use blue to cover blue, white for white and red for red. But you can always mix and match for some extra fun. Don’t forget to insert that popsicle stick. Refrigerate until the chocolate is hard, then you can remove the popsicles for decorating. If your cakesicle edge is less than neat, here’s a great tip on smoothing those out. Place a knife or even an offset spatula in a cup of hot water, pat dry and use to smooth down that rough edge.

drizzle chocolate over your fourth of july cakesicle with a piping bag in red white and blue

To drizzle I’m using a piping bag and I always test to make sure the chocolate flows properly. Then start drizzling. I’m making diagonal stripes, but you can make swirls, dots, however you want to add some pizzazz. I’m drizzling opposing colors, but let your creativity run wild, there’s no rules. When the drizzled chocolate is still wet it acts as glue. After drizzling spoon some sprinkles on top.

add sprinkles to your fourth of july cakesicle in red white and blue

Next, let’s make firework cakesicles. I’m using a mold with some pattern on it for these. The big difference is the chocolate bottom, or front. Instead of covering it evenly, we’re going to make a splatter of color, like a firework. If you have kids, they will have a blast, pun totally intended, making these. Think Jackson Pollack for cakesicles. I use one color to cover, white because it’s the lightest and will allow the other colors to pop. The blue and red are swirling with the white in a soupy mess and the result will actually be a beautiful blending, and no two of these will ever be alike. Don’t forget to completely cover the side as well. Then it’s off the fridge to chill.

make firework fourth of july cakesicles by splattering chocolate in red white and blue in the silicone pop mold

Fill with dough, but not above the lip and cover with more chocolate. Because my main color was white, I’m sticking with it, but feel free to mix it up. For extra added effect, you could swirl the back. Give a shimmy so it evenly spreads and back into the fridge to cool. Removing these are my favorite because you have no idea what they will look like and I love how different each one is. That’s what makes these fun.

splatter painted fourth of july cakesicles in red white and blue look like fireworks

Next let’s make sprinkle center cakesicles. This mold features an indentation in the center. That’s where our sprinkles are going to go. Begin like before, fill the cavity with melted chocolate, making sure to use the spoon to cover the sides, then off to the fridge to chill. Remove from the mold, when firm so you can see the indentation where the sprinkles will go. For the center, add a little chocolate glue and smooth it down. Now add sprinkles. Easy right?

Next up: the American flag.

Similar to the drizzles at the beginning, coat the mold with red chocolate including the sides and chill. Then add the dough mixture and cover with more red chocolate. Give a shake, insert stick and set aside to chill. To decorate you will need white and blue fondant, a rolling pin, water, a brush for the water, and a knife. Start by rolling the blue fondant for the flag. You want the fondant to be thin, about 1/8 of an inch. Roll a circle, trim it in half, and then cut that in half so you have one quarter of a circle. Use a brush to paint a layer of water to use as glue, then cover the upper left part of the red cakesicle. Fold the excess down and trim so it’s flush. Smooth the fondant over to so it’s straight and now you have your blue.

Create an american flag on the cakesicle by placing blue and white fondant on the red pop

Next roll the white fondant into a long piece for the stripes. Slice away the end so you start with a straight edge. Then cut your first stripe. Cut off the ends so you work with all straight pieces and use some more water to act as glue. Place the stripe flush with the blue to act as a guide and trim the ends. Then repeat to create more stripes.

make american flag red white and blue cakesicle for fourth of july by adding fondant stripes and star sprinkles

Time for the stars. I actually sifted through my sprinkles to find the white stars for this and it was totally worth it. Using a piping bag, dot blue chocolate on the flag part for where the sprinkles go. Then carefully add a star to each dot. By using blue chocoalte, it will camouflage any bits of chocolate peeking out from behind the star. Continue adding more chocolate across the blue and continue covering with stars, gently guiding each into place.

tutorial on how to make a variety of fourth of july cakesicles to celebrate the 4th with red white and blue chocoalte sprinkles and pop molds

How to Make Your Buttercream Frosting Colors Brighter Deeper and More Vibrant
The Princess Baker shows you how when you place american buttercream frosting in the microwave it makes your colors more bright vivid and deep

If you’re like me, you have wondered what in the world you have to do to get your buttercream frosting colors to be brighter. Sure you could dump what feels like a gallon of gel coloring on your frosting, but then you risk the taste being….not so great.

But fear not! The princess has put her science hat on with her crown and discovered the hack to make your frosting colors, bright, vivid and vibrant. It is crazy easy, involves one tool that you are SURE to have in your kitchen and takes only a few moments to witness the magic. Get ready for it: microwave the frosting.

putting your american buttercream frosting in the microwave will turn it into a soup mess but the emulsion of the butter will separate and absorb the gel food coloring

I know, I know, you are saying “won’t that turn my frosting into a soupy mess?” The answer is yes! And that’s the point! You know how they say baking is a science? Let me break down the science of how and why this works.

Butter is an emulsion. It sounds fancy and scientific, but simply stated, an emulsion is a mixture of two liquids that ordinarily resist one another. A classic example is oil and water, they just don’t mix. But what if they did?!

There are two types of emulsions: water-in-oil and oil-in-water. Butter is a special case emulsion, because it’s a water in oil emulsion.

The microwave method of deepening and making gel food coloring brighter, deeper and richer in your buttercream frosting works with every color including black and red

Most butters in America are 80% fat, about 15% water and the rest are salts, proteins, etc. A solid stick of butter is solid fat with tiny droplets of water suspended throughout. When butter melts, the water and fat separate from each other. Here’s how it works: The water in butter contain remnants of the cream from which it was made—proteins. These proteins act as emulsifiers, coating and separating tiny fat droplets as they disperse into the liquid when the butter melts.

You know how so many recipes call for room temperature butter? Even heating up to only room temperature, this is the scientific reason why. Cold ingredients do not emulsify together. There’s no way to get around it. This results in everything from clumpy frosting, chunky cheesecake, dense cake, greasy muffins and deflated breads. No bueno.

Place the melted buttercream frosting in the refrigerator to make it firm up give it a whip and you can begin to pipe

Once separated when the butter has melted, the resulting butter soup is more viscous, or let’s say clingy, than either melted butter or water alone. So that melted butter is now holding on for dear life to the gel food coloring and tada!: color absorption and vibrant colored buttercream.

using the microwave method for buttercream frosting the gel food coloring is absorbed and you get the true vivid hue of the frosting

Cold butter is like a shut door and there’s no access to the emulsifying fats. By bringing your butter to room temperature it’s like opening the door and hanging a welcome sign to come on over and enjoy those emulsifiers. So if that’s what happens with room temperature butter, then putting it in the microwave is like having a huge house party! All the ingredients, especially ever bit of liquid from the gel food coloring comes to have a drink and the buttercream color intensifies.

The microwave method can also be used for achieving ombre cake color frosting

So that’s one reason the color brightens. The other is the heat itself. When you make buttercream frosting, you lighten the mixture as you incorporate air when you whip the butter and sugar together. Most baking recipes begin with creaming butter and sugar together. Butter is capable of holding air and the creaming process is when butter traps that air. When you microwave it and add heat, the air comes out and darkens the mixture.

So never mind that you made buttercream soup! Pop it back into the fridge until it firms back up, give it a quick whip, and poof! Vibrant colored buttercream.

PRINCESS TIPS AND TRICKS FOR BRIGHTER BUTTERCREAM FROSTING
* Use a high fat butter for your frosting.
* Only add gel food coloring. Gel food colorings are more concentrated and water based colorings won’t mix as well.
* Test your microwave. Different microwaves have different wattages. Start with a few seconds. Figure out the happy sweet spot.
* Make sure the frosting firms up completely. If buttercream appears too soft, put back in the refrigerator.
* Remix! You want everything reincorporated.

The Princess Perfect Classic Vanilla Cake Recipe

Confession: This princess started making cake with box mix. I know, I know. We all turn our noses down on box mix, and usually our forks too. The reason was I hadn’t found a recipe that could compete with it, meaning it was easy, with few ingredients I always had on hand, came our correctly with little effort, and of course, tasted amazing.

Then I found this recipe.

the perfect classic vanilla cake recipe is ideal for all party celebrations and themes it tastes great and presents beautiful layers

After testing multiple recipes I found on in the internet, my Pinterest feed, even ones from friends, this classic vanilla cake recipe became the winner and I’m so excited to share it with you.

It’s hard to go wrong with a classic vanilla cake recipe because it’s good for every celebration. Whether a birthday party, wedding, graduation, baby shower, vanilla cake works in every situation. To me the best vanilla cake has a buttery taste, a perfectly even crumb that holds on its own and melts in your mouth with each bite.

classic vanilla cake recipe is a crowd pleaser as vanilla is the most popular cake flavor

This vanilla cake recipe is full of flavor and has a tender, moist crumb. This recipe gives you a cake that’s light, fluffy and is so easy to make you will finally forget that box mix.

The Right Ingredients

Like all recipes, you are going to want to use the right ingredients for this mouth watering cake. I’ve tested this cake with both cake flour and all-purpose flour. While both work great, I prefer to use a 50/50 combination of both. If you are worried that you will overmix your cake, use more cake flour as it’s more forgiving because it contains less protein.

use this classic vanilla cake recipe to create tiered cakes for engagement parties bridal showers and weddings

I use both butter and oil in this recipe, however instead of creaming the butter and sugar, I cream the butter with the dry ingredients. The oil keeps it from drying out.

Why Kosher Salt?

When in doubt, use kosher salt! Kosher salt is generally considered purer in flavor than table salt because it doesn’t contain iodine or other metallic additives. Because kosher salt has an uneven texture, it makes it easier to visually see and measure how much salt has been added to a dish.

this classic vanilla cake will have you wanting to take another bite

Store and Freeze This Cake

If you want to bake the cake in advance, bake and cool it as directed. Then, turn the cooled cake out and wrap it well in a double layer of plastic wrap, and freeze for up to two weeks. Defrost the frosting on the counter at room temperature and beat vigorously with a mixer to fluff it up again.

Also Makes Cupcakes!

Do I use this recipe for cupcakes? Absolutely! When you have a recipe this good you use it for cupcakes too. You should be able to make 24-36 with this recipe depending upon the size of your muffin tins. Start checking to see if they are ready after 15 minutes of baking. When a toothpick inserted in the center comes out clean they’re done baking.

kids love this recipe too and it makes great birthday cakes for their parties

What Size Bake Pans

Sure, you can make this in a 9×13-inch pan or two 9-inch rounds. But the recipe works great for a cupcakes or even a Bundt cake. For cupcakes, bake for 15 to 18 minutes. For a Bundt cake, bake for 45 to 55 minutes. You should be able to get 24 cupcakes from this recipe.

Helpful Princess Tips

1. Make sure your baking soda and powder are fresh. Over time they lose their leaving it power. Baking soda helps give the cake a little rise, neutralize the acids, and make the cake tender.
2. Spoon the flour into the cup and level it off with the back of a knife—don’t pack it in. Alternatively, measure the flour using a kitchen scale for the most accurate measurement.
3. To make your cake even more moist, sub the milk with buttermilk.
4. Be sure to use a light touch and not overmix the batter. It could cause your cake to come out dense of gluey.
5. You can substitute Kosher salt for regular salt.

Homemade Vanilla Cake
PREP TIME 15 mins
COOK TIME 30 mins
TOTAL TIME 45 mins
SERVINGS 12 servings

Ingredients
2 1/4 cups (288g) cake flour, or all-purpose
1 1/2 cups (300g) sugar
2 teaspoons baking powder
1/2 teaspoon baking soda
1/4 teaspoon kosher salt
1/4 cup (57g) unsalted butter, softened
1 cup whole milk
1/4 cup oil, such as canola vegetable
3 large eggs
1 1/2 tablespoons (4 1/2 teaspoons) vanilla extract

Directions:
Preheat the oven and prepare the pan:
Preheat the oven to 350°F. Butter or spray a your pan and line the bottom with parchment paper. If you plan to turn the cake out instead of serving it from the pan, lining it with parchment will ensure the cake releases from the pan easily.

Combine the dry ingredients:
In a large mixing bowl. whisk together the flour, sugar, baking powder, baking soda, and kosher salt.

Cream the butter with the dry ingredients:
Mix the softened butter into the dry mixture with a hand mixer on low speed until the butter is completely combined and the mixture has a sandy texture.
Combine the wet ingredients:
In a medium-sized bowl, whisk together the milk, oil, eggs, and vanilla until the ingredients are thoroughly combined and homogeneous.

Add the wet into the dry ingredients:
Pour the wet ingredients into the flour and butter mixture and beat with the hand mixer until just a few streaks of flour remain. Finish mixing the batter with a silicone spatula.
Pour the batter into the prepared pan.
Bake and cool:
Bake the cake for 25 to 30 minutes until the top of the cake springs back to the touch and a toothpick inserted into the center comes out clean.

Remove from the oven and cool completely on a rack before turning out and/or frosting and decorating.

What Size Cake Pan to Use?

This cake is baked in a 9×13-inch rectangular cake pan, which is a great size for potlucks and parties. It can also be baked as two 9-inch rounds for a layered cake. The round layers can potentially bake more quickly. So be sure to check them after about 22 minutes in the oven.