How to Make Classic American Buttercream Frosting

  • Home /
  • How to Make Classic American Buttercream Frosting
How to Make Classic American Buttercream Frosting

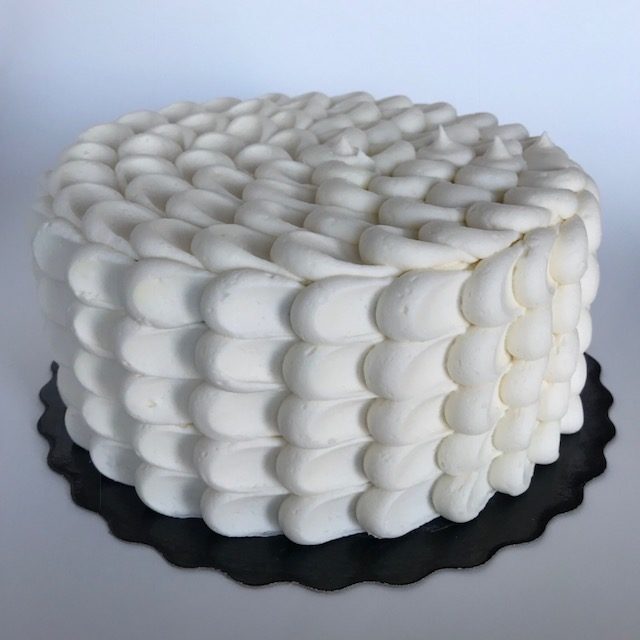
If you were like me, you grew up wanting the corner piece of the birthday cake cause it was covered in the most frosting. I love frosting! To me it’s the best part of most desserts. Classic American buttercream is a sweet frosting and is what most people think of when they hear the word ‘frosting.’ It is sweet, creamy, stable in warm temperatures and develops a slight crust on the outside. It main characteristics are how light, fluffy, and sweet it is.

Bonus! It also is seriously the easiest recipe to make. It’s pretty much foolproof, even for beginners. 10 minutes. One bowl. Boom!

This pink bridal shower cake

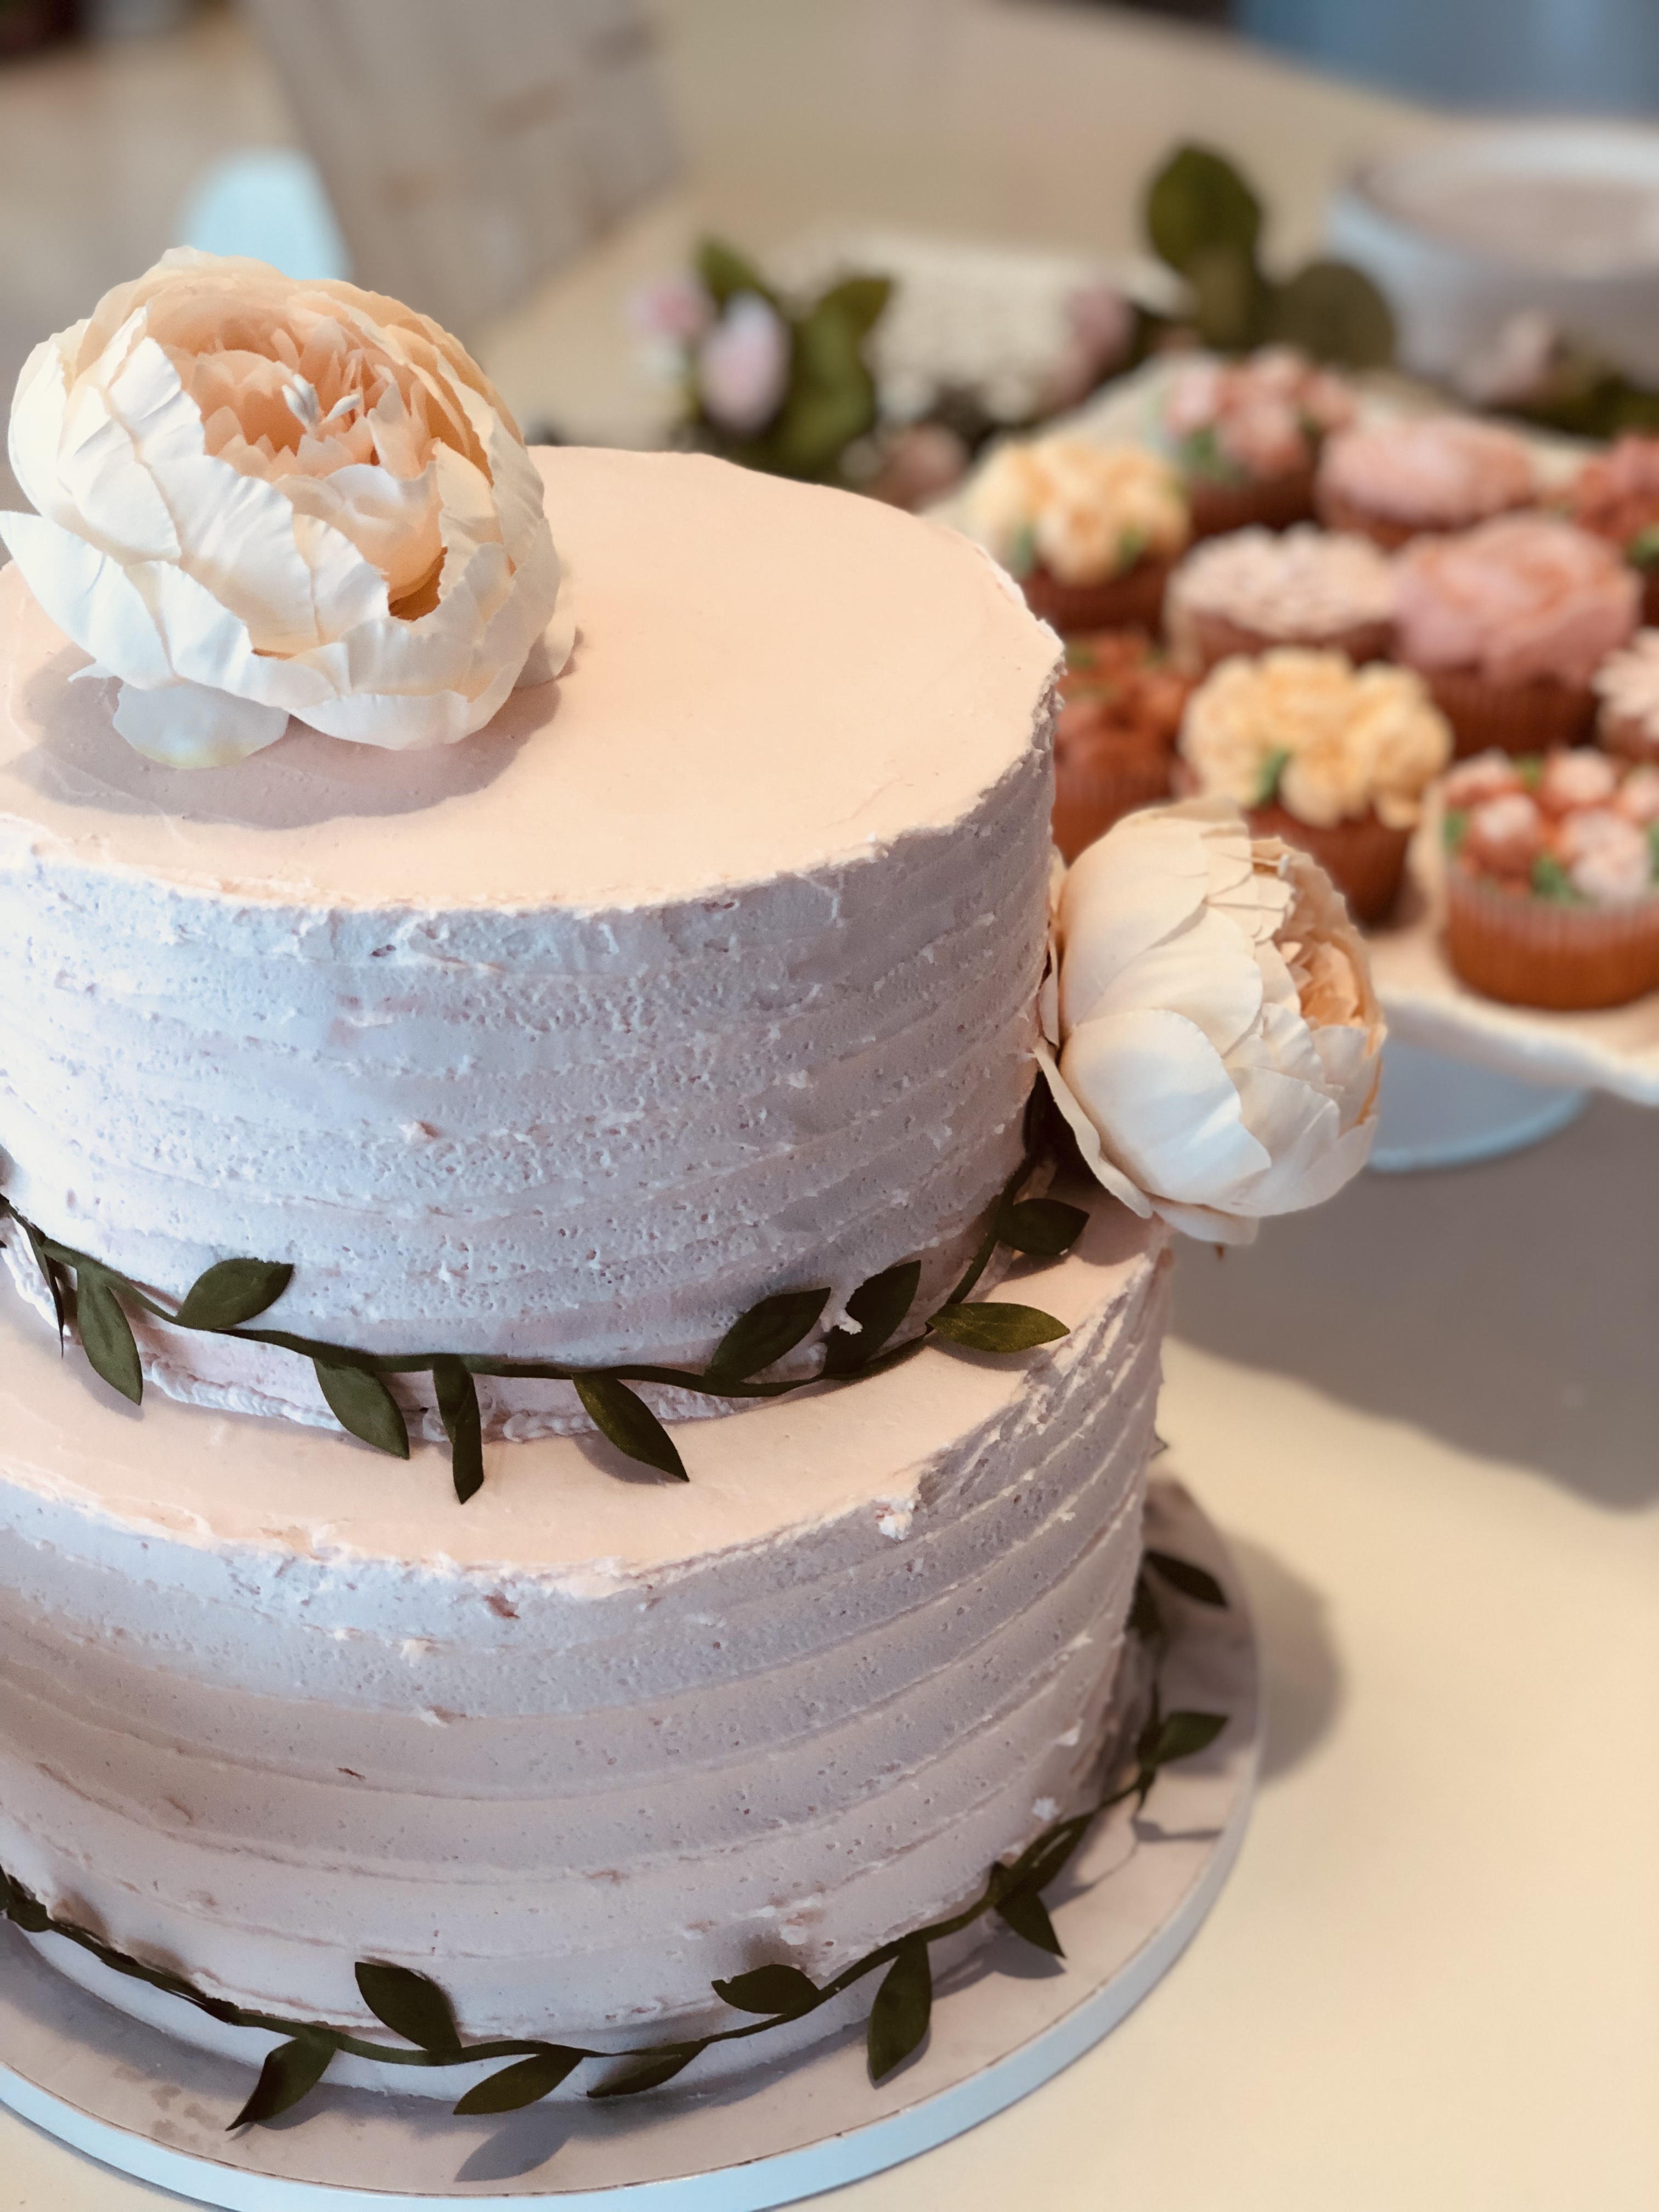
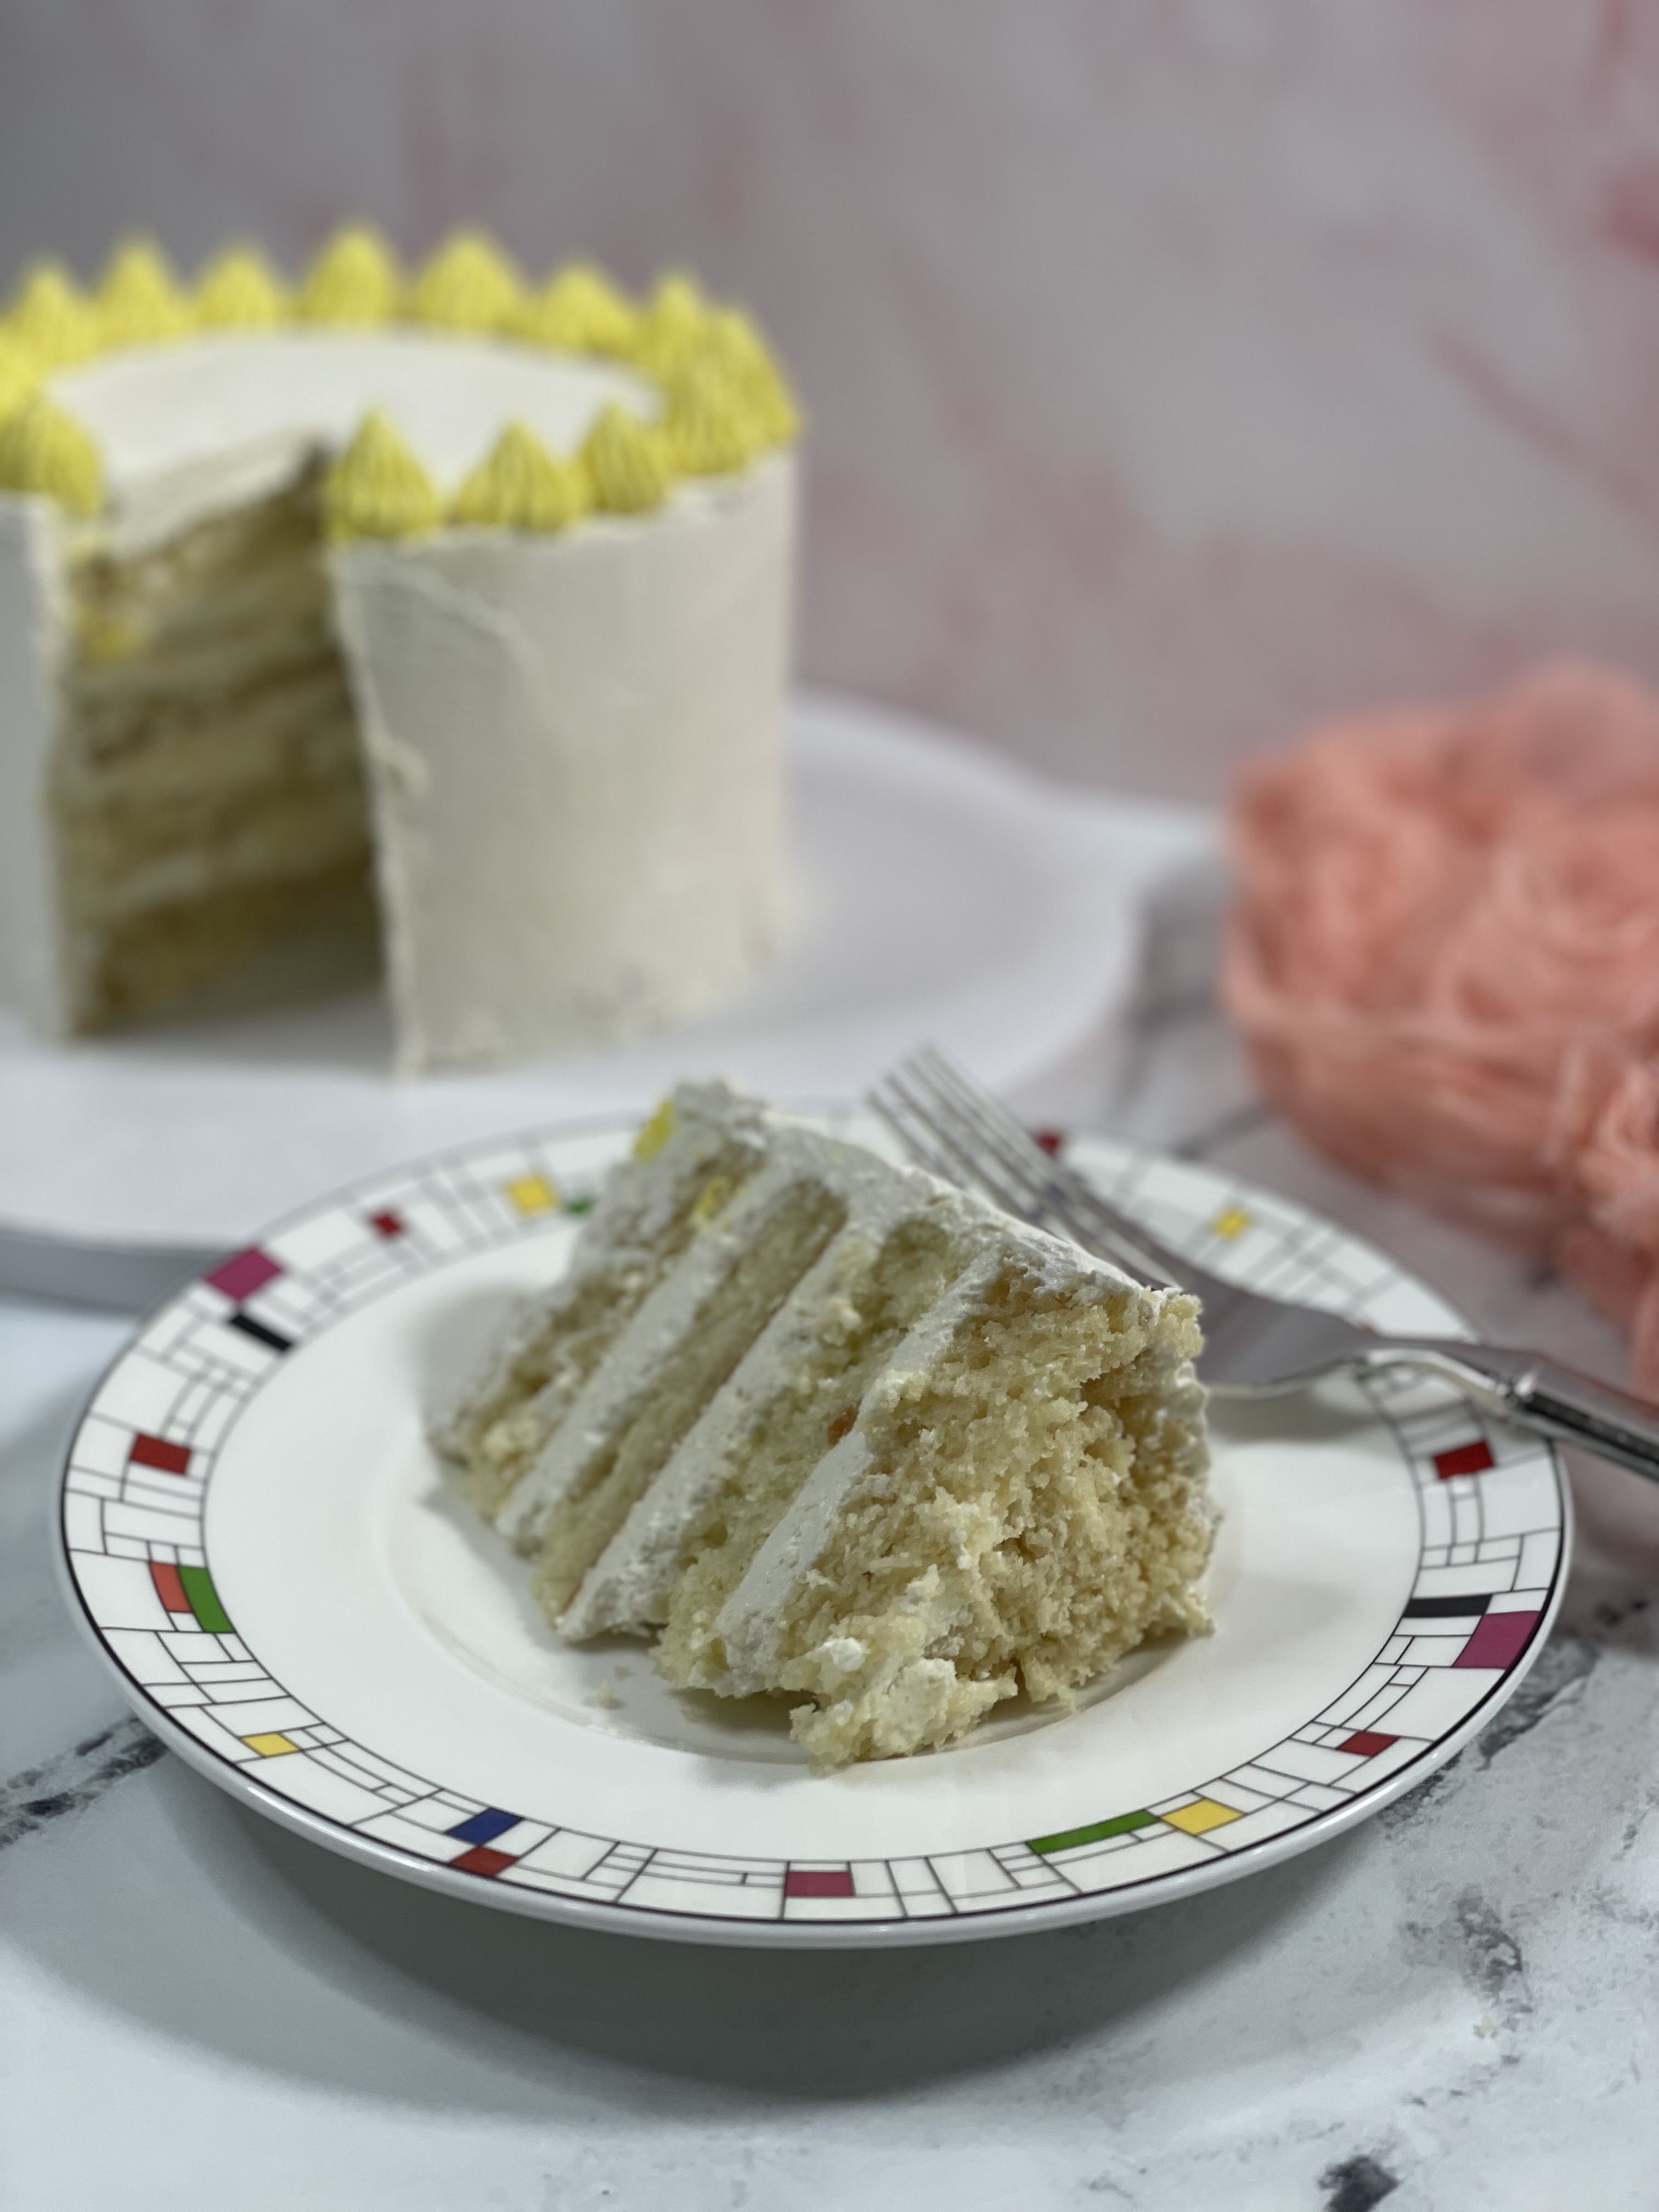
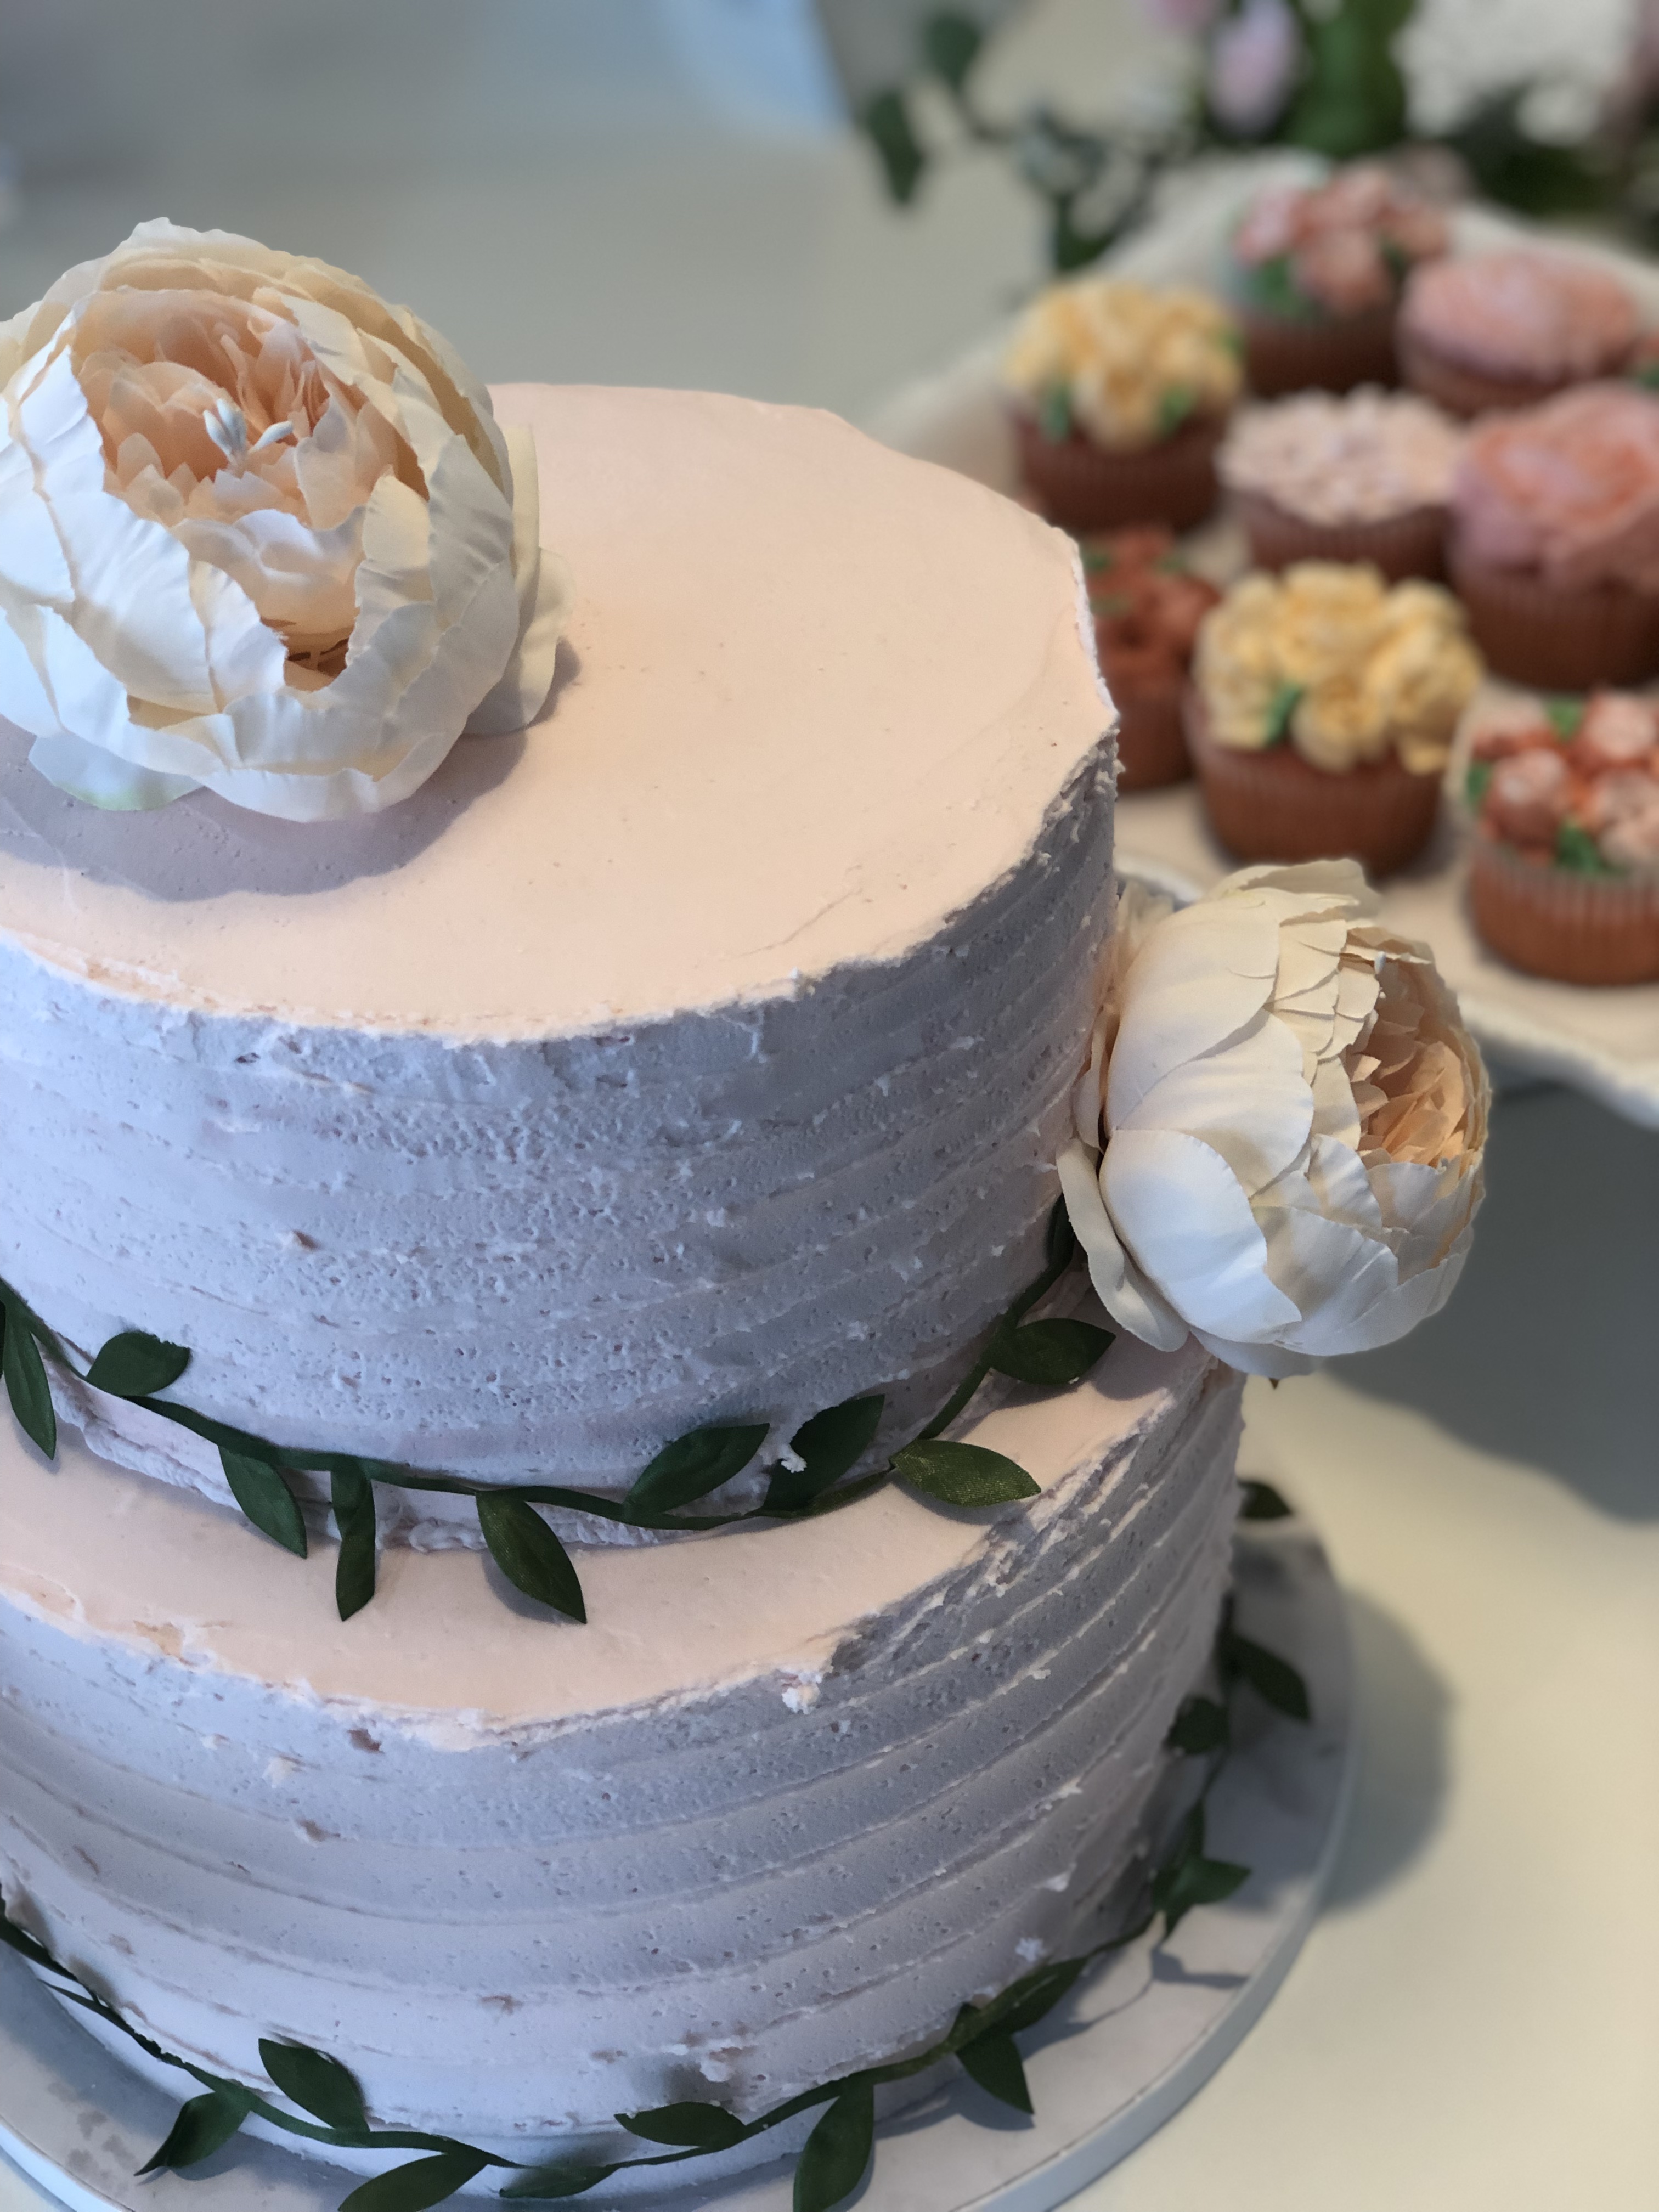
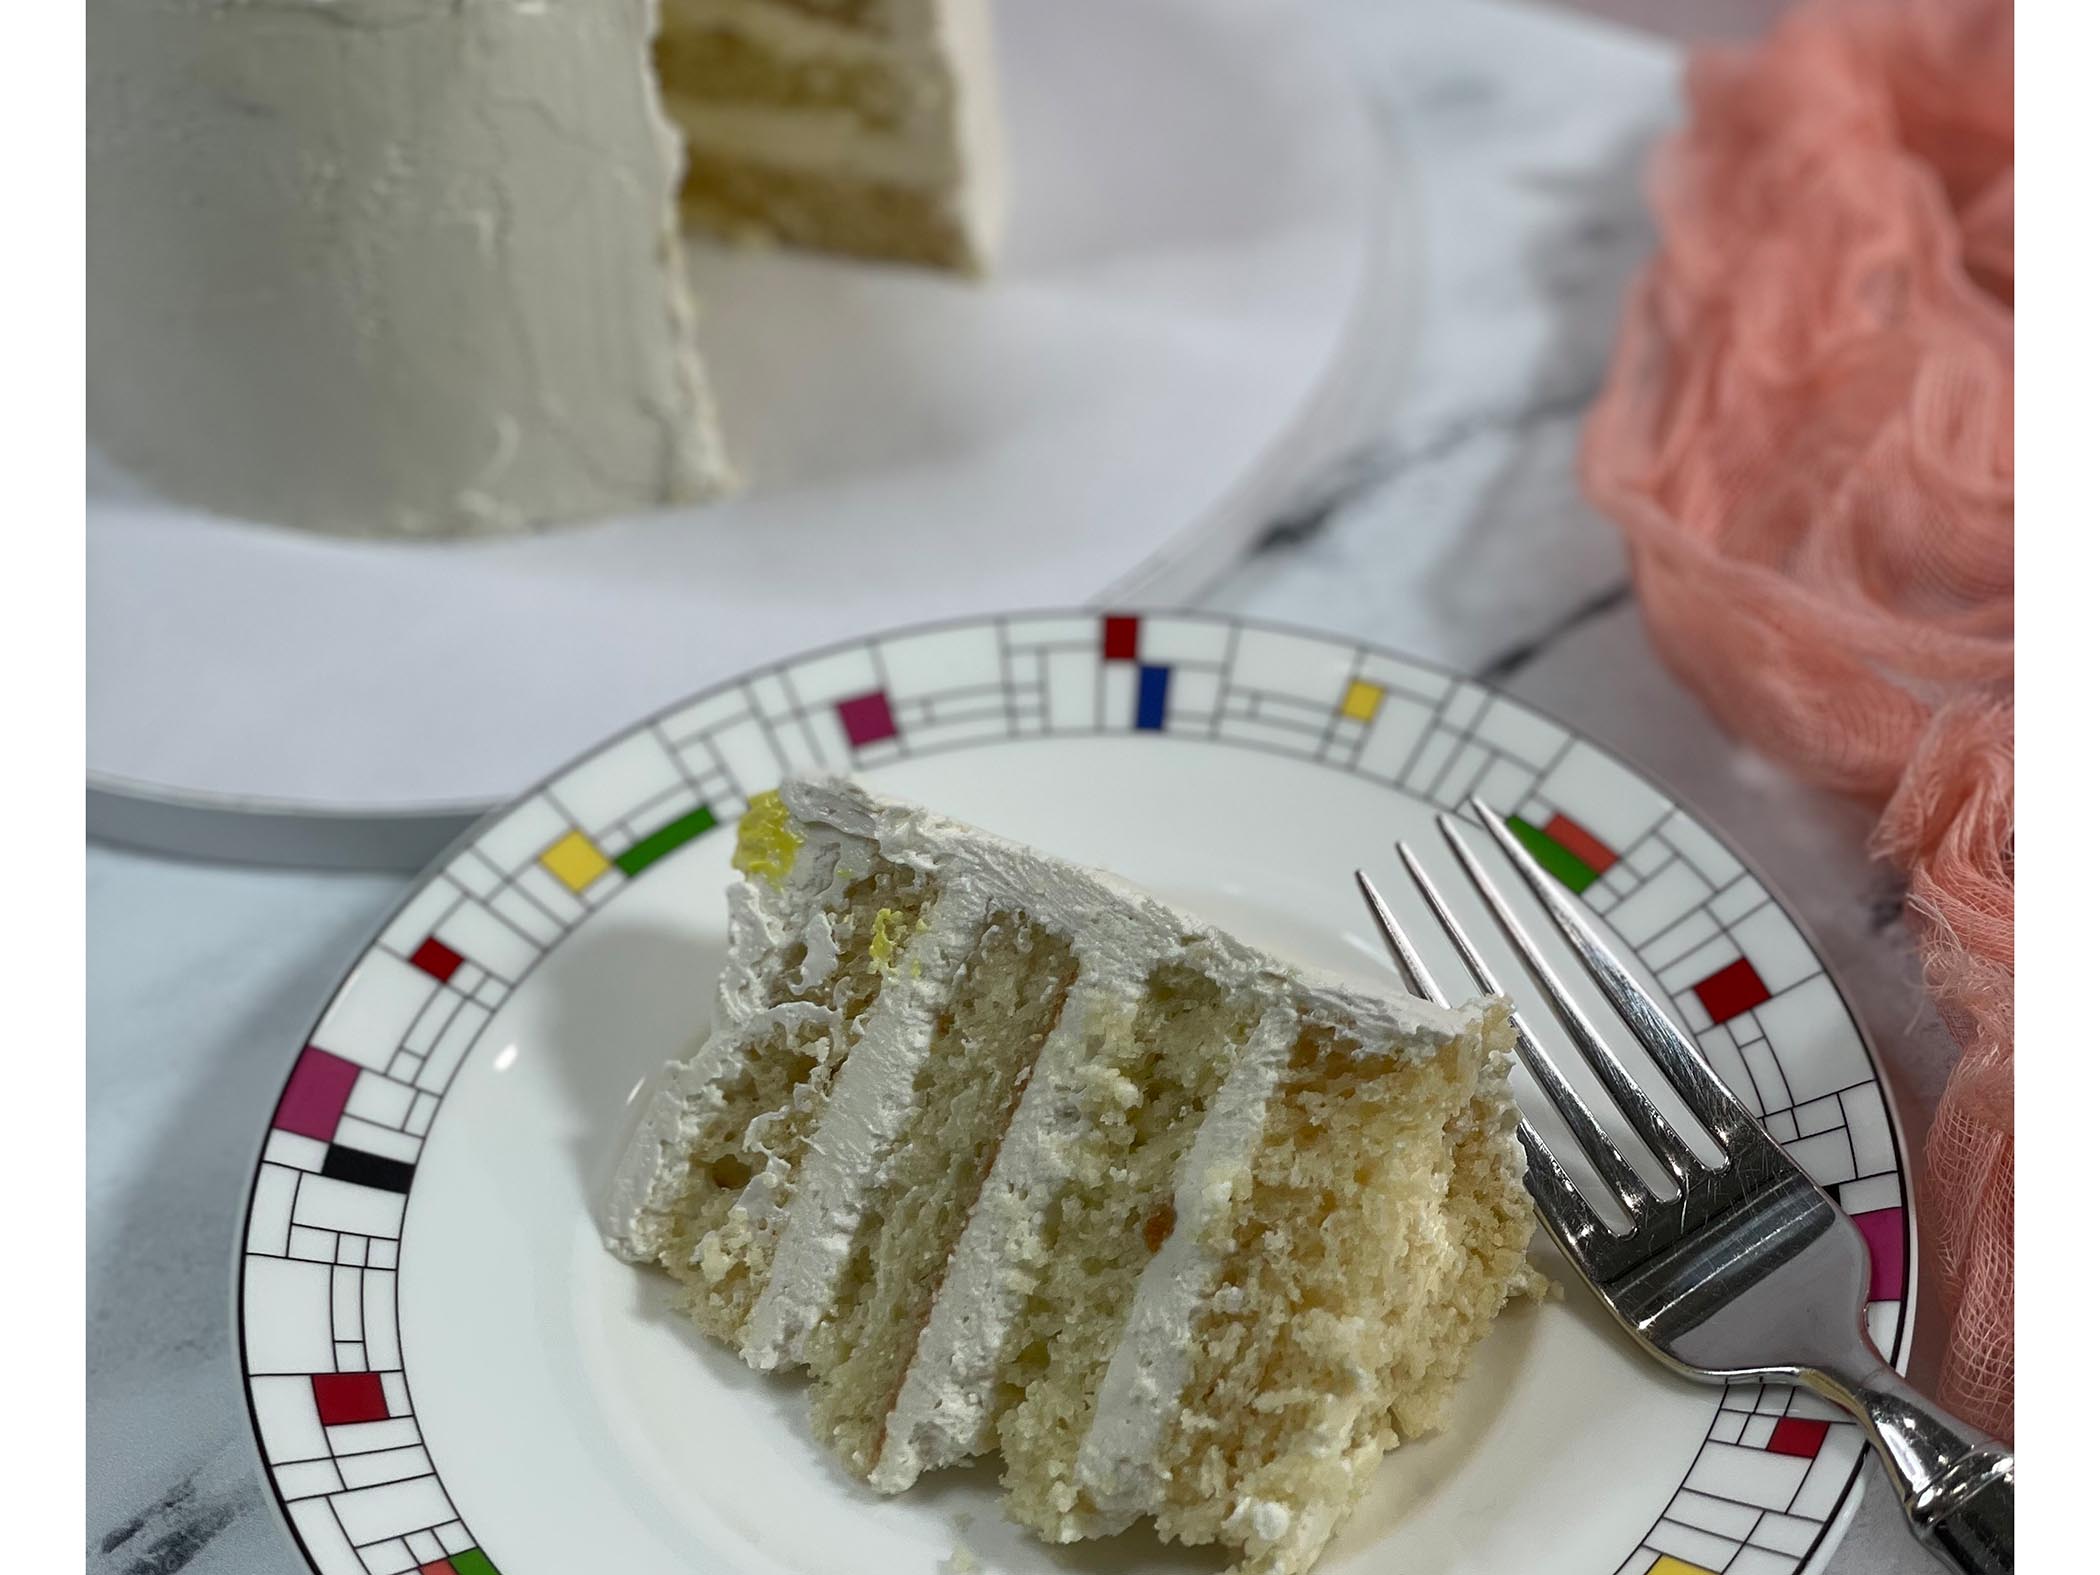
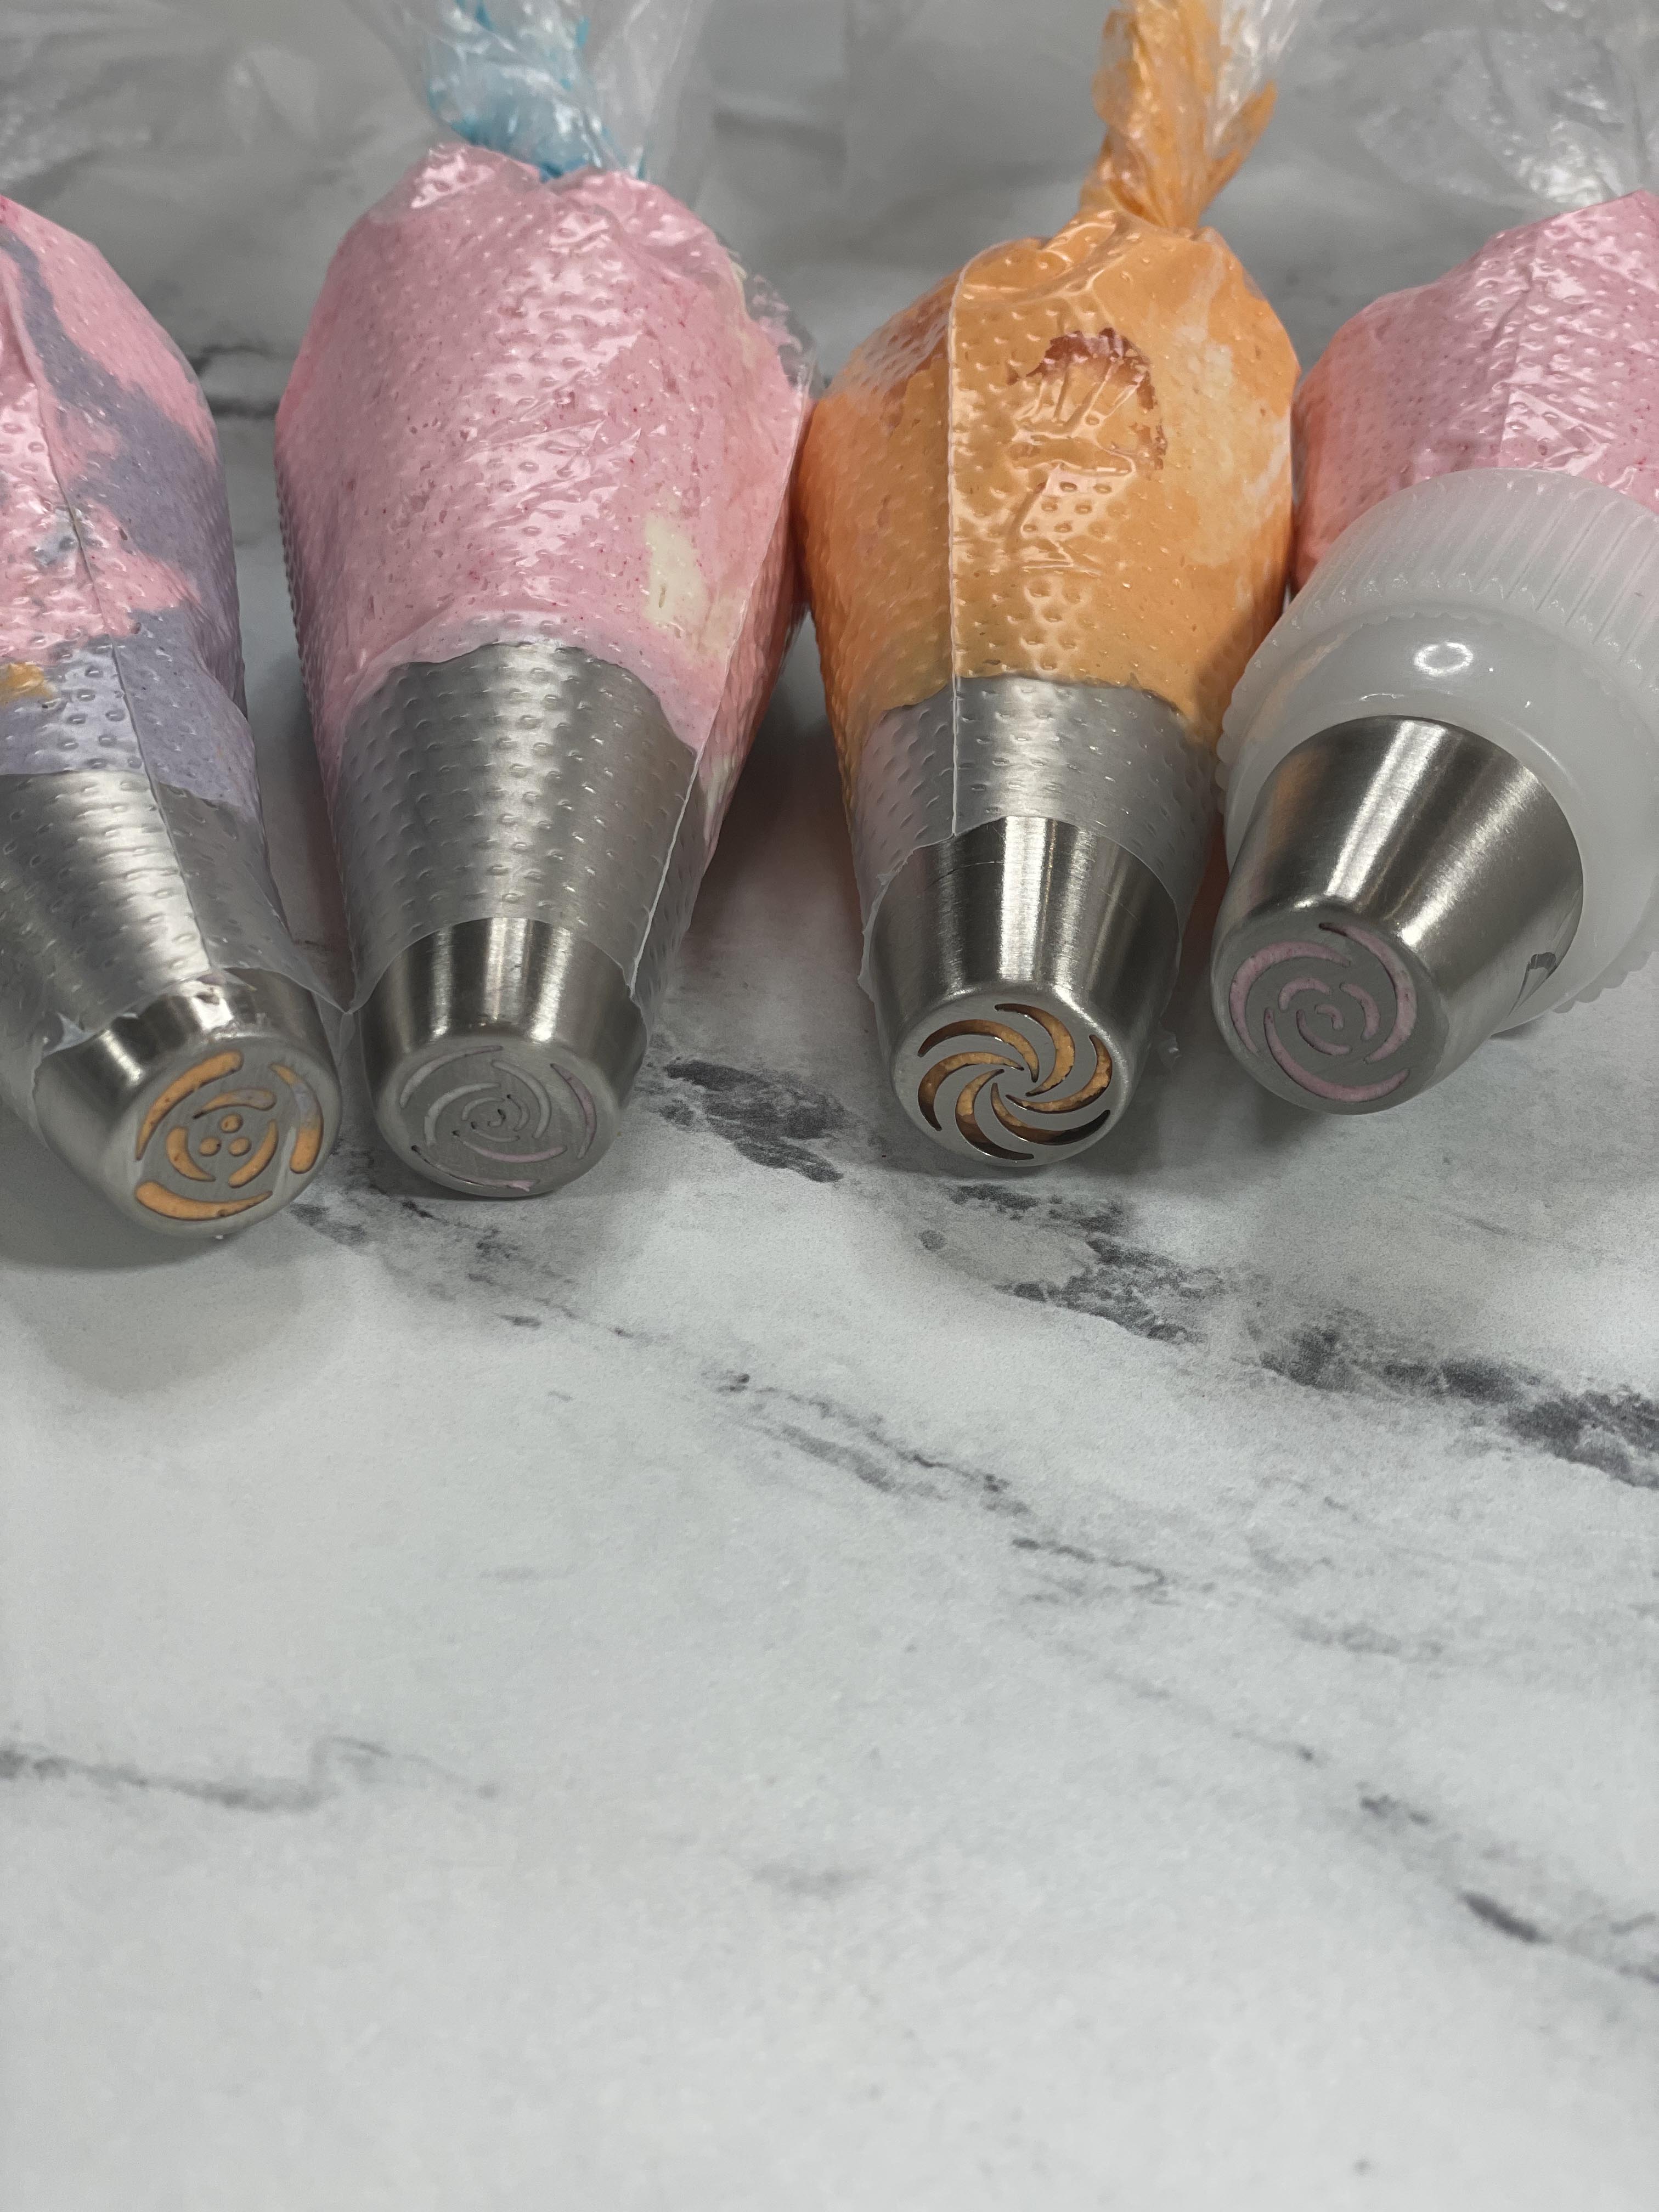
American buttercream is great for cakes (try my classic vanilla cake!), cupcakes, using it to make cake pop dough, piping flowers, and even in between macaron shells. This classic frosting can be flavored an unlimited number of ways. If you’re ever in a pinch, you can whip up a batch of this easy buttercream frosting in mere minutes.

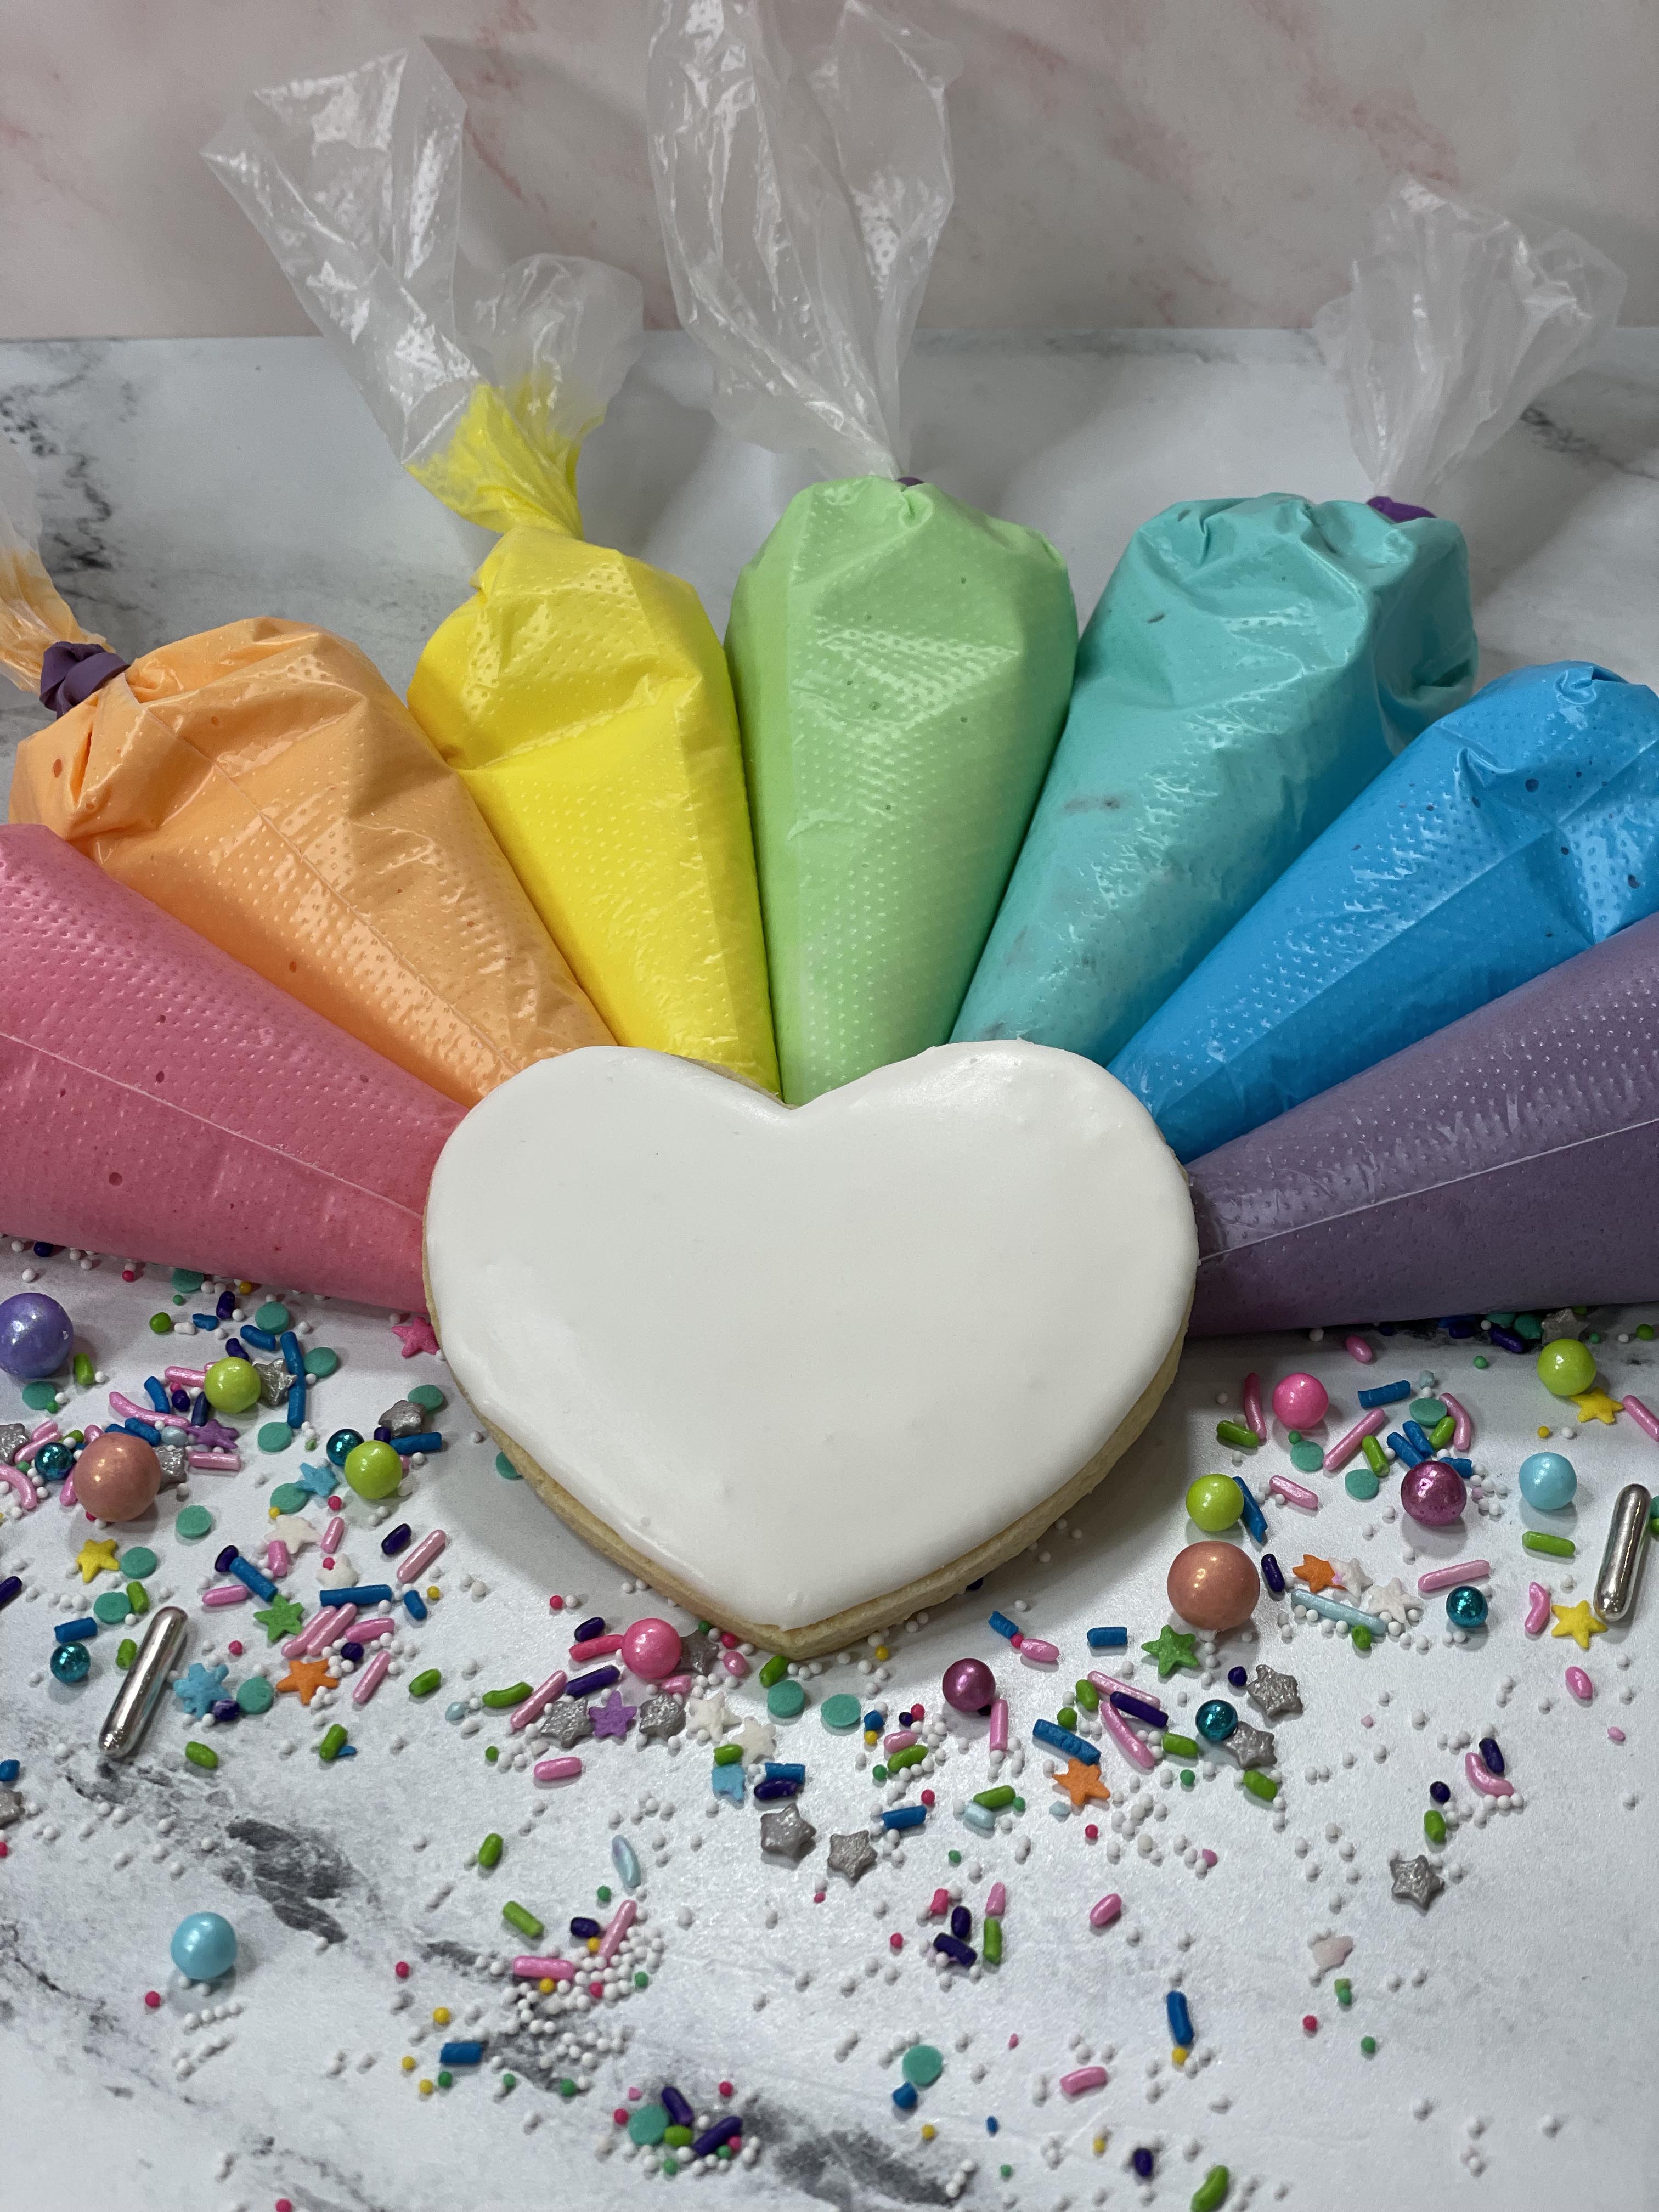
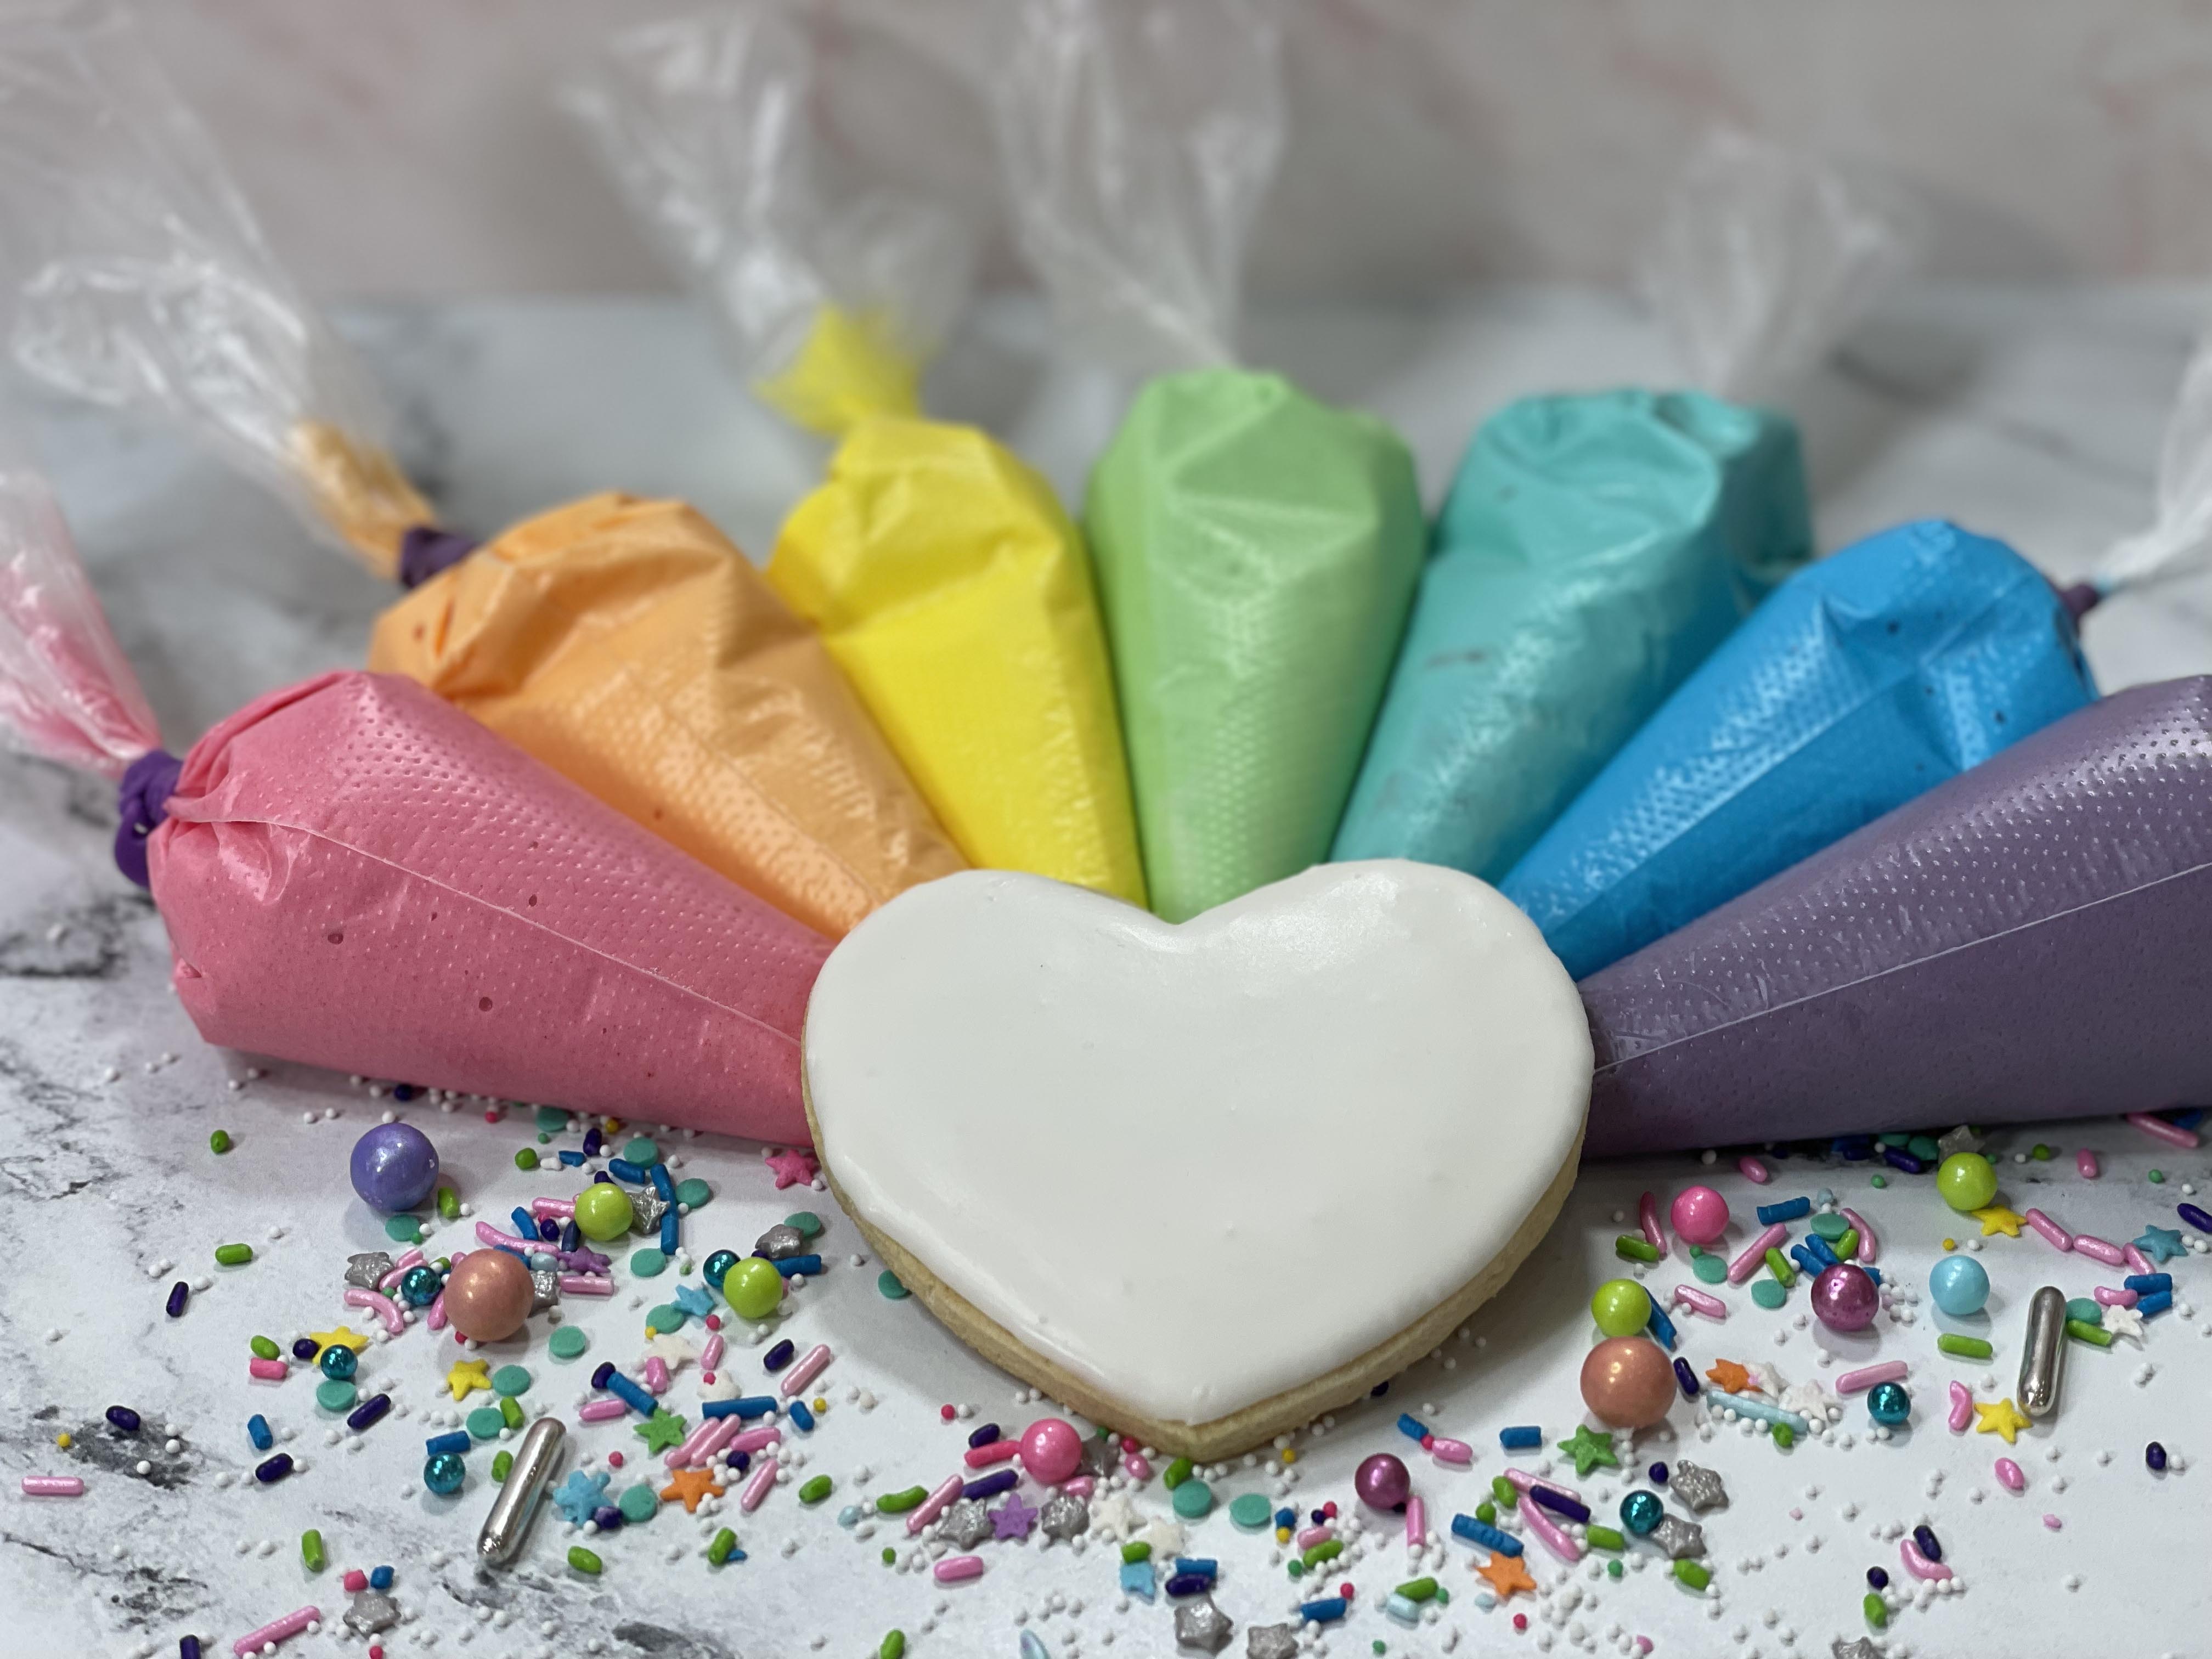
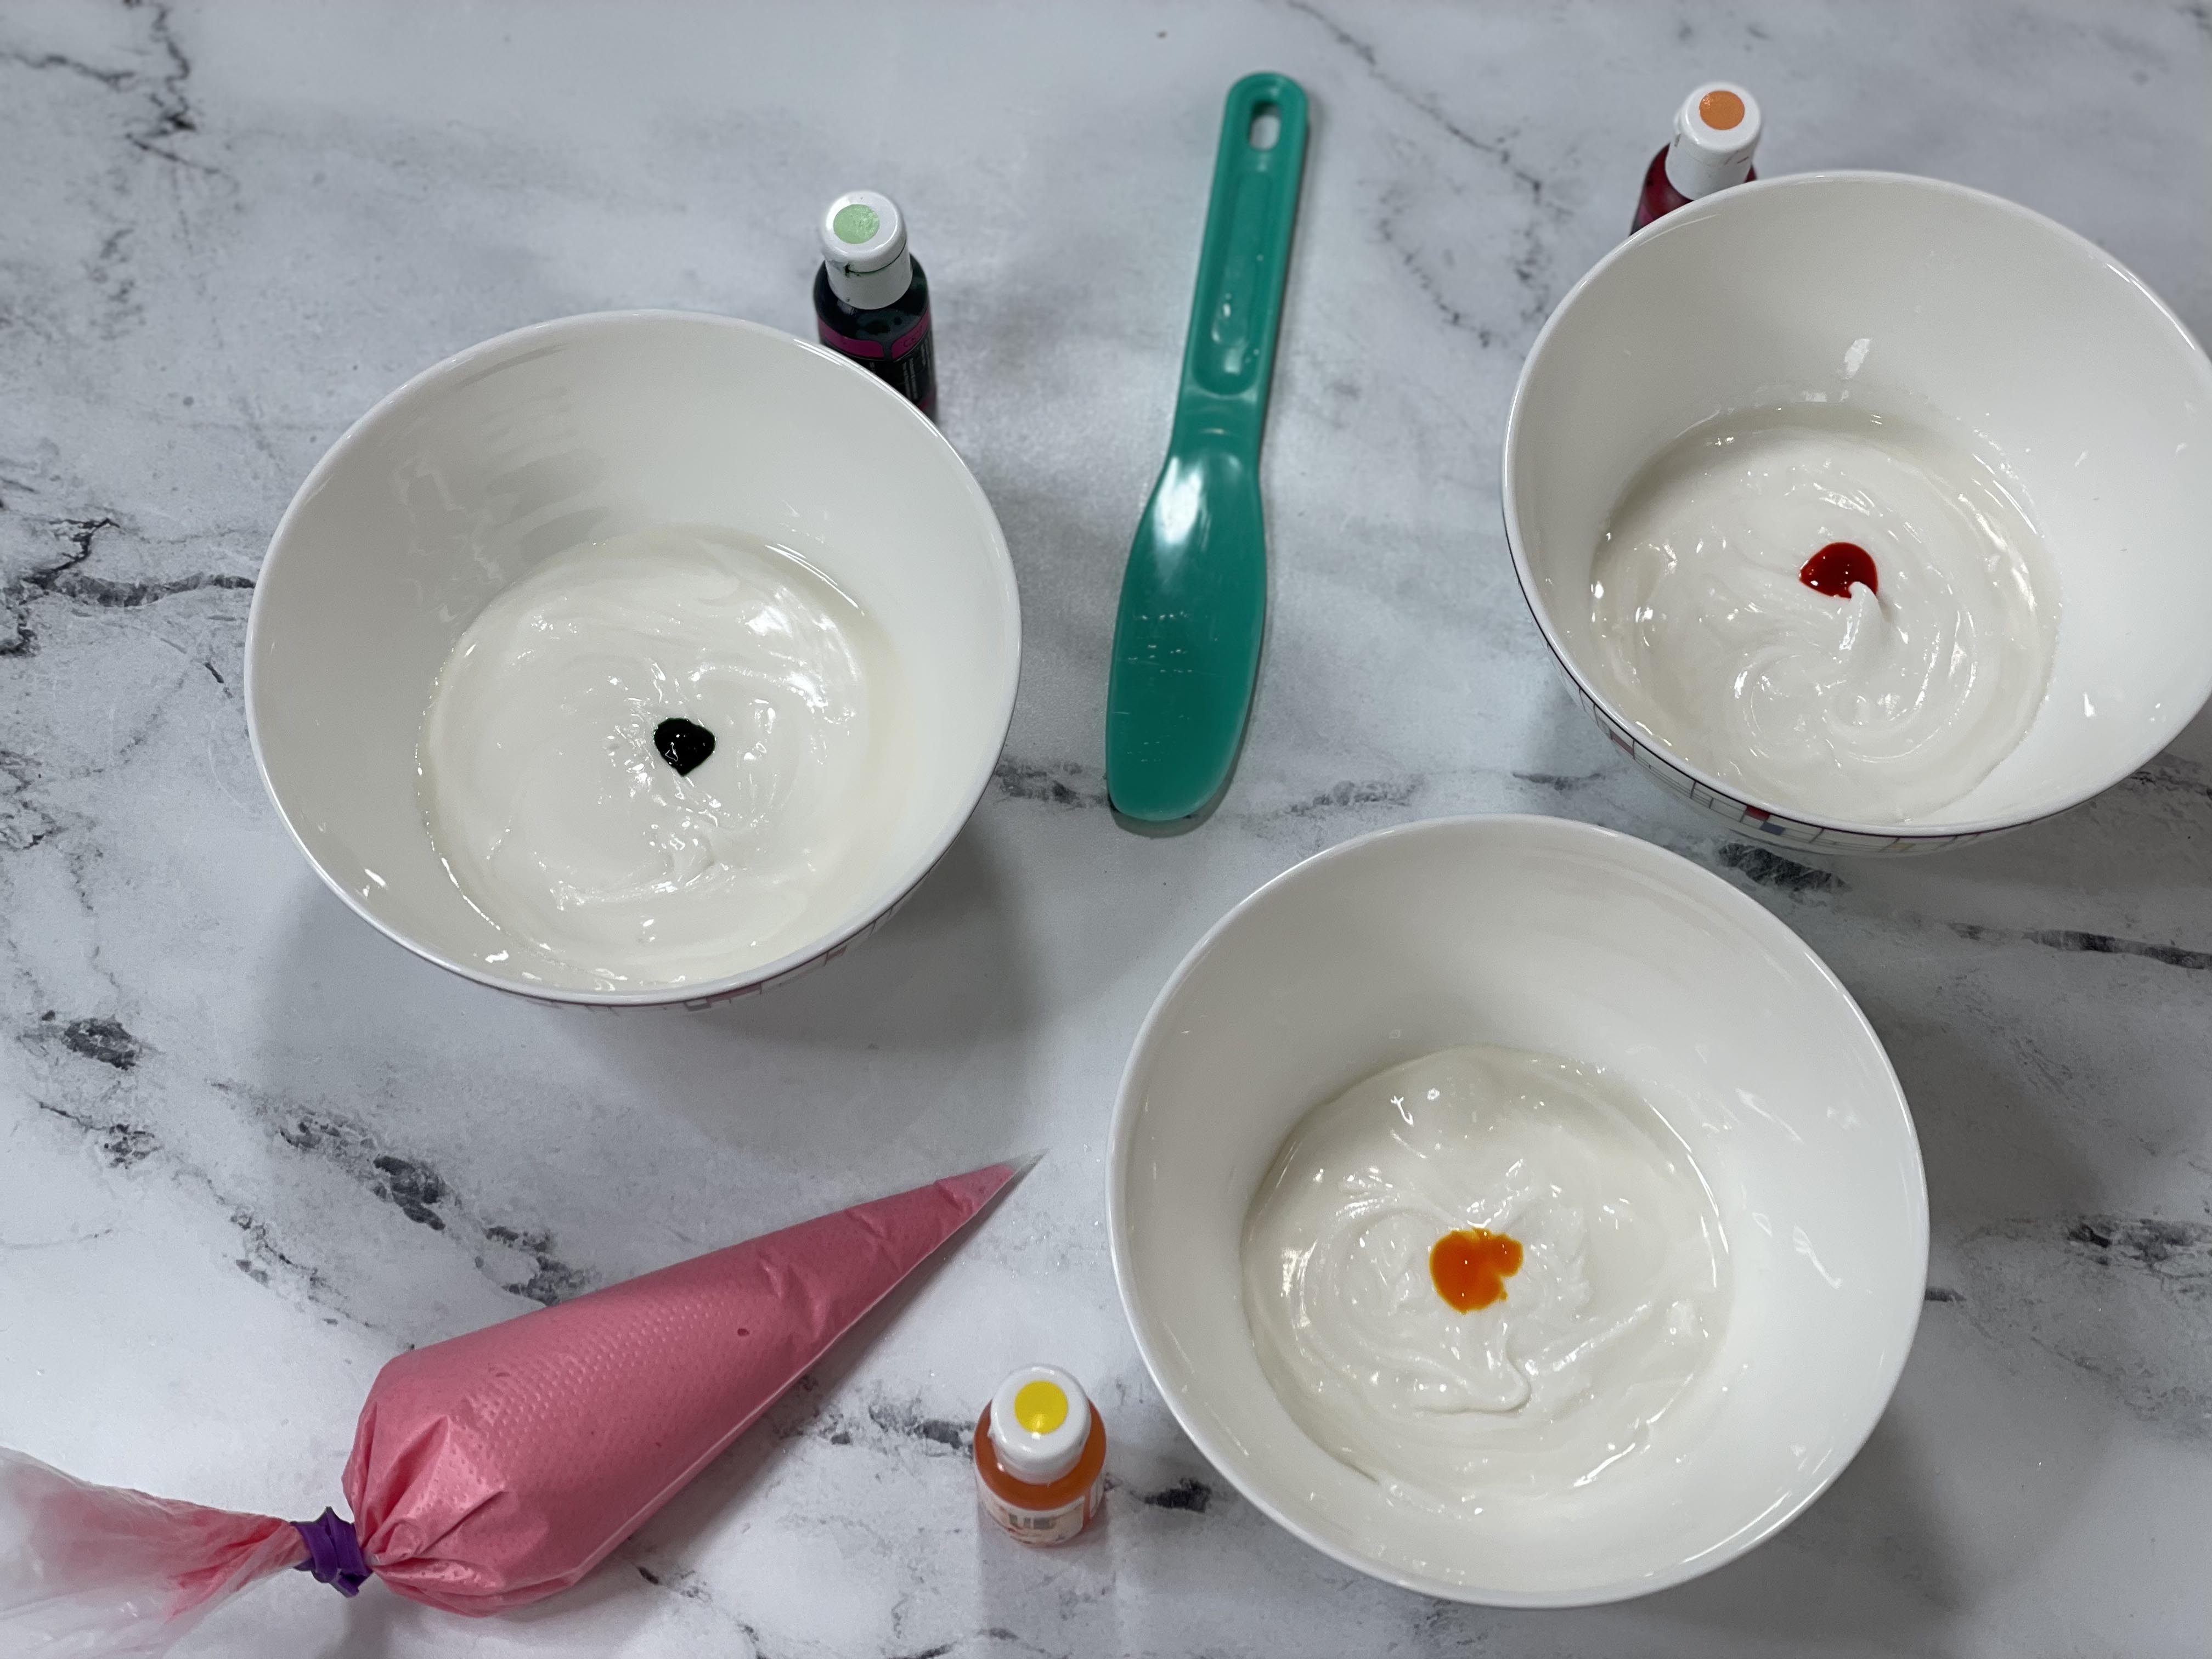
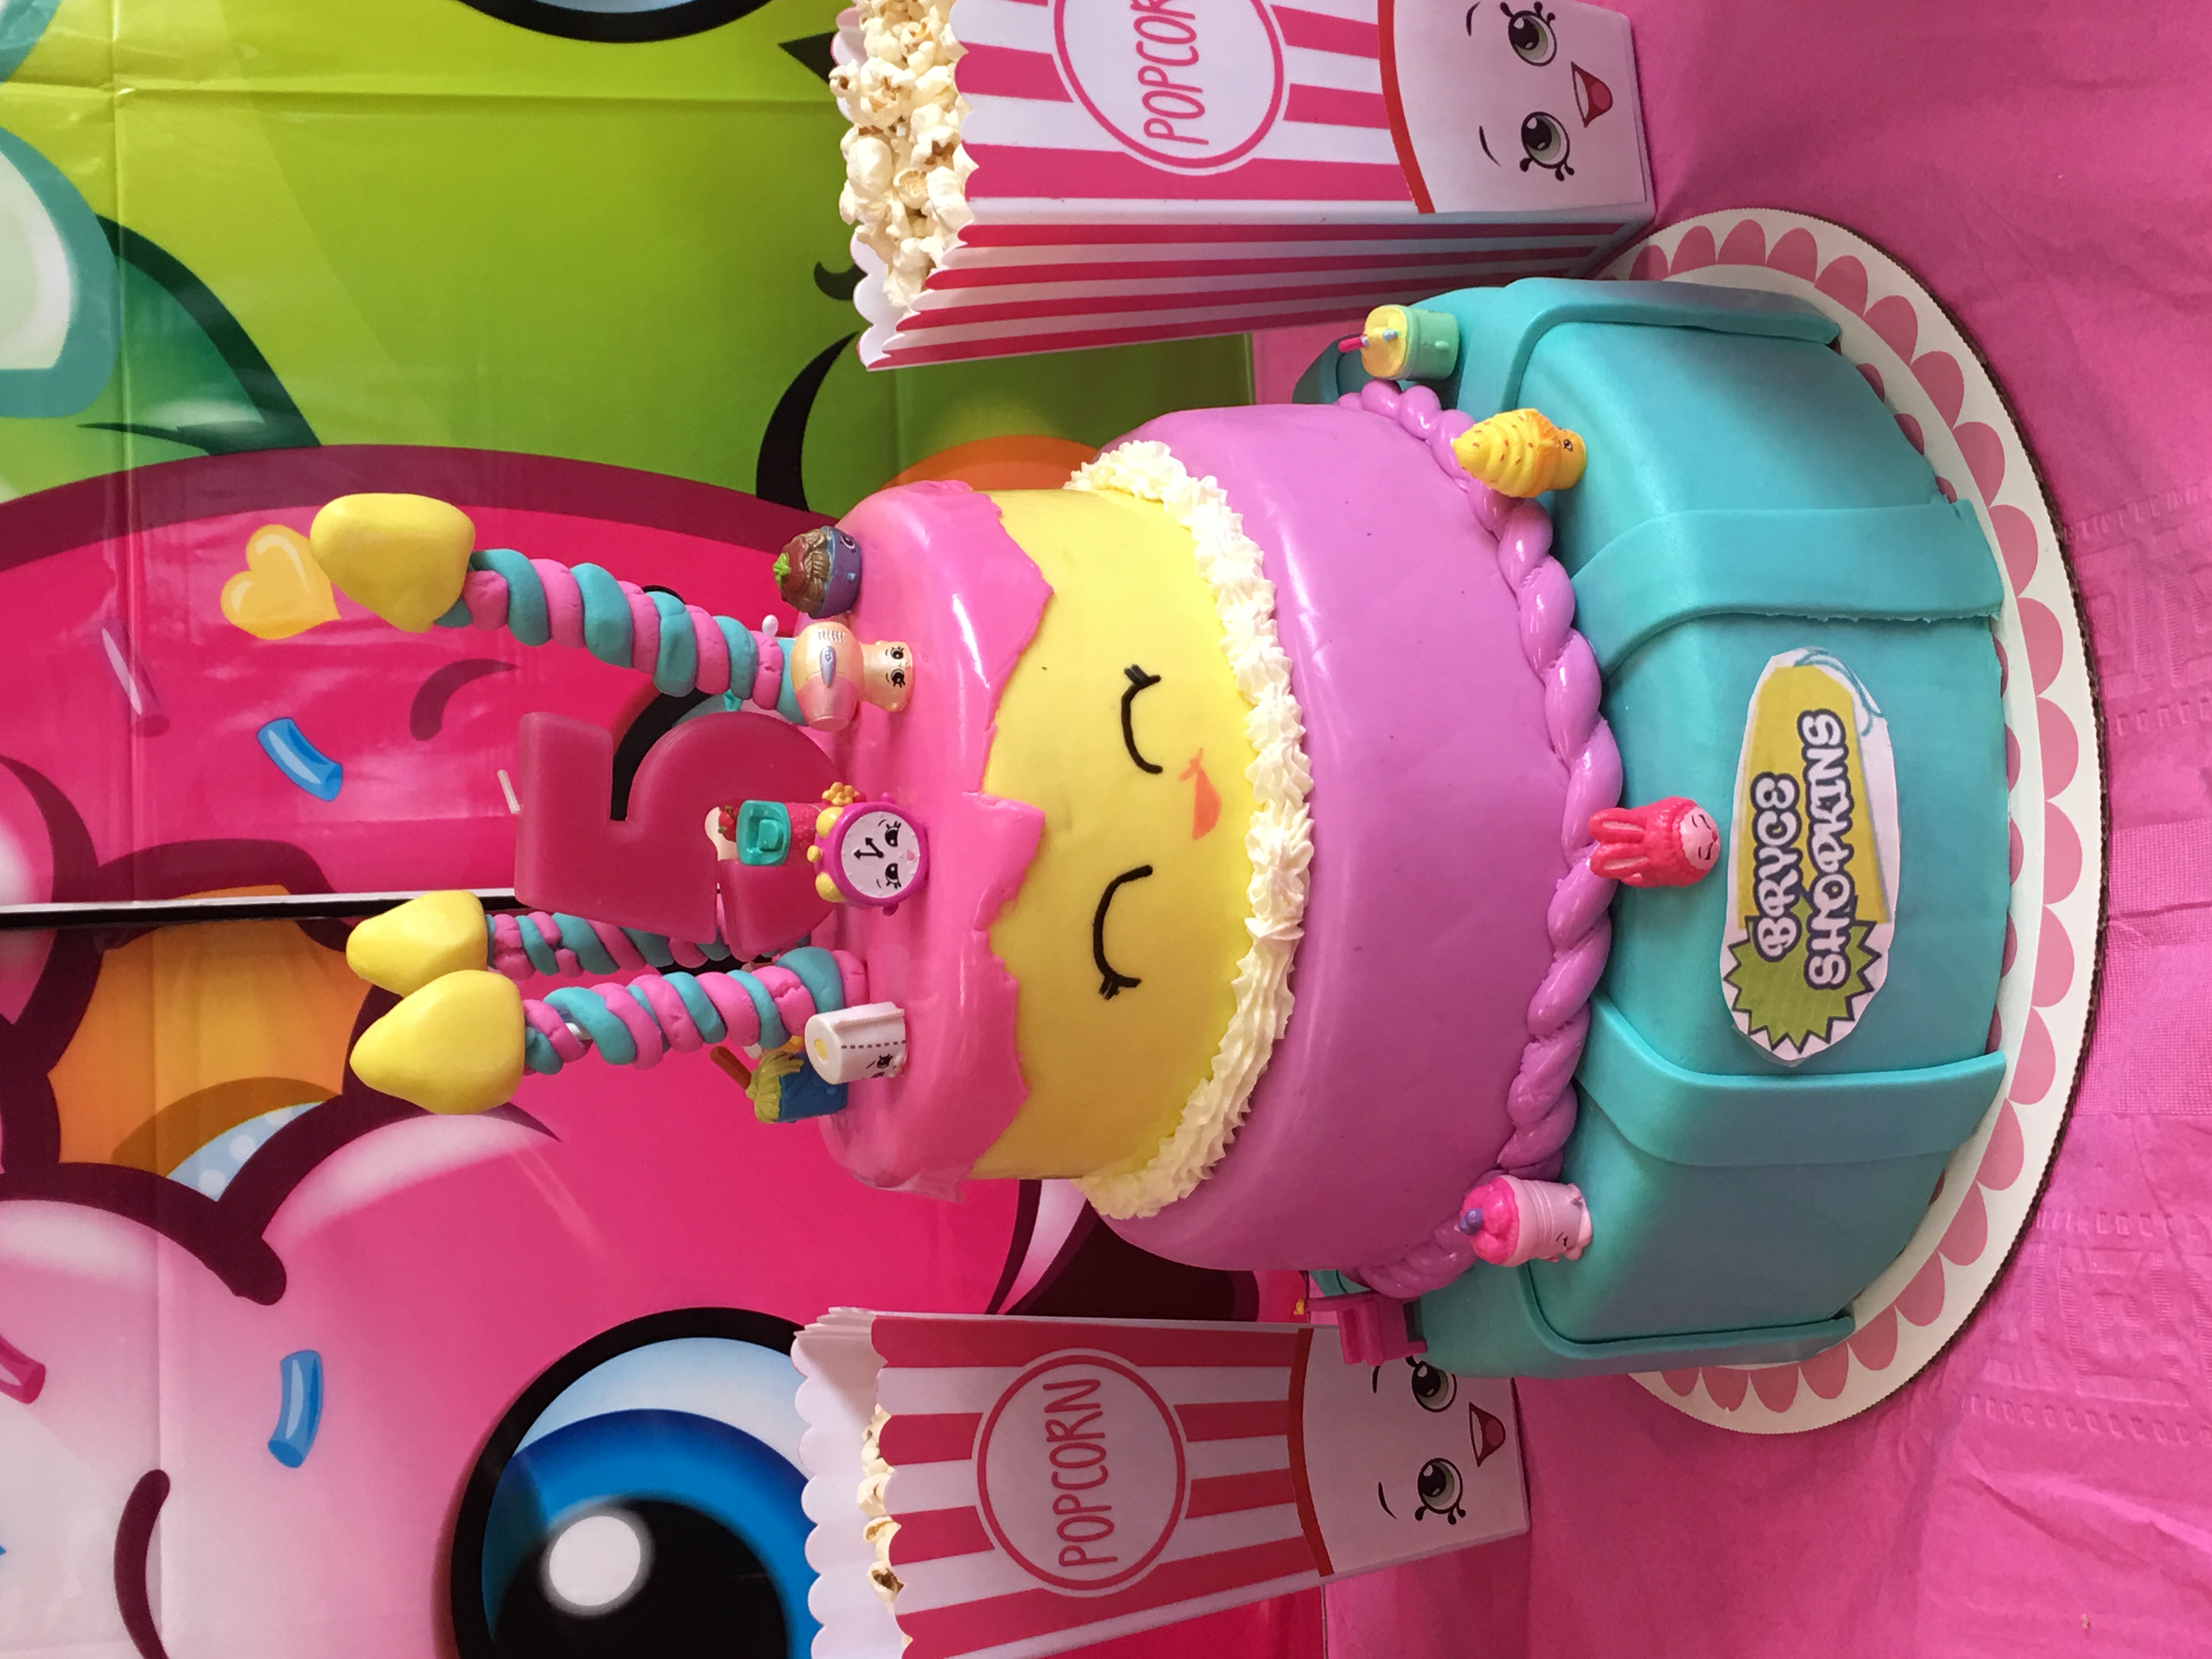
To color American buttercream, I prefer to use gel food colors like Americolor and Chef Master because they are very bright and help you achieve vivid color with not a lot of food coloring.

American Buttercream can be colored any shade. This under the sea mermaid cake and cupcakes use swirls to mimic ocean waves for a birthday party

The easiest way to flavor frosting is to add some extract or emulsions and call it a day. Vanilla, mint, lemon, maple, almond extract, if you like it, you can add to American buttercream to flavor it!
The amount of extract will change depending on what type of extract.  For instance you can add much more vanilla extract without overpowering powering a frosting than you can mint. Start with a little. You can always add more but you can not take it away.

Create Instnat Buttercream Flavor Options
* Vanilla American Buttercream: Add in 2 tsp vanilla extract
* Chocolate American Buttercream: Add 1 cup of sifted unsweetened cocoa powder
* “Wedding Cake” American Buttercream: Add 1 tsp vanilla extract and 1/2 tsp almond extract
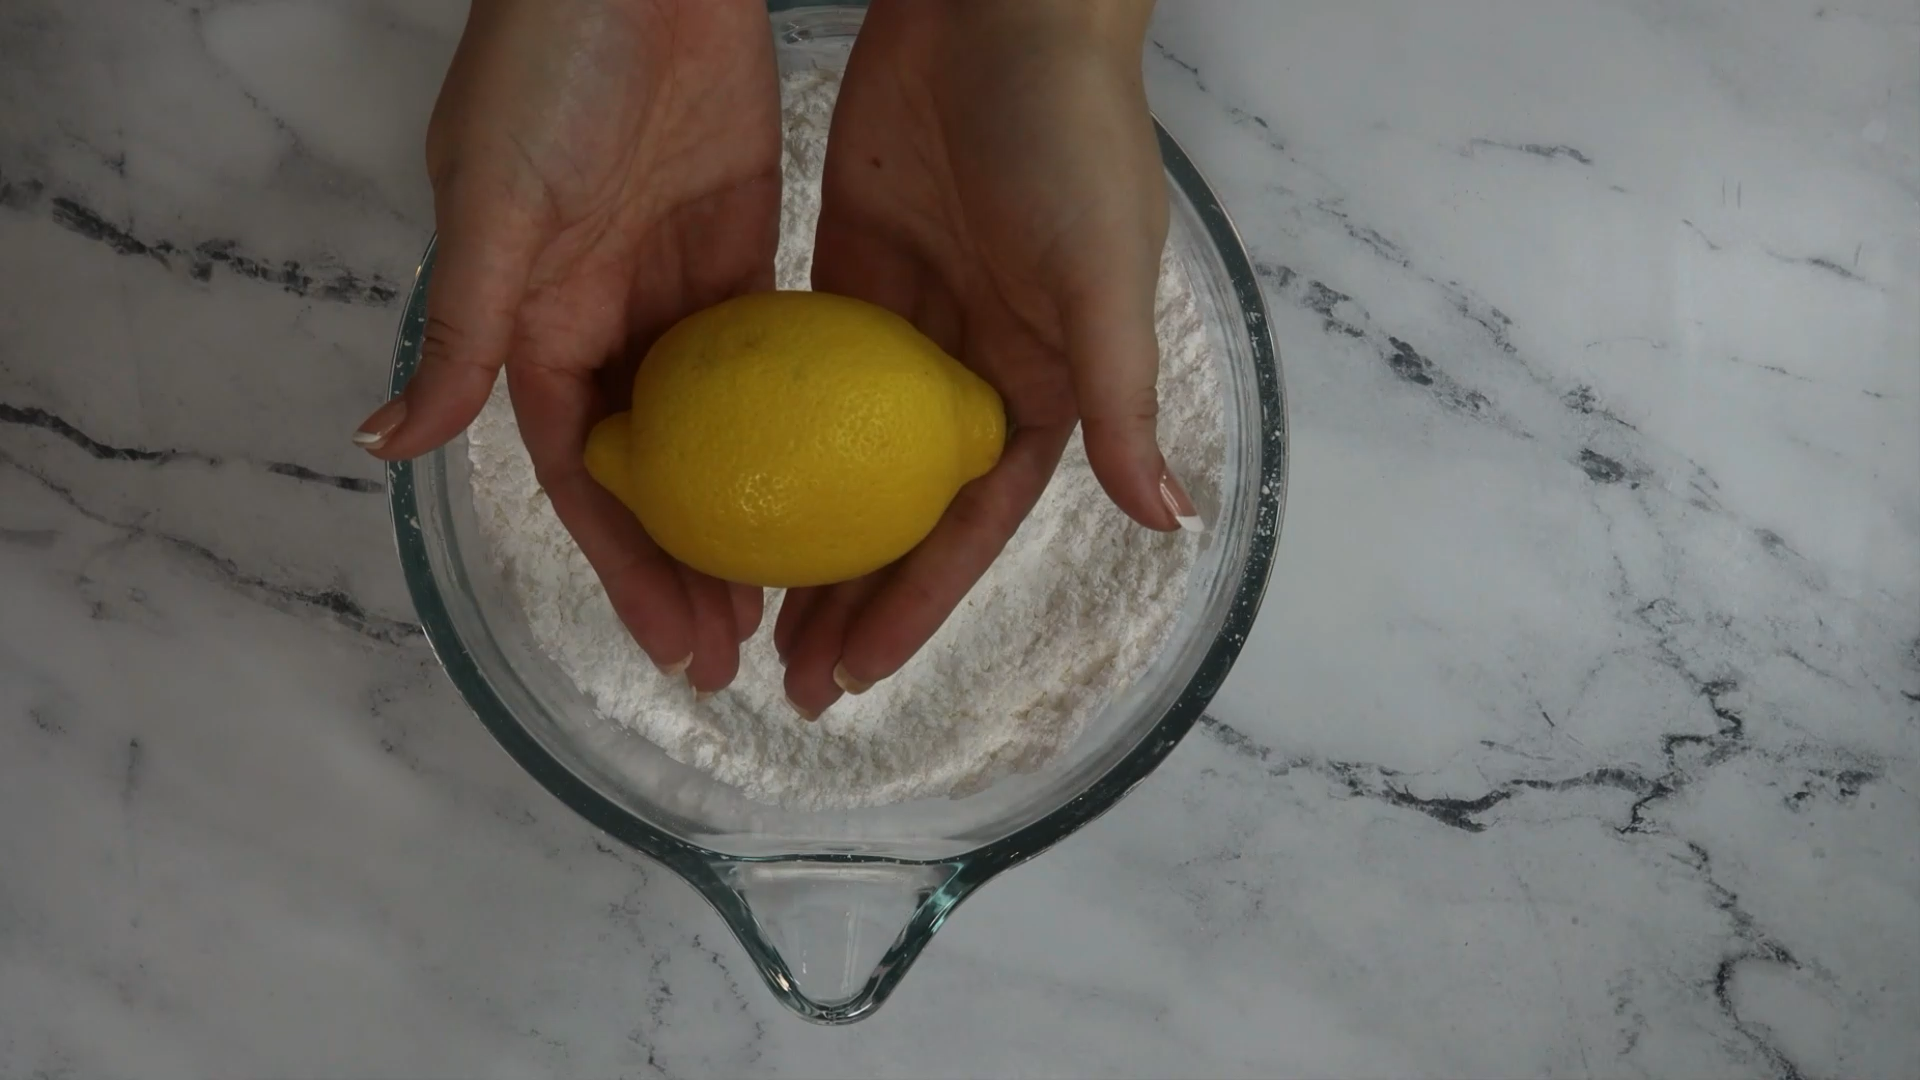
* Lemon American Buttercream: Add 3 TBSP lemon zest and ¼ cup lemon juice. Remove the milk and increase the confectioner’s sugar to 9 cups.
* Strawberry, Raspberry, or Blackberry American Buttercream: Fold in 1 cup of seedless preserves

American Buttercream can be used to make a variety of styles on a cake. Whether swirled, smooth or pedaled like this cake, they can make an impression on your party celebration

Tips for the Princess’ American Buttercream Frosting
Does the butter have to be room temperature?
Make sure to let your butter come to room temperature. You don’t want to microwave your butter because it will melt and not mix properly with the other ingredients. Just cut up your butter in little pads or cubes and let it come to room temp on its own.
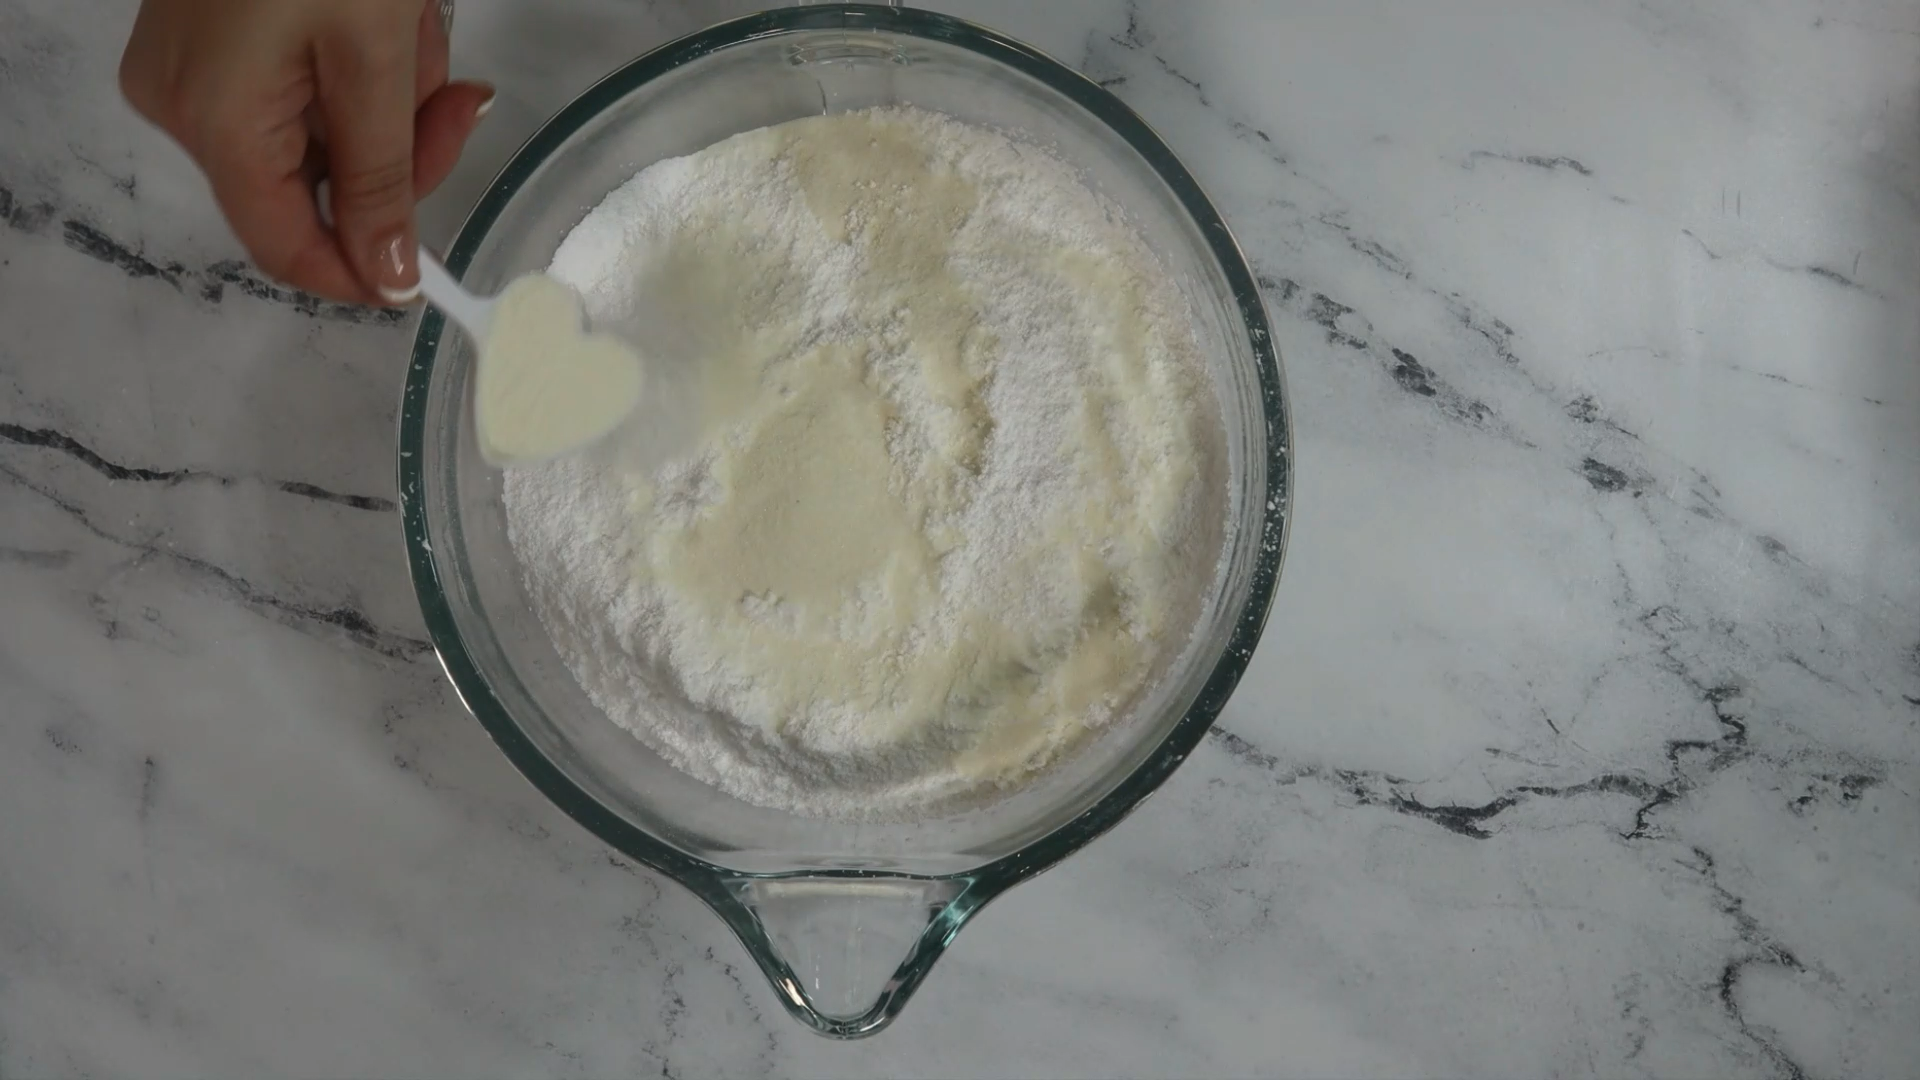
Do I have to sift the powdered’s sugar?
You don’t have to, but it really helps get the buttercream nice and fluffy if you do.
Can I add more or less powdered sugar?
Totally! You can tailor the recipe to suit your needs and taste. Add more to make it thicker and add less for easy cake frosting. You do not need to change the amounts of the other ingredients. But note, if you do cut the sugar, the frosting will have less volume, be more buttery, and less stable for piping and sitting out.
Can I use salted butter?
Sure! Some people find using salted butter to be too salty. With unsalted, you control the amount of salt you add. Sometimes I even use half salted and half unsalted butter and omitting the additional salt!
Do I need to mix it for that long?
Mixing it for a long amount of time is what will help get it super light and airy.

American Buttercream can be easily colored using gel food colors to achieve any color of the rainbow. Use them in a piping bag to create the design you wish on cakes and cupcakes

How can I make my buttercream smooth?
After you are done making the buttercream, mix the buttercream on low speed with a paddle attachment for 5 to 10 minutes. You can also remove air bubbles by mixing the buttercream by hand with a spatula until it is silky smooth.
Should I use a whisk or paddle attachment on my mixer?
That depends! Some bakers feel that using a paddle attachment creates a smoother buttercream. Some recommend using a whisk attachment to make the buttercream lighter. I say try both ways and see what works best for you. Your favorite might surprise you!
Do I have to use a stand mixer?
You can absolutely use an electric hand mixer. I like to be able to multi-task while it’s mixing.
Can I make American buttercream in advance or stored?
Of course! Buttercream can be stored in an airtight container in the refrigerator for 2 weeks or in the freezer for 3 months. Thaw if by bringing it back to room temperature and then rewhip. It will be good as new! My tip is to tightly wrap the buttercream in plastic wrap and then covered in an airtight container or freezer bag so the butter does not take on flavors from your fridge or freezer.
Can American buttercream and frosted cakes sit out?
Yes, the frosting can sit out at room temperature.  Same with frosted cakes and cupcakes, the frosted desserts can sit out rather than being refrigerated. Putting cake and cupcakes in the fridge can actually dry them out a bit, so keeping the frosted dessert at room temperature for up to a couple days is fine. (Technically, according to cake experts, frosted uncut cakes can stay out up to 4-5 days cut cakes 2-3) and they are stable due the amount of sugar in them. Just be mindful of any other ingredients in the desserts that might need to be refrigerated, such as filling a cake with pastry cream that would need to be stored in a fridge.  And remember to make sure it’s being stored at a cool temperature so it doesn’t melt or get greasy in the heat.
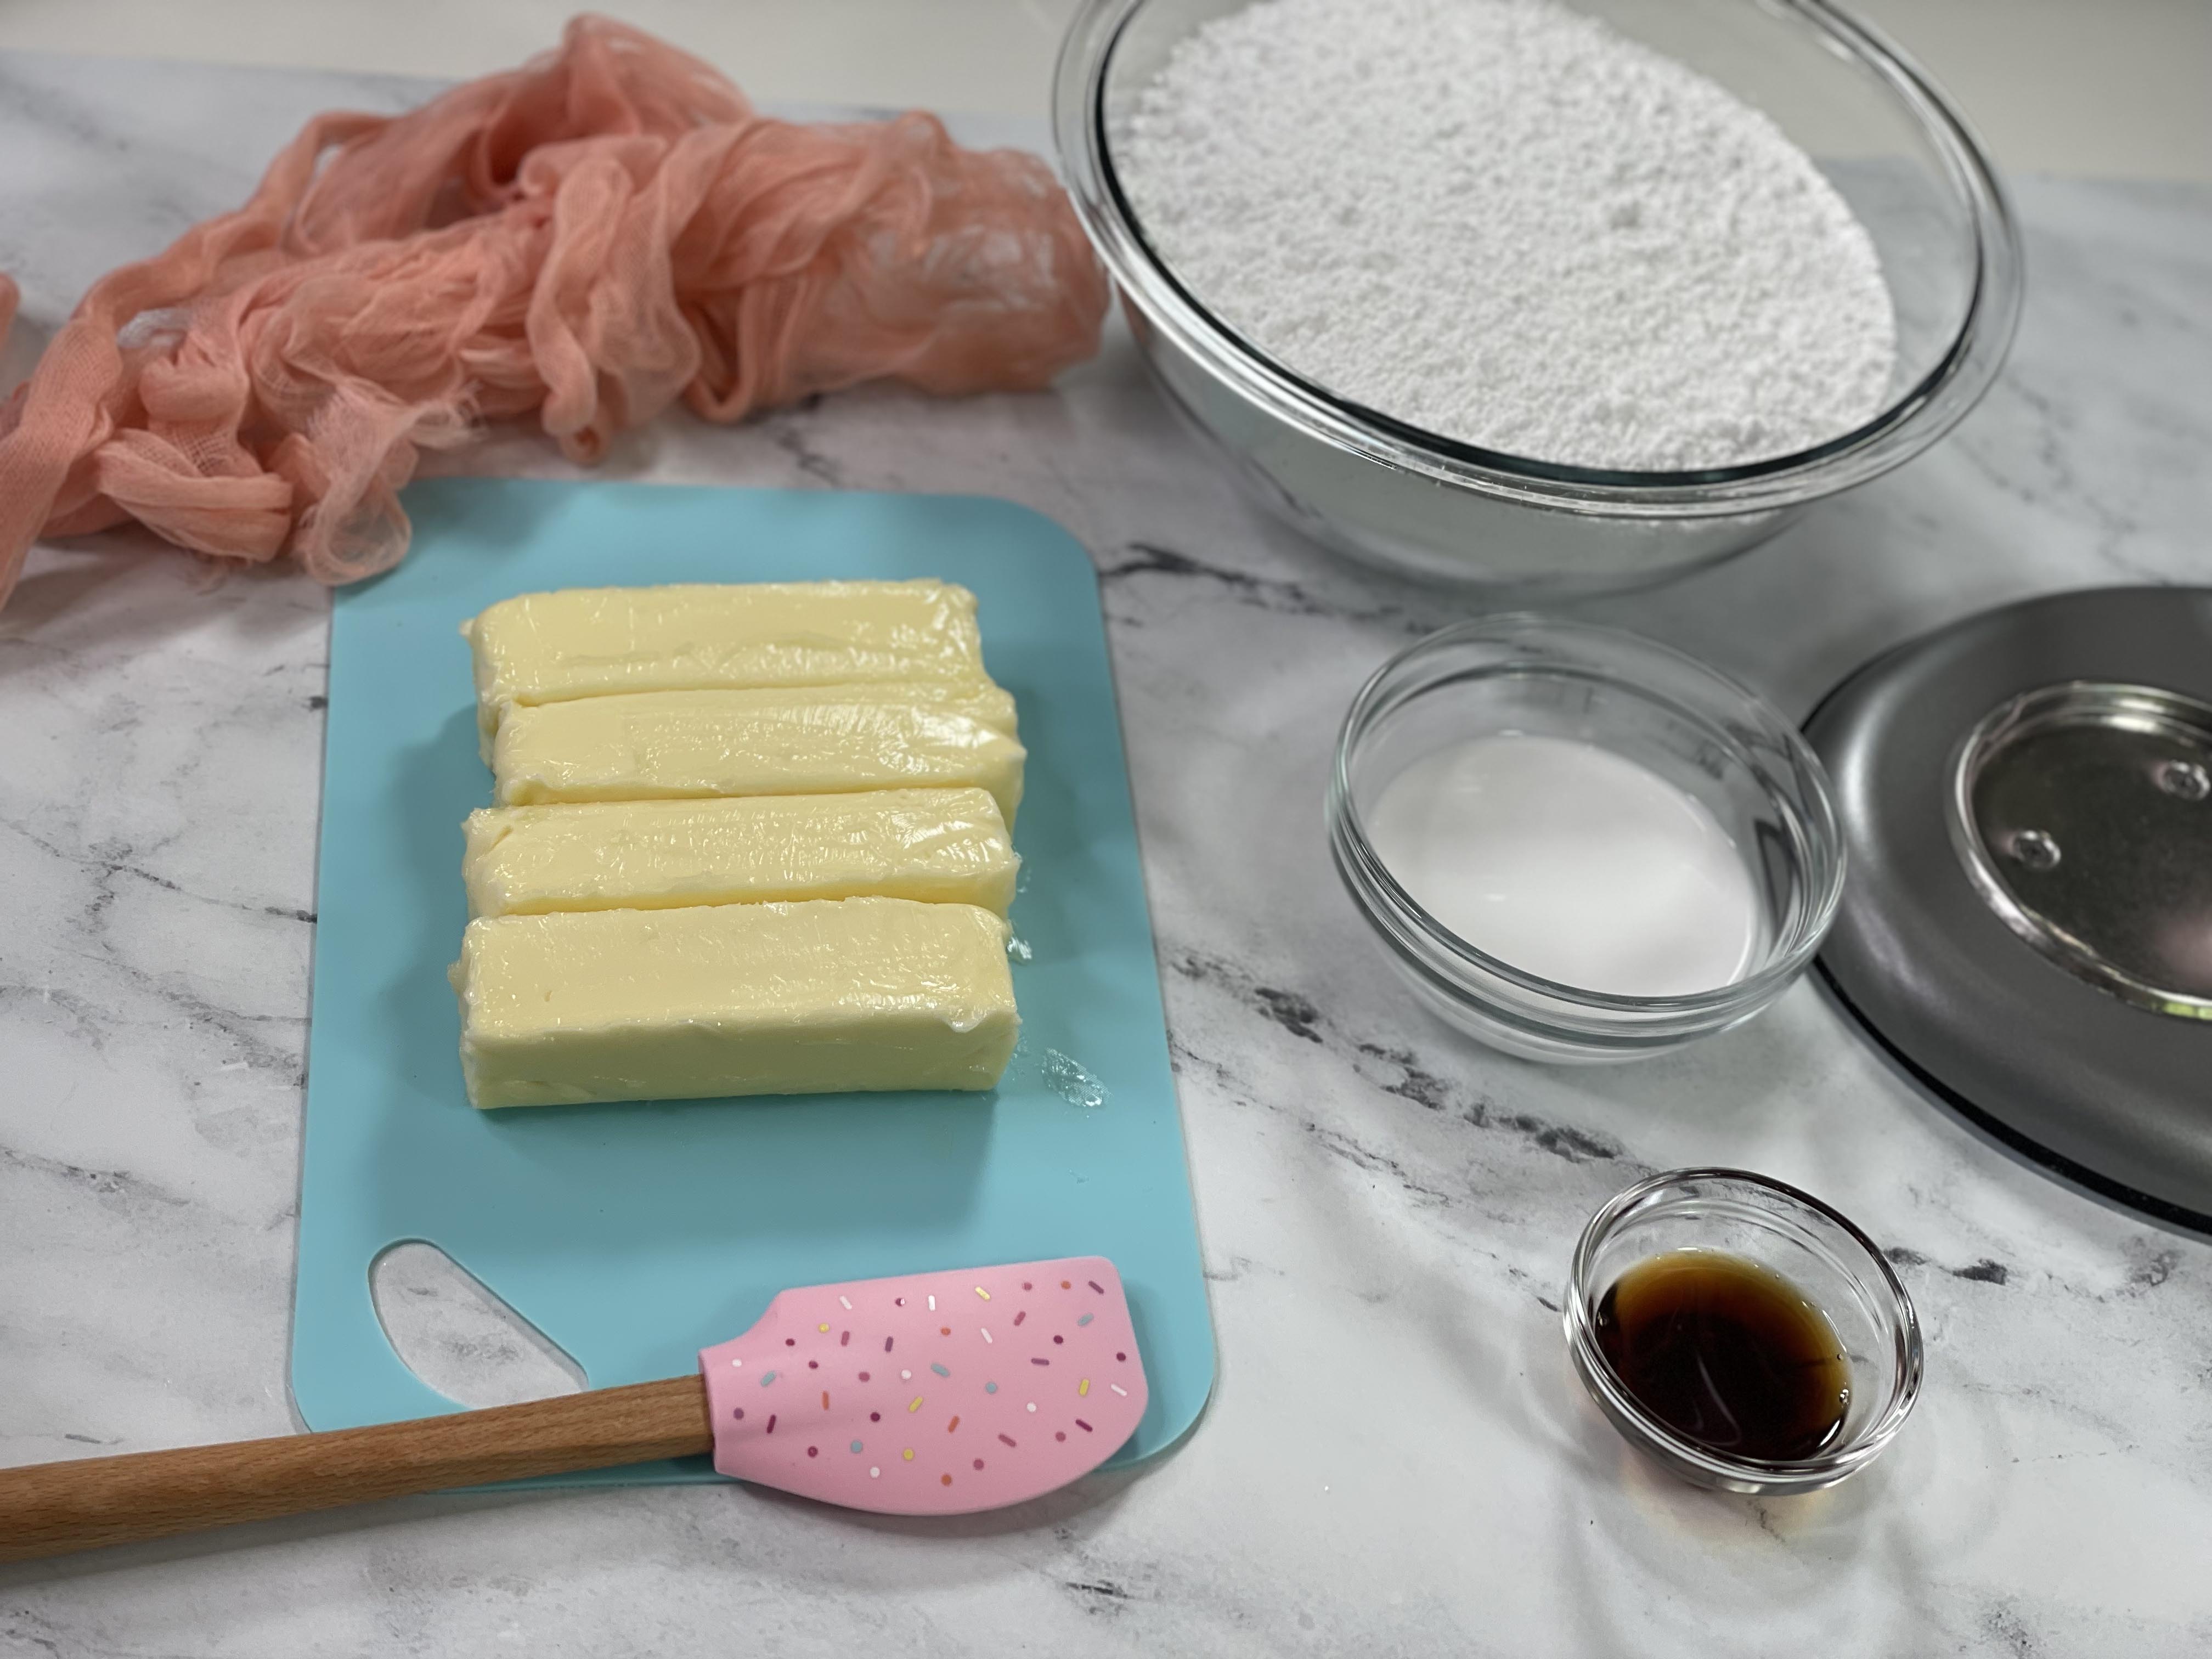
American Buttercream uses only a few ingredients can be made in one bowl and takes only a few minutes Its one of the easiest recipes that should be a staple for any baker whether expert or beginner

INGREDIENTS:
1 lb (4 sticks) of unsalted butter (room temperature)
2 lbs of powdered sugar
3 tbsp of milk (you might not need all of it)
1 tbsp of extract (pick your favorite flavor
Salt as needed

INSTRUCTIONS
* Place butter in a stand-mixer with a paddle attachment and cream beat until smooth. Scrape bottom of bowl often.
* Sift the powdered sugar and salt
* Add the powdered sugar a little at a time on low until incorporated.
* Add vanilla extract and milk and mix on low until blended and smooth. Do not turn up the mixer or you will get air bubbles.
* Let it mix on low for 10 minutes so it’s perfectly smooth.

Royal Icing Recipe with a Kiss of Citrus

Today I’m sharing my favorite royal icing recipe with a kiss of citrus. Made with meringue powder and without egg whites, it’s perfect for decorating sugar cookies, making gingerbread houses, and making three-dimensional cake decorations. This creates decorated sugar cookies with a gorgeous matte finish and perfect texture. This royal icing recipe is essentially foolproof, can be made in advance, and includes a how-to video!

Royal icing with kiss of lemon citrus freshness provides a delicious flavor to decorated cookies and cakes This recipe can be colored in a variety of hues and thinned to the perfect consistency.

Now royal Icing isn’t exactly known for it’s flavor. Personally I think it’s because with only three real ingredients, most people forget to add any flavor to it! Many don’t even know that you can jazz up royal icing to taste amazing. By adding a dash of vanilla extract and bit of citrus juice, you can transform royal icing from dull to delicious.

And for you cookie decorators: This recipe can be easily thickened or thinned out to suit any type of cookie decorations you have planned. So you can use it to outline, flood and make details for your cookies. I’ve included tons of princess tips to help you make the perfect royal icing.

Meringue Powder in Royal Icing

There are many ways to make royal icing and my favorite method is with meringue powder. Meringue powder is a mix of cornstarch and dried egg whites combines with a stabilizer and takes the place of raw egg whites, which is found in traditional royal icing recipes. Both create a very sturdy and stable icing that hardens quickly on top of cookies. Meringue powder, while containing eggs, eliminates the need for raw fresh eggs, but still provides the EXACT same consistency. Now you may hear raw eggs and wonder if royal icing is safe to eat. Yes it is! By using meringue powder there is no worry about salmonella here!

This royal icing recipe with a kiss of lemon citrus by the princess baker uses meringue powder instead of egg whites for easy stabilization and no fail possibilities

Can I make citrus royal icing in advance? How do I store it?

My royal icing recipe can be made up to a week in advance. Place the icing in an airtight container and, before placing the lid on your container, place a piece of plastic wrap directly in contact with the surface of the icing. Because this recipe is made with meringue powder and not eggs it may be stored at room temperature for up to two weeks. Because of the citrus juice, the icing may need to be stirred again before using after sitting for a few days.

Can I Freeze Royal Icing?

Yes, royal icing can be frozen. Many royal icing recipes, including this one, yield a lot of icing. Any leftover royal icing can be frozen for up to 6 months. Place leftover royal icing into zipped-top freezer bags. If you have more than 1 color, each color should have its own bag. Before sealing, squeeze as much air out of the bag as possible. Freeze on a flat shelf surface in your freezer. Thaw overnight in the refrigerator and bring to room temperature before using again. I always keep all of my leftover icing and often combine colors to make black icing.

The secret to this royal icing recipe flavor by the Princess Baker is the fresh squeezed lemon juice for a kiss of citrus. You can also use grapefruit juice, orange juice and pineapple juice to vary the flavor.

Can I Freeze sugar cookies already topped with royal icing?

Yes you can! Sugar cookies decorated with royal icing freeze well up to 3 months. Wait for the icing to set completely before layering between sheets of parchment paper in a freezer-friendly container. To thaw, thaw in the refrigerator or at room temperature.

How do I color this royal icing recipe?

Gel food colorings are recommended for their ability to get rich colors without affecting the texture of the icing. If you are doing highly decorative white designs, you may want to try white gel food coloring to ensure an opaque and bright white design. Natural food colorings are typically powder or water-based. They are fine to use, just be aware you made have to add extra water or sugar to your icing to adjust the consistency. Royal icing dries darker so be sure to color your frostings just slightly lighter than you want them to end up.

You can easily color this royal icing recipe by the Princess Baker by using gel food coloring

How do I change this royal icing consistency?


After mixing this recipe, the icing should be fairly thick. When making colors, place a small amount in a bowl and add your gel color. You will never be able to get the exact same shade so thin some out for your piping consistency, transfer to a piping bag, and then continue thinning for your flood consistency. The trick is to get 20, 15, and 10 second consistencies. By this, I mean run a knife through the icing and count the seconds for it to come back together. That’s how you judge your consistency.

How long does it take for royal icing to dry?


The dry time honestly depends on how thick your layer of icing is. You should allow your cookies to sit for at least several hours for them to dry completely, but to be safe I like to let mine sit overnight. And no, the cookies don’t get stale sitting out overnight! You can try to speed up the process by turning on a fan over the cookies.

With only a few ingredients this royal icing with citrus lemon kiss recipe by the Princess Baker is practically fool proof, and makes it easy for kids to decorate sugar cookies

Royal Icing Ingredients
Here’s what you need:
* Powdered Sugar. Often referred to as “confectioners sugar” or “icing sugar”, this will be the base of your icing (and the reason it’s nice and sweet!).
* Meringue Powder. This ingredient is non-negotiable, it’s critical for the firm finish of your royal icing.
* Cream of Tartar. This helps to stabilize the meringue and keep the sugar from crystallizing.
* Lemon. Amp up the flavor of your royal icing by adding a kiss of citrus to it. You can also add orange juice, grapefruit juice or pineapple juice to give it a hint of something fruity and sweet.
* Water. This is necessary to thin the icing to the proper consistency.
* Vanilla Extract. If you want your royal icing to remain pure white in color, use a clear vanilla extract. You can make the icing a different flavor by substituting or adding different extracts as well, just ensure that they do not contain oil, which can break down the meringue (just check the label).

Royal Icing Directions

1. First sift your powdered sugar.
2. Combine your sifted powdered sugar with meringue powder and cream of tartar. Then whisk together until combined.
3. Add in lemon juice and vanilla extract. Then add water.
4. With all of your dry ingredients in the bowl, place on the stand mixer. Then beat until you achieve stiff peaks. You can add more water to thin out to a smoother consistency or add gel food coloring to tint the entire batch.
5. This stiff icing will be your outlining icing. If you need to color your frosting into multiple colors, divide your frosting into bowls now and color as desired.
6. Once you have colored your icings, divide into two bowls. One will be your outlining icing, the second will be your flooding icing. Add water to this icing one teaspoon at a time until you achieve a consistency where the icing that drizzles off of your spoon holds its shape briefly (several seconds) before melting back into the rest of the icing in the bowl.

Now you know how to make my delicious citrus kiss royal icing frosting. Here’s a video on how to make my classic vanilla sugar cookies!

The Princess Perfect Classic Vanilla Cake Recipe

Confession: This princess started making cake with box mix. I know, I know. We all turn our noses down on box mix, and usually our forks too. The reason was I hadn’t found a recipe that could compete with it, meaning it was easy, with few ingredients I always had on hand, came our correctly with little effort, and of course, tasted amazing.

Then I found this recipe.

the perfect classic vanilla cake recipe is ideal for all party celebrations and themes it tastes great and presents beautiful layers

After testing multiple recipes I found on in the internet, my Pinterest feed, even ones from friends, this classic vanilla cake recipe became the winner and I’m so excited to share it with you.

It’s hard to go wrong with a classic vanilla cake recipe because it’s good for every celebration. Whether a birthday party, wedding, graduation, baby shower, vanilla cake works in every situation. To me the best vanilla cake has a buttery taste, a perfectly even crumb that holds on its own and melts in your mouth with each bite.

classic vanilla cake recipe is a crowd pleaser as vanilla is the most popular cake flavor

This vanilla cake recipe is full of flavor and has a tender, moist crumb. This recipe gives you a cake that’s light, fluffy and is so easy to make you will finally forget that box mix.

The Right Ingredients

Like all recipes, you are going to want to use the right ingredients for this mouth watering cake. I’ve tested this cake with both cake flour and all-purpose flour. While both work great, I prefer to use a 50/50 combination of both. If you are worried that you will overmix your cake, use more cake flour as it’s more forgiving because it contains less protein.

use this classic vanilla cake recipe to create tiered cakes for engagement parties bridal showers and weddings

I use both butter and oil in this recipe, however instead of creaming the butter and sugar, I cream the butter with the dry ingredients. The oil keeps it from drying out.

Why Kosher Salt?

When in doubt, use kosher salt! Kosher salt is generally considered purer in flavor than table salt because it doesn’t contain iodine or other metallic additives. Because kosher salt has an uneven texture, it makes it easier to visually see and measure how much salt has been added to a dish.

this classic vanilla cake will have you wanting to take another bite

Store and Freeze This Cake

If you want to bake the cake in advance, bake and cool it as directed. Then, turn the cooled cake out and wrap it well in a double layer of plastic wrap, and freeze for up to two weeks. Defrost the frosting on the counter at room temperature and beat vigorously with a mixer to fluff it up again.

Also Makes Cupcakes!

Do I use this recipe for cupcakes? Absolutely! When you have a recipe this good you use it for cupcakes too. You should be able to make 24-36 with this recipe depending upon the size of your muffin tins. Start checking to see if they are ready after 15 minutes of baking. When a toothpick inserted in the center comes out clean they’re done baking.

kids love this recipe too and it makes great birthday cakes for their parties

What Size Bake Pans

Sure, you can make this in a 9×13-inch pan or two 9-inch rounds. But the recipe works great for a cupcakes or even a Bundt cake. For cupcakes, bake for 15 to 18 minutes. For a Bundt cake, bake for 45 to 55 minutes. You should be able to get 24 cupcakes from this recipe.

Helpful Princess Tips

1. Make sure your baking soda and powder are fresh. Over time they lose their leaving it power. Baking soda helps give the cake a little rise, neutralize the acids, and make the cake tender.
2. Spoon the flour into the cup and level it off with the back of a knife—don’t pack it in. Alternatively, measure the flour using a kitchen scale for the most accurate measurement.
3. To make your cake even more moist, sub the milk with buttermilk.
4. Be sure to use a light touch and not overmix the batter. It could cause your cake to come out dense of gluey.
5. You can substitute Kosher salt for regular salt.

Homemade Vanilla Cake
PREP TIME 15 mins
COOK TIME 30 mins
TOTAL TIME 45 mins
SERVINGS 12 servings

Ingredients
2 1/4 cups (288g) cake flour, or all-purpose
1 1/2 cups (300g) sugar
2 teaspoons baking powder
1/2 teaspoon baking soda
1/4 teaspoon kosher salt
1/4 cup (57g) unsalted butter, softened
1 cup whole milk
1/4 cup oil, such as canola vegetable
3 large eggs
1 1/2 tablespoons (4 1/2 teaspoons) vanilla extract

Directions:
Preheat the oven and prepare the pan:
Preheat the oven to 350°F. Butter or spray a your pan and line the bottom with parchment paper. If you plan to turn the cake out instead of serving it from the pan, lining it with parchment will ensure the cake releases from the pan easily.

Combine the dry ingredients:
In a large mixing bowl. whisk together the flour, sugar, baking powder, baking soda, and kosher salt.

Cream the butter with the dry ingredients:
Mix the softened butter into the dry mixture with a hand mixer on low speed until the butter is completely combined and the mixture has a sandy texture.
Combine the wet ingredients:
In a medium-sized bowl, whisk together the milk, oil, eggs, and vanilla until the ingredients are thoroughly combined and homogeneous.

Add the wet into the dry ingredients:
Pour the wet ingredients into the flour and butter mixture and beat with the hand mixer until just a few streaks of flour remain. Finish mixing the batter with a silicone spatula.
Pour the batter into the prepared pan.
Bake and cool:
Bake the cake for 25 to 30 minutes until the top of the cake springs back to the touch and a toothpick inserted into the center comes out clean.

Remove from the oven and cool completely on a rack before turning out and/or frosting and decorating.

What Size Cake Pan to Use?

This cake is baked in a 9×13-inch rectangular cake pan, which is a great size for potlucks and parties. It can also be baked as two 9-inch rounds for a layered cake. The round layers can potentially bake more quickly. So be sure to check them after about 22 minutes in the oven.